Learn how to bleach dye a shirt with this fun twist on tie dying and fabric tinting! With just a few supplies and a few minutes, you’ll learn how to reverse dye with bleach and you’ll have a completely unique and fun shirt!

I love fun shows and movies that I can enjoy with my kids. I also love creating crafts and doing projects that are inspired by our favorite characters!
So when Dreamworks recently asked me to come up with a fun, family activity inspired by Trolls, I was 100% on board.
Trolls has an aesthetic that’s just asking for DIY projects. The bright rainbow of colors, the upbeat music and the pure love that the characters have for each other can inspire a whole world of creations!
It didn’t take long for me to decide to make a bleach dye shirt featuring Poppy, everyone’s favorite trolls heroine!
What is bleach dye?
Bleach dying is a method of changing fabric colors without using messy dyes. Instead, we arrange the fabric to preserve the original color in some places and spray bleach to pull color out of the rest.
Reverse dye is exactly the same thing as bleach tie dye. The two terms can be used interchangably.

What’s so great about bleach dyeing?
I think the best things about the bleach dye method are:
- It’s super easy
- It’s inexpensive
- It’s convenient
Fabric dying has come a long way over the years, but it’s still a challenge. You need to buy a kit or set with dyes. You need to set up the different colors. You need to contain the mess.
Bleach dye requires no dyes or tints, only bleach. You also need very few materials to make it happen.
What you need to bleach dye a shirt
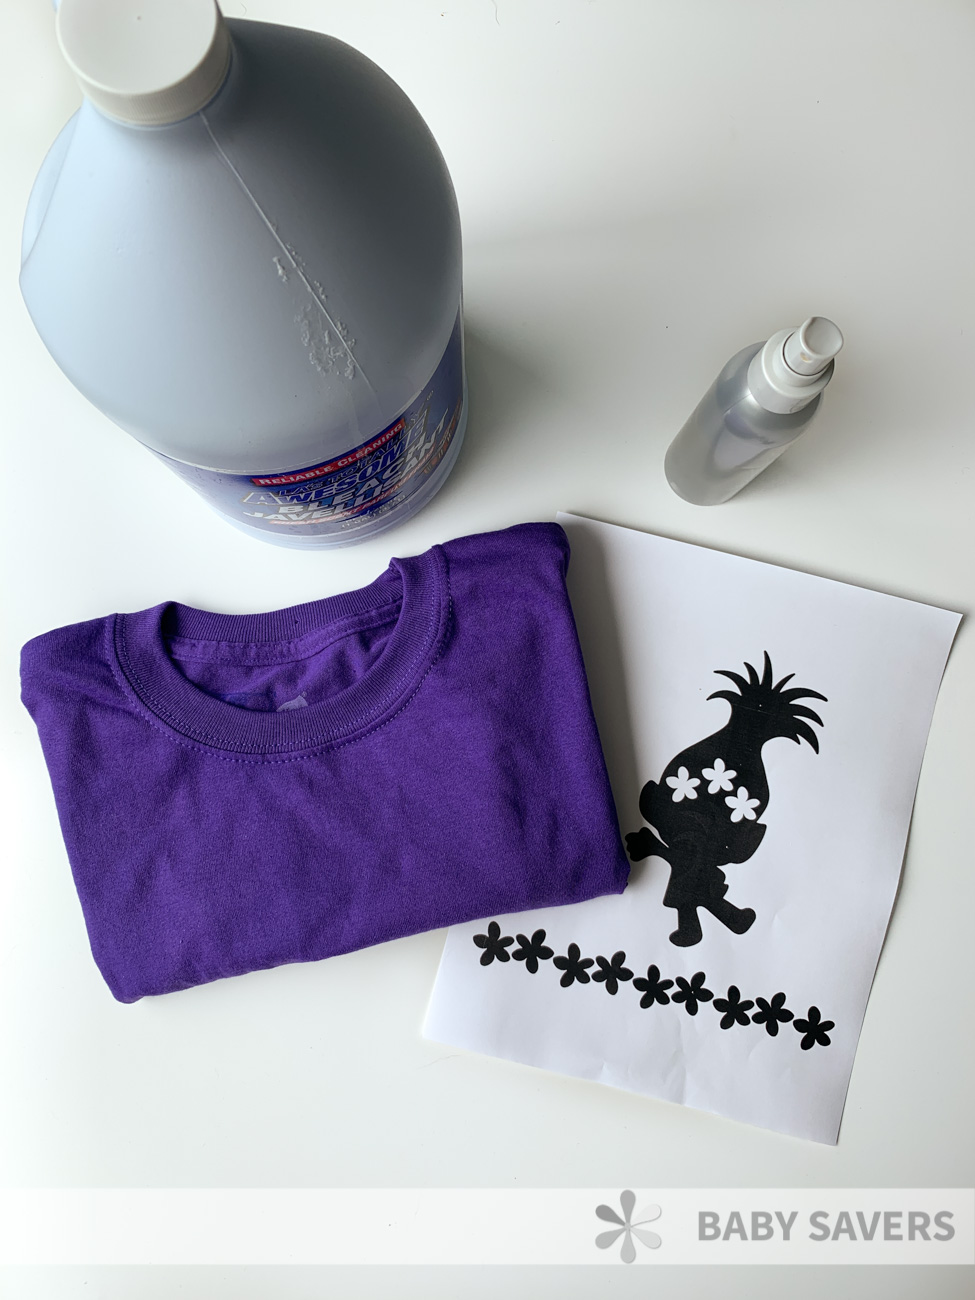
I love that you need very little by way of supplies and materials to reverse dye a shirt. Here’s what we used:
- Plain shirt
- cardboard
- bleach
- water
- spray bottle
Optional materials and supplies
- Sticker or cut out shape to bleach dye around
- Drop cloths to protect other surfaces
- Apron, gloves, goggles, etc.
- Paper towels
You can see that we used a cut out shape I made of Poppy with a chain of flowers underneath her. You can download that image here.
I cut my shape out of adhesive vinyl with my Cricut Explore Air 2, but there are several other methods you can use to fix the shape to the shirt.

What material should you use for your shapes when bleach dying?
I have 3 different methods you can use to adhere a shape to your shirt to bleach dye around. I can also tell you a few materials you shouldn’t use.
First, don’t use wax paper, parchment paper or copy paper when reverse dying. The bleach water will soak through and mess with your design.
Instead, try one of these ideas:
- Freezer paper: This is white paper with a waxy plastic backing. You can cut out your shape and iron it onto your shirt. The backing will melt and stick to the fabric, but it’s easy to peel off once it’s cool. The wax will also keep the bleach from soaking through.
- Contact paper: Spend $1 at the dollar store for a roll of adhesive “paper” sheeting that’s like one giant sticker. Cut your shape out of it, peel off the backing and stick it on the shirt.
- DIY “freezer paper”: You can try following these instructions for using a plastic shopping bag, paper and some fabric to make your own freezer paper.
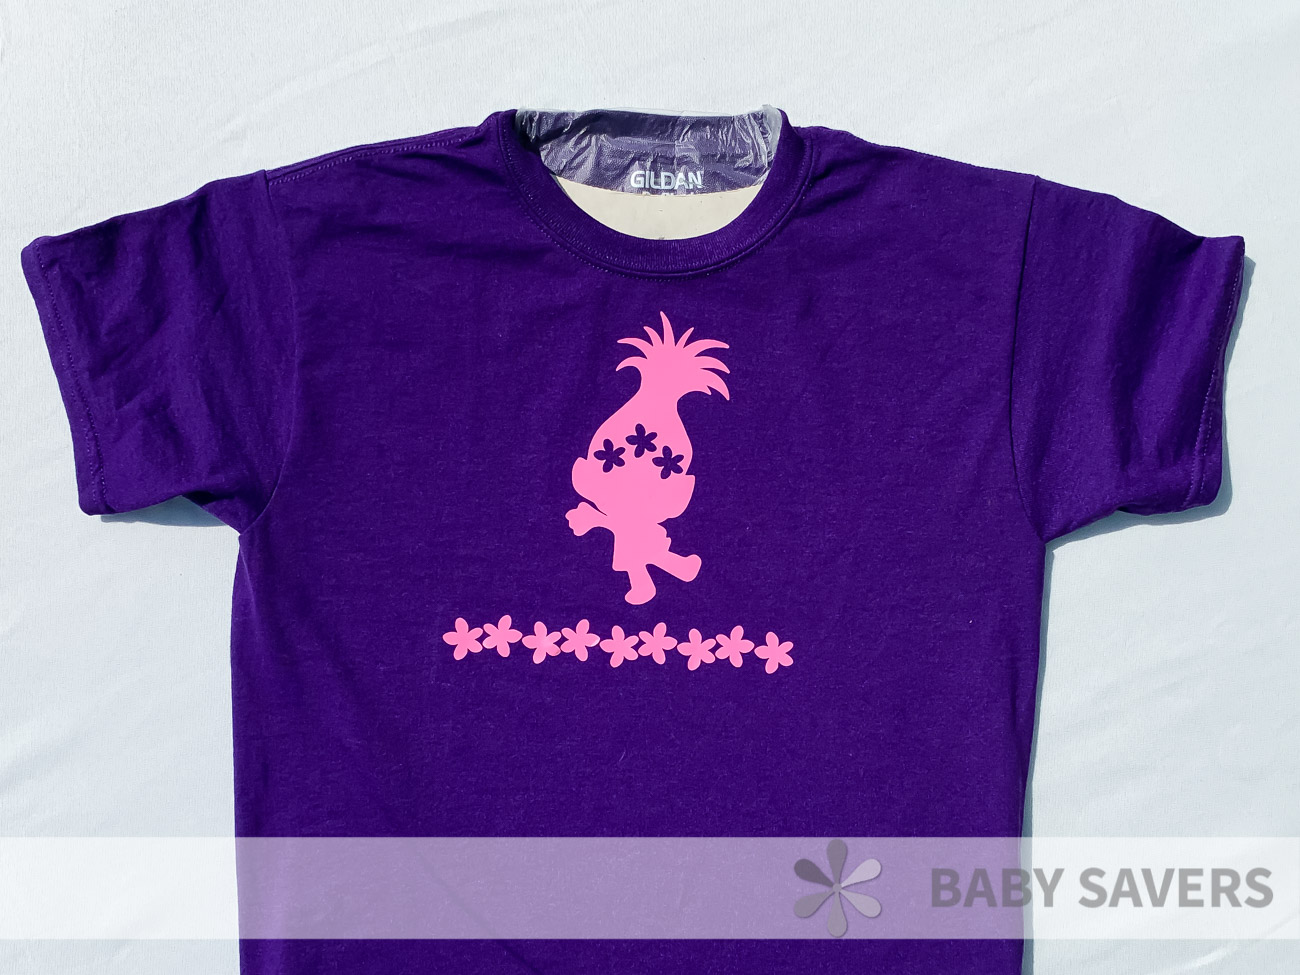
What to do before you start to reverse dye
There are a few things you should do before you start spraying your shirt.
First, wash the shirt in hot water. Many new fabrics have weird chemicals and coatings on them that repel water or prevent reactions to bleach.
Make sure your shirt is 100% dry before you start to reverse dye it. You can choose to iron it if you want an extra flat surface.
Second, protect yourself, clothes and surfaces. We stayed on the safe side by doing our bleaching outside. I put old tablecloth over the table and wore an apron.
Make sure it’s not too windy if you bleach dye outdoors. If it’s breezy, spray from the upwind side so the mist blows away from you.
Third, fill a second spray bottle with cold water or keep a bucket of cold water nearby. You’ll need it when the shirt gets to the color level you’re looking for.
How to bleach dye a shirt
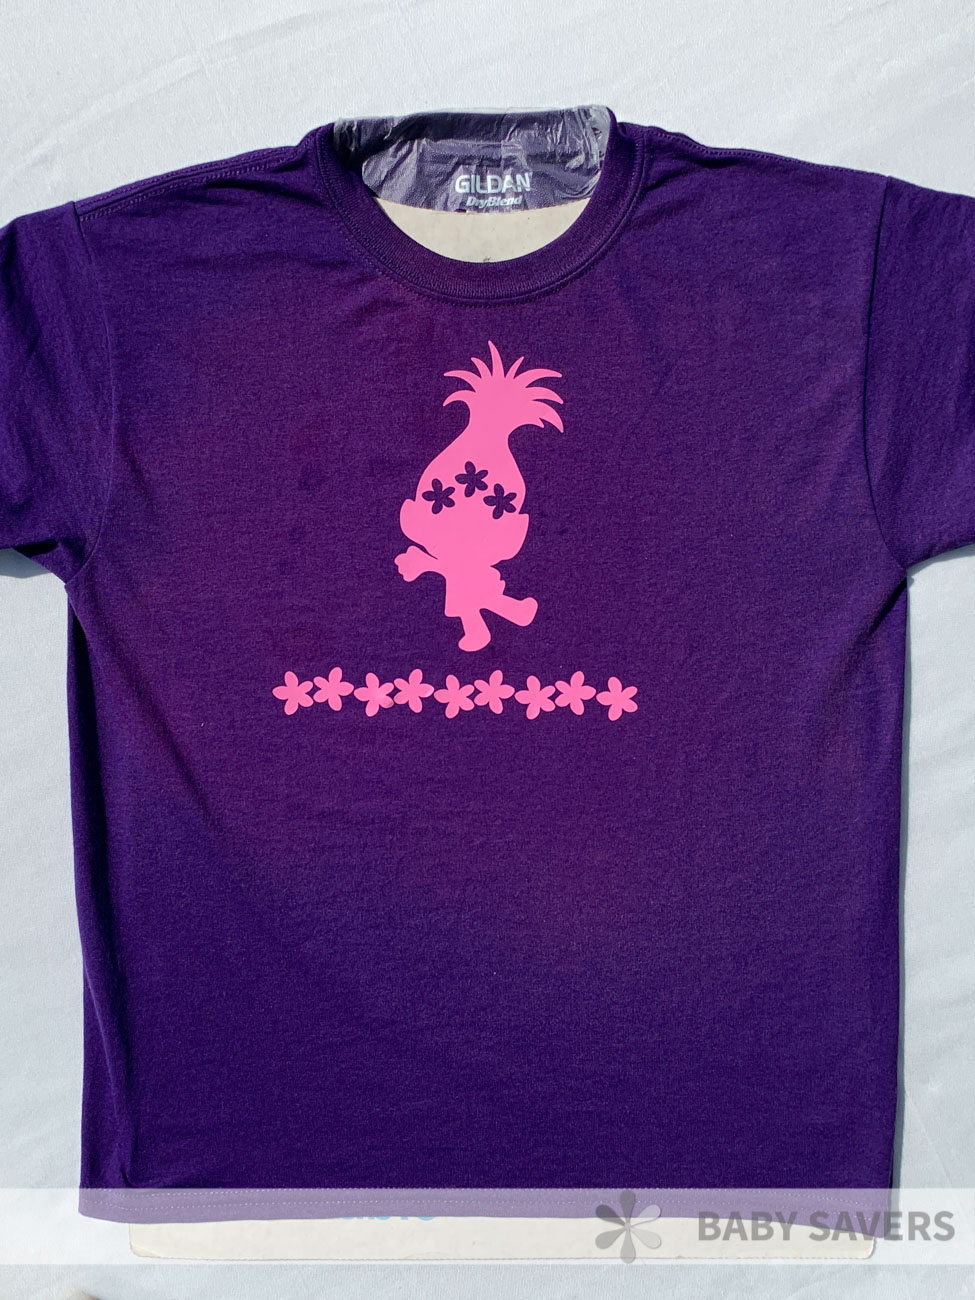
If you’ve never done something like this before, you’re going to be so excited over how easy it is!
This was the first time we reverse dyed anything, and now the kids and I are excited to do more! The possibilities are endless.
Here are the instructions for how to dye a shirt with bleach:
- Affix your shape to your shirt, then insert cardboard inside the shirt to prevent the bleach from soaking through to the other side.
- Fill a spray bottle with one part bleach, one part water.
- lightly spray the bleach water on and around your shape, slowly working outward. Wait 5-10 minutes to see the effects of the bleach, and spray more if you want to.
If the bleached areas aren’t as defined as you want them to be, add more bleach to your spray bottle to increase the concentration. Repeat step 3. - When the fabric reaches the desired color, Spray heavily with water or dunk the whole shirt (with the stickers still on it) into a bucket of cold water. This dilutes the chemicals and stops it from changing the colors of your shirt.
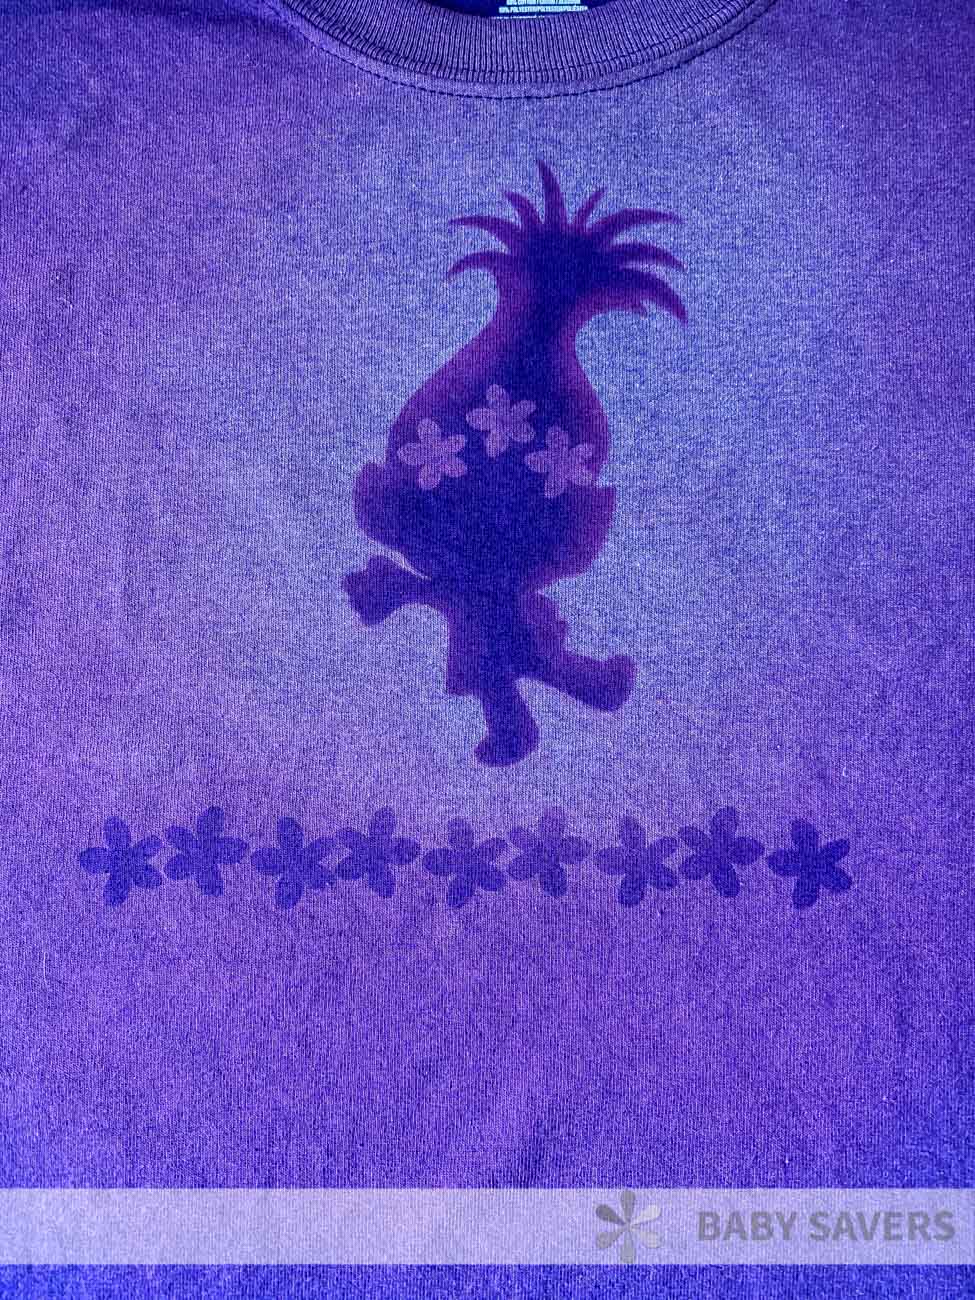
- Hang the shirt up to dry. Wait until it’s damp or dry to remove the stickers and see your work. Wash the finished shirt in cold water with laundry detergent to get rid of the last traces of bleach.
Here’s a video tutorial for how to bleach dye a shirt in 5 minutes!
Leave a Reply