I swear I’m never prepared for Christmas. I can’t remember a time when I didn’t feel totally frazzled during the holiday season.
I always promise myself that “next year” I’m not going to be running around on December 23rd picking up gifts.
I’m firm when I tell myself that I won’t blow my holiday budget at the last minute in order to make sure every person on my shopping list has a gift.
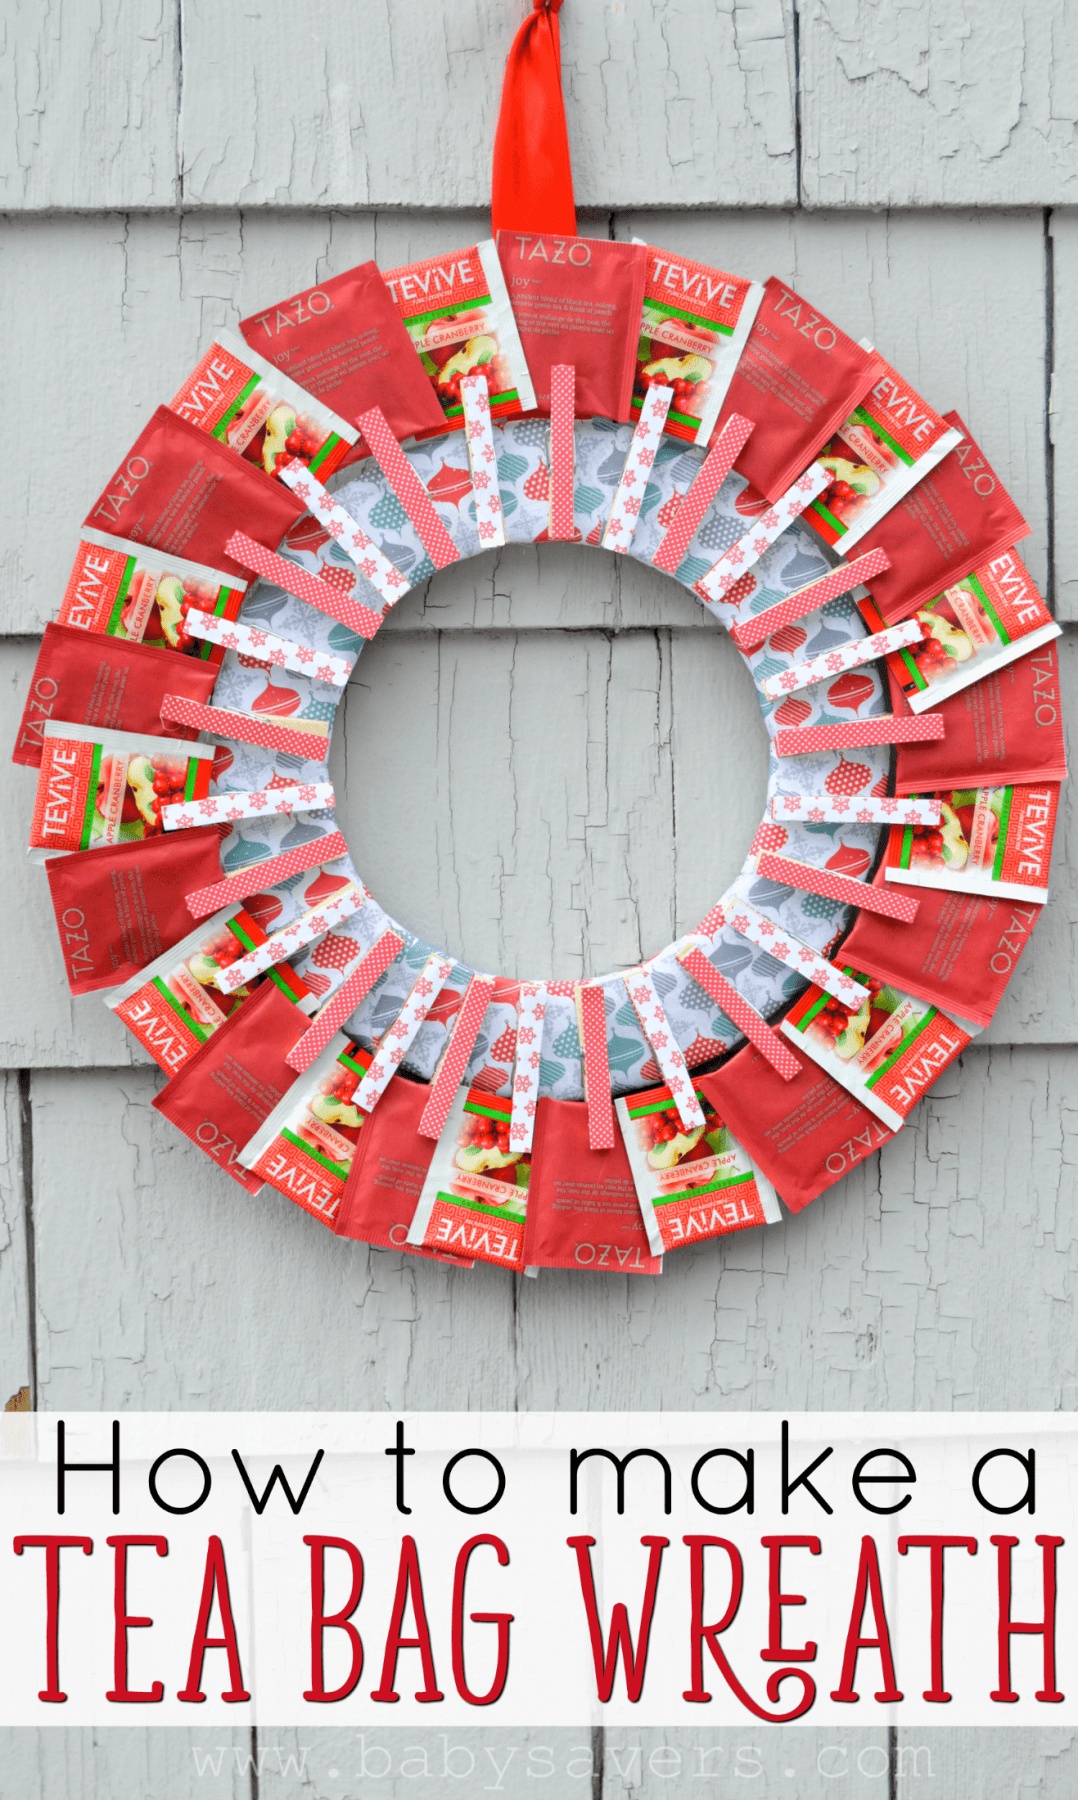
I also tell myself that “next year” I’m going to bake more Christmas cookies and do more holiday crafts. Well, this year I actually did a craft!
I’m excited to share with all of you, and I’ve even added it to my popular post of homemade Christmas wreath ideas!
Keep reading to learn how to make a tea bag wreath.
While I’m proud of myself for doing one craft this season, I’m desperate for some tips to help me feel the magic of the Christmas season instead of only feeling the stress of the hustle and bustle.
When I decided to share how to make a tea bag wreath I started gathering my materials. The craft supplies are budget-friendly, and you won’t have to deal with pointy pine needles!
One quick note before I start with the tea bag wreath instructions:
You might notice my craft ring in the pictures has a pattern on it. That’s because I tried to use several smaller sheets of cute paper on my first attempt at the wreath.
I’m not going to say smaller sheets of paper can’t work for your DIY tea bag wreath. I’m just going to say that mine looked terribly messy. Messy enough that I decided it was worth another trip to the craft store to buy a pad of 12″ scrapbook paper before starting over!
Remember, the whole point of this craft is to help make you feel better about the holiday season. So have fun while you’re doing it!
Pour yourself a mug of cocoa (or a glass of wine) and put together a Christmas charcuterie wreath to munch on while you get crafty.
How to Make a Tea Bag Wreath
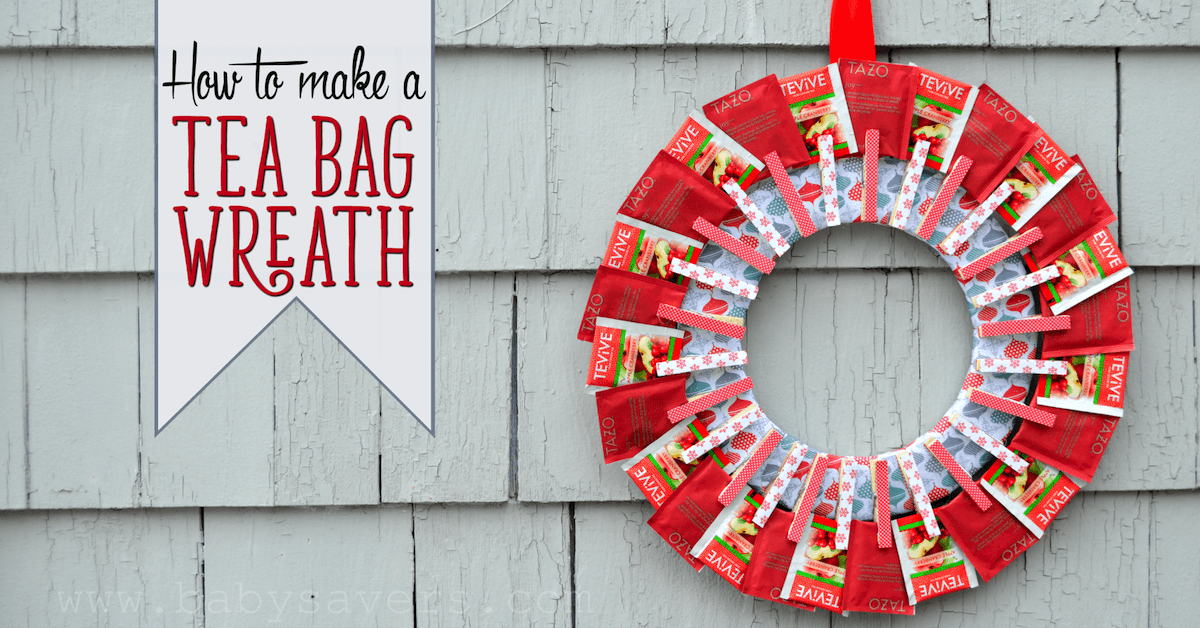
Tea bag wreath materials
- 1 12″ chipboard craft ring (or cut a circle out of thick cardboard)
- 2 12″ sheets of matching scrapbook paper
- 1 sheet of matching or coordinating scrapbook paper
- 24-36 clothespins
- 24-36 individually-wrapped tea bags
- Ribbon for hanging. I used 1.5″ satin ribbon.
- Hot glue gun
- Glue sticks for your glue gun
Tea bag wreath instructions
1. Cover your craft ring with patterned scrapbook paper.
Trace more than half of your craft ring onto the back of one sheet of paper, then add about an inch onto each side to give yourself a margin for gluing.
Do the same the the second sheet of paper. If your paper has a distinct pattern try to line up your designs before tracing and cutting.
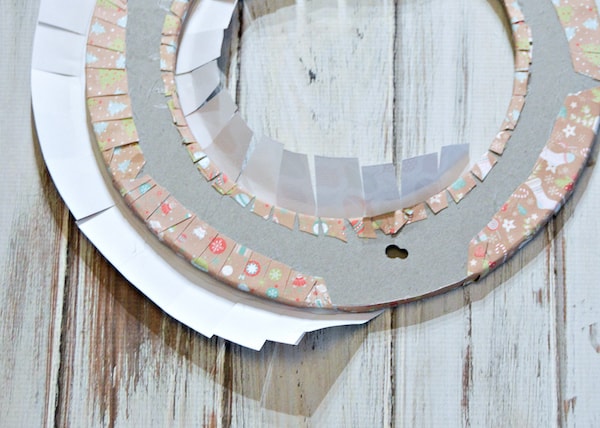
Cut along the margin of each sheet, then cut notches from the margin to your traced lines.
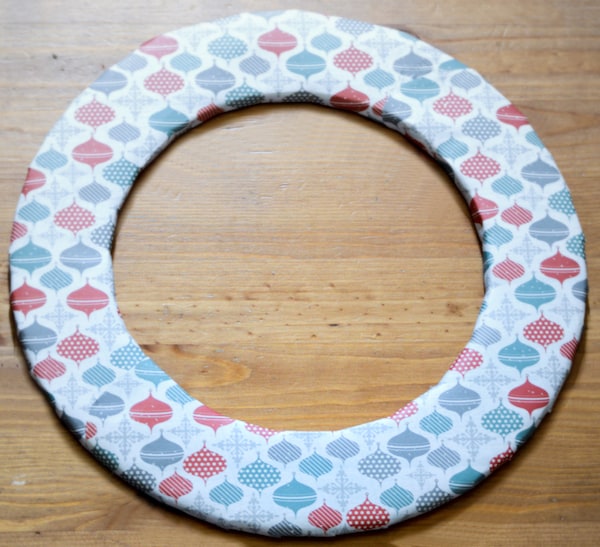
Use your glue gun to glue the paper onto the front of the ring, then glue down each flap on the back. This is probably the best way to cover a circle with paper 🙂
2. Cover your clothespins with coordinating scrapbook paper.
Trace a clothespin onto your coordinating scrapbook paper. I used two additional patterns, but you could use the same paper that you used to cover your craft ring or just one additional matching pattern. It’s your choice.
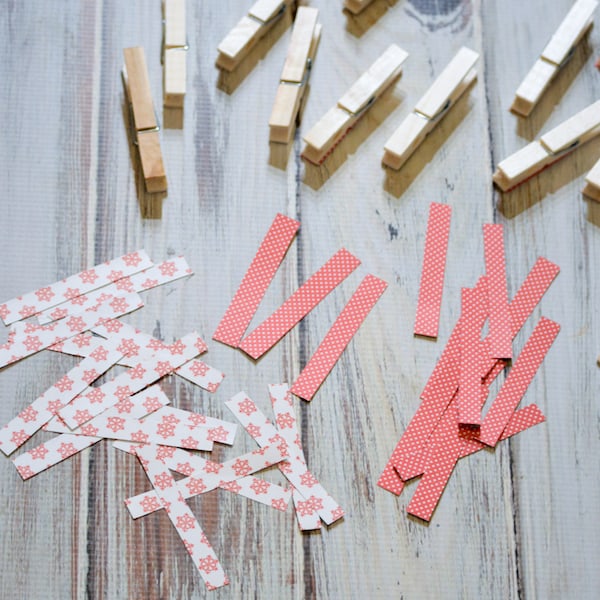
Then cut out enough strips to cover each of your clothespins. I used 26 clothespins on my tea bag wreath.
Use your glue gun to attach the paper to each clothespin.
3. Glue the clothespins to the wreath.
Glue the clothespins evenly around the covered ring with the clipped side out.
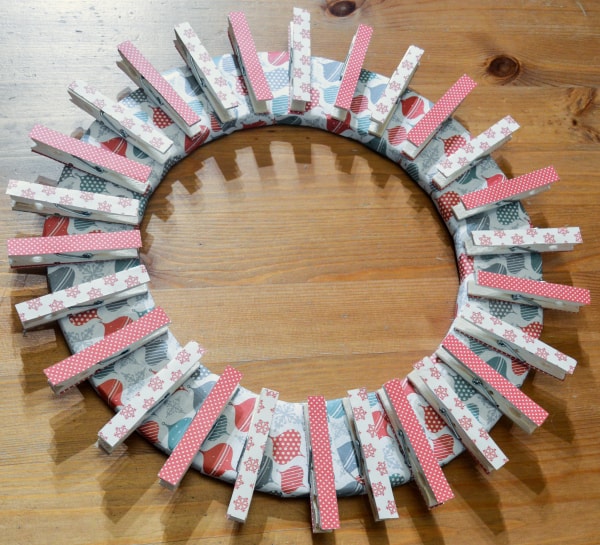
About halfway though the process I realized it would help to lightly mark where each clothespin should be. That definitely made the gluing less stressful!
4. Clip tea bags to the clothespins
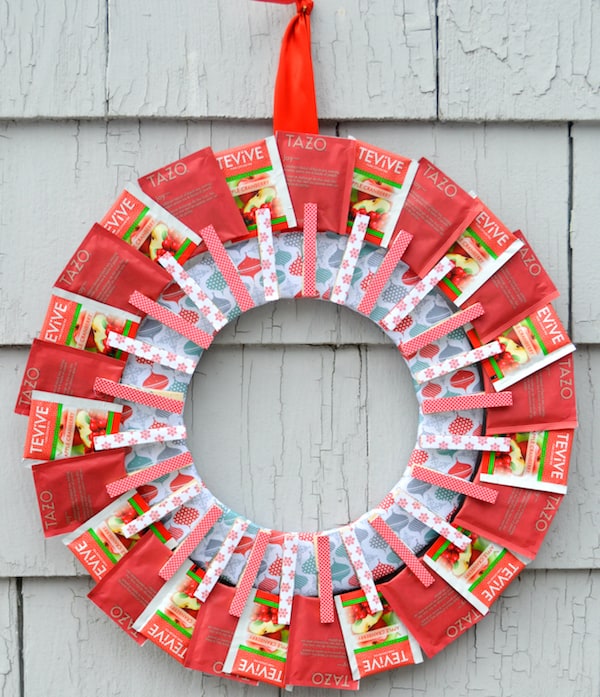
Clip one tea bag to each clothespin on your wreath in an overlapping pattern.
5. Attach your ribbon hanger
Loop about 12 inches of ribbon around and make a slipknot close to the ends. Put a dot of glue on the inside of the loop on the end opposite the knot, then glue that end to the back of your tea bag wreath.
Hang your wreath in a place where you can admire it all season!


Shelby Barone says
You are so creative!! I can’t wait to try making one with my kids.
Carolyn says
I really enjoyed making this wreath recently. Changed it up a bit and used material for the background and co-ordinating ribbon for the clothes pins. The ribbon width fits perfectly. Thank you for such a fun diy project!!