I’ve been sharing pumpkin stencils for a long time. The first one had over 700 pumpkin carving patterns to download, and I’ve added more since then!
Here are the rest of my pumpkin stencils:
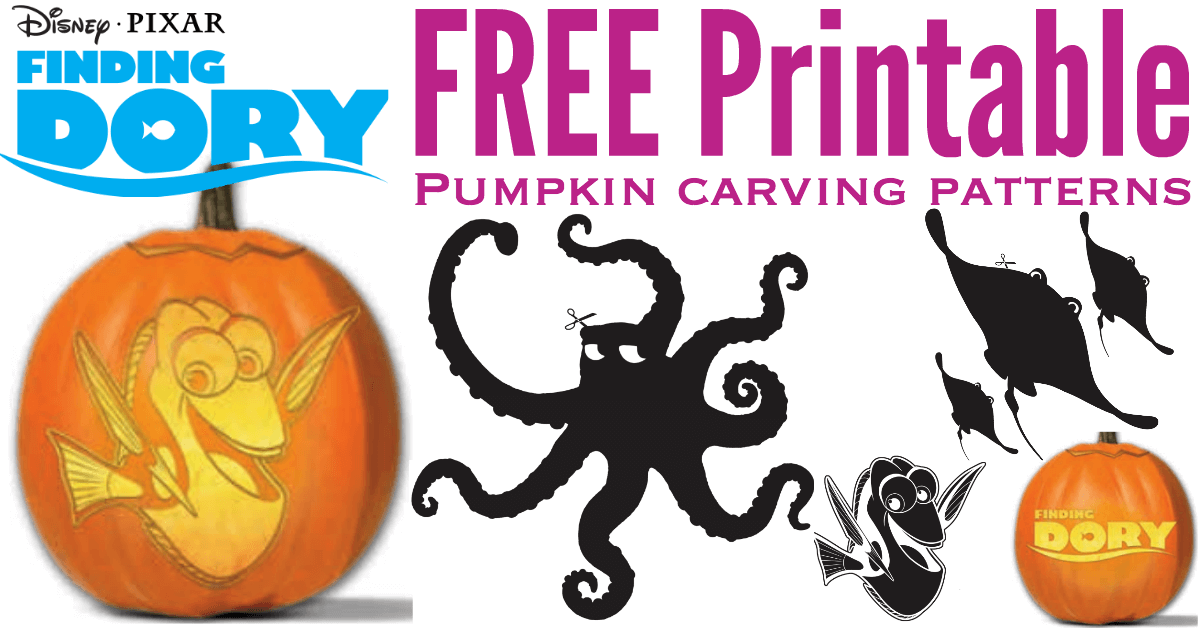
Finding Dory pumpkin carving patterns
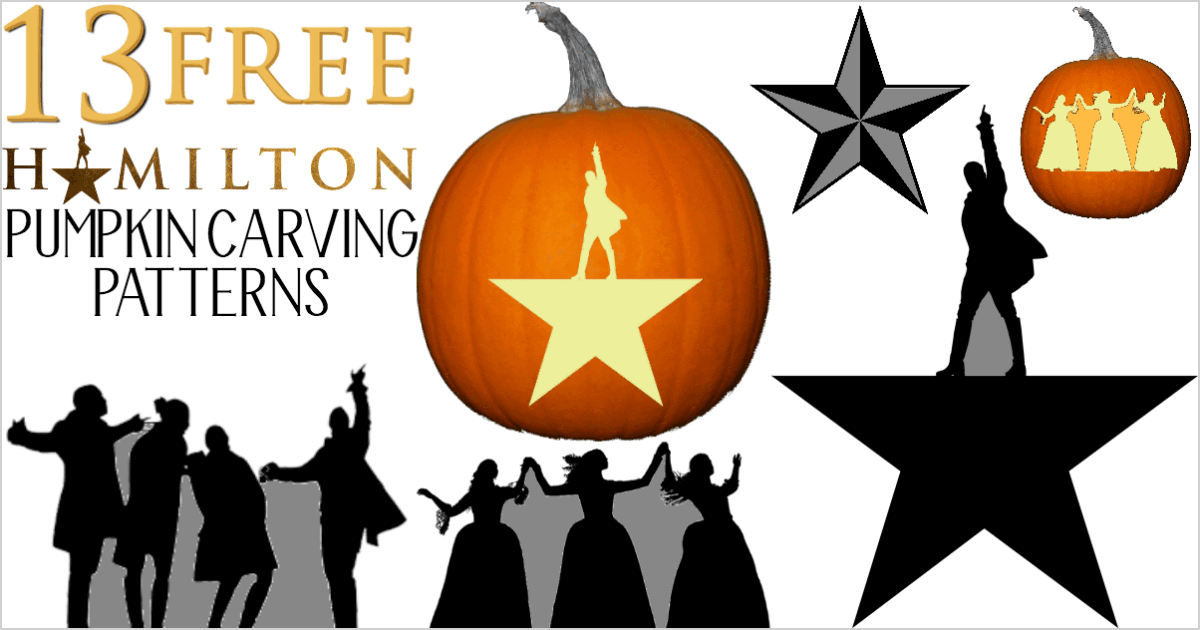
13 Hamilton pumpkin carving patterns
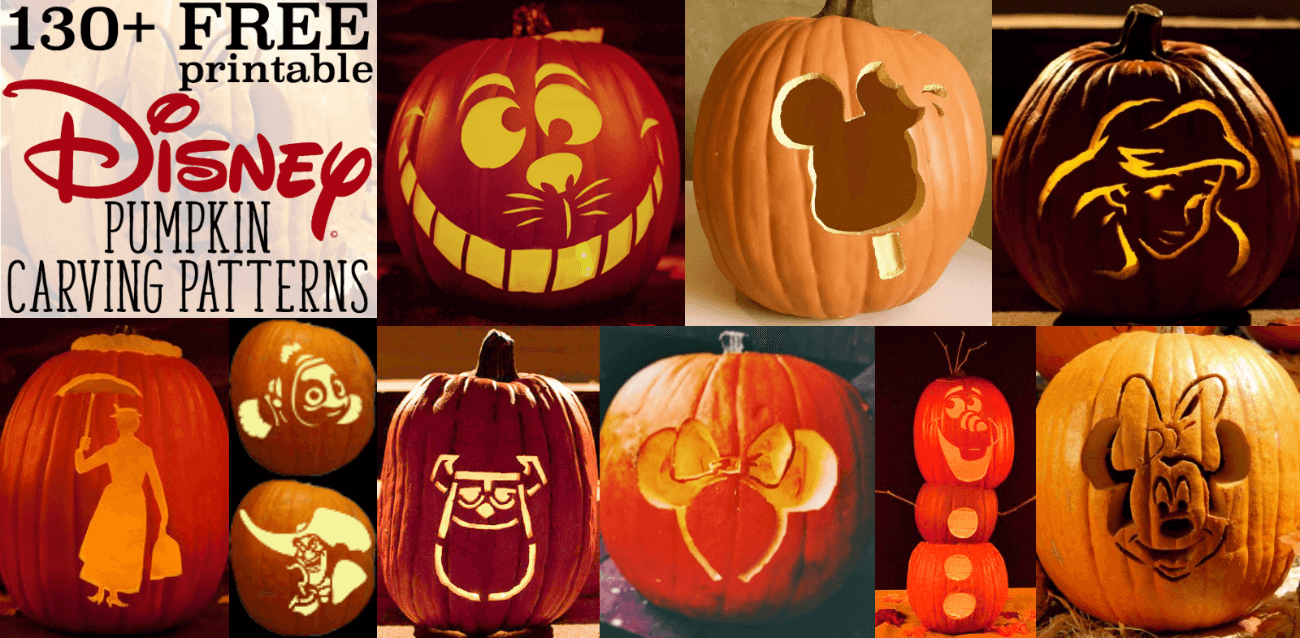
Over 150 Disney pumpkin stencils
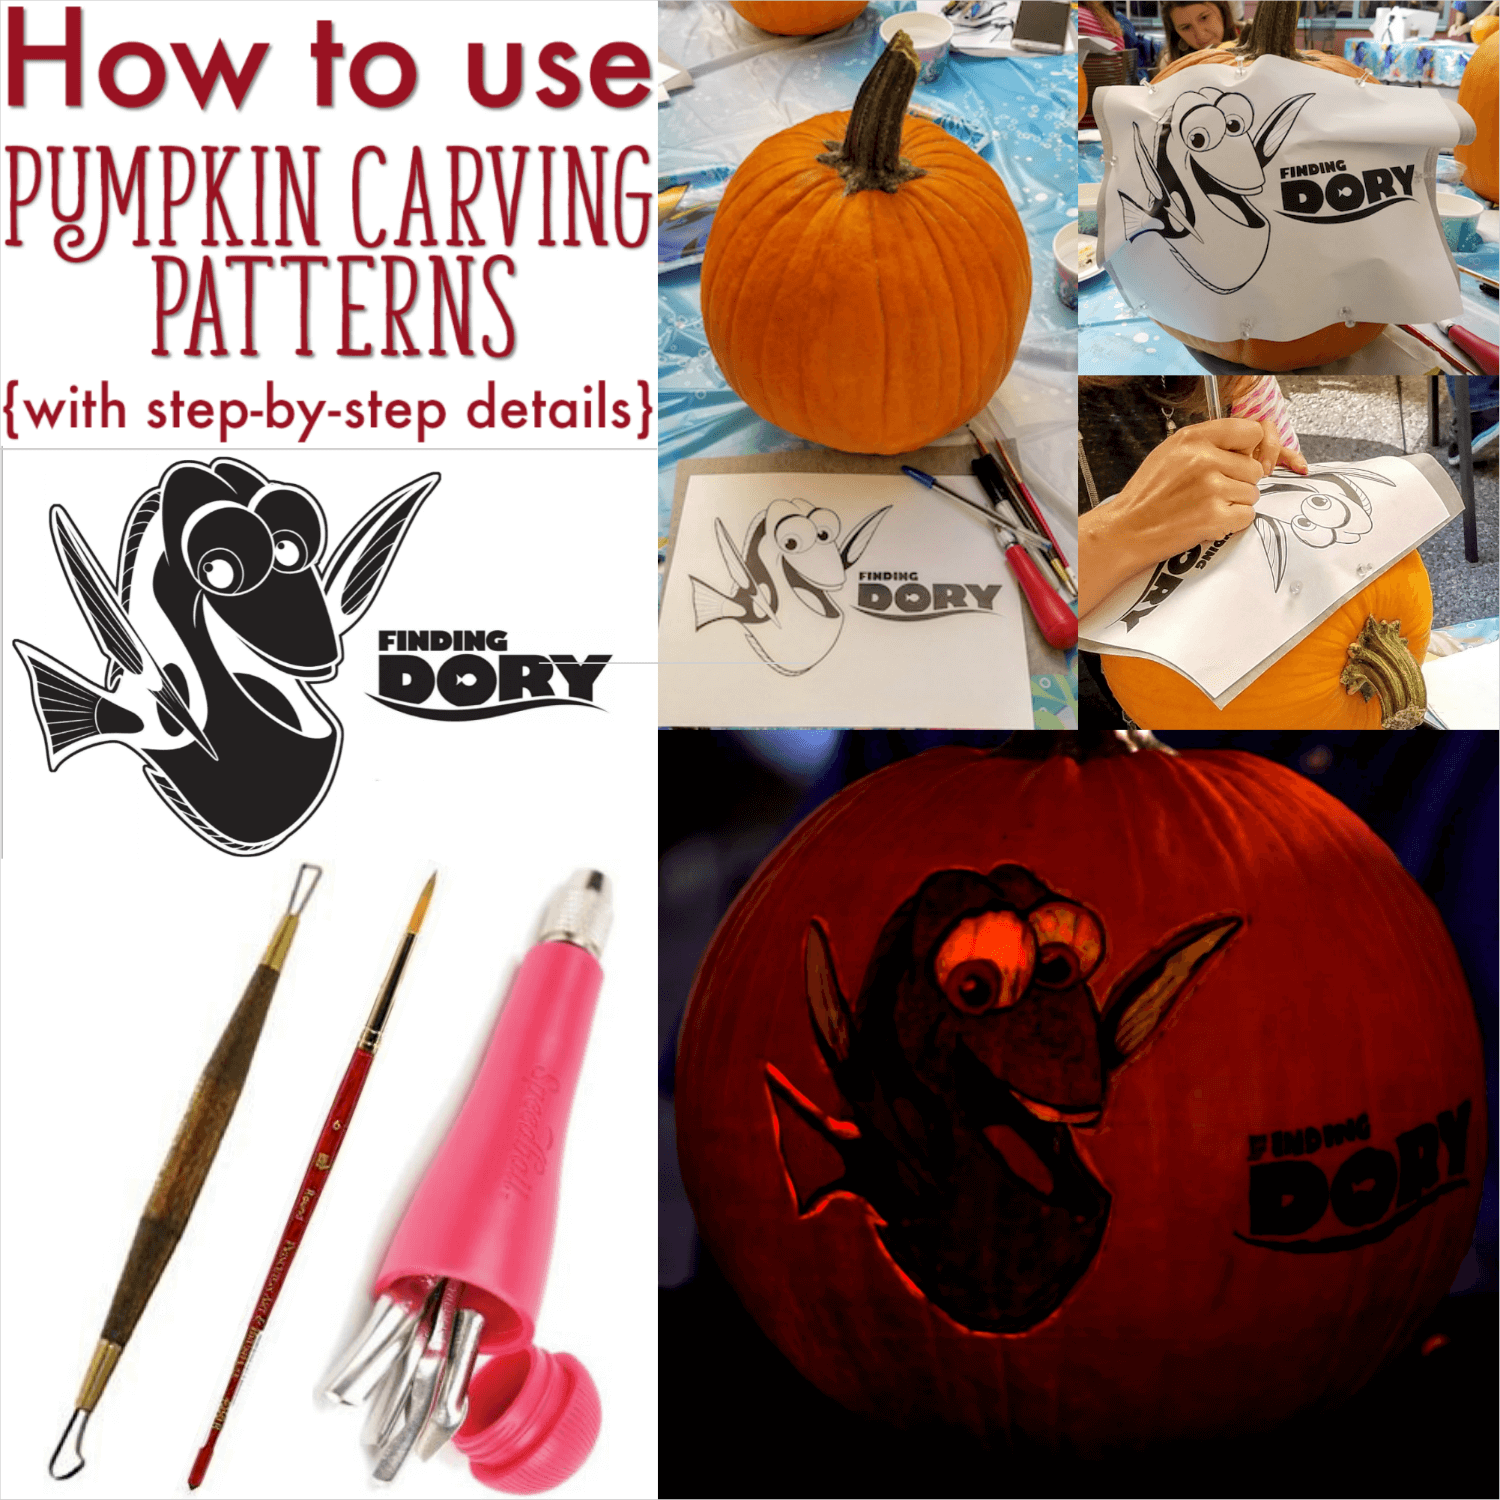
Each year, I get at least a few emails asking me how to use pumpkin carving patterns to actually carve the pumpkin.
I had the general idea down, but it wasn’t until I had a lesson from a master pumpkin carver that I actually understood how to use pumpkin carving patterns.
I was brought to the Walt Disney Studios in Burbank, California, to carve a Finding Dory pumpkin with Joseph Yakovetic. (Be sure to get your own Dory pumpkin stencils!)
Joseph Yakovetic is a master pumpkin carver who has partnered with Disney on a wide variety of projects, including a longtime engagement carving pumpkins for Disneyland.
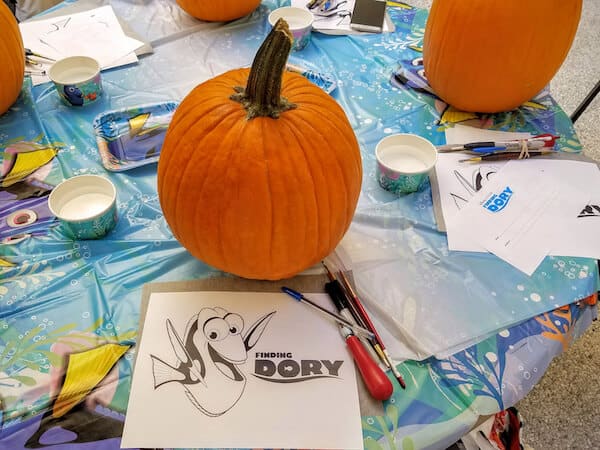
When we entered the courtyard at Disney Studios it was clear that we were there to carve pumpkins. Every seat at the table was set like this:
Then Yakovetic started giving us all sorts of tips for how to use pumpkin carving patterns and how to carve a pumpkin.
Pumpkin carving tip: wipe down the pumpkin with an antibacterial wipe. This protects the pumpkin from rot-inducing bacteria.
Pumpkin carving tip: The stem provides nutrients to the pumpkin even after it’s cut off the vine. If you cut around the stem to clean out the inside of the pumpkin, you’re cutting off its nutrition. Cutting around the stem kills the pumpkin!
Pumpkin carving tip: Instead of cutting around the stem, cut a rectangular “door” in the back. This makes it easy to clean out and makes it easy to light.
Cutting out of the back makes it easy to light the pumpkin for a few reasons. First, you can position a small battery-operated light so much easier than if you’re trying to drop it in the top.
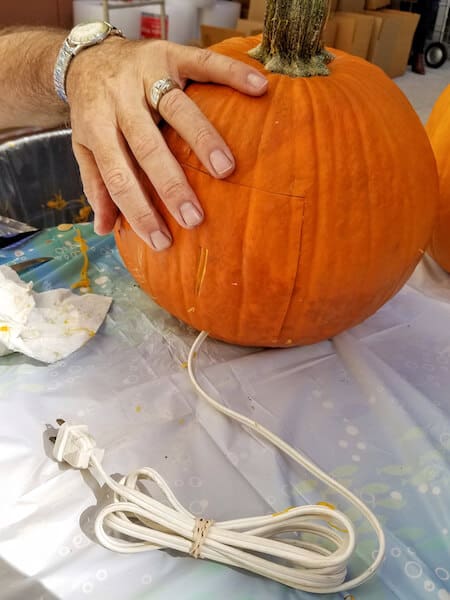
Second, you can actually light your pumpkin with a bulb. Just cut a little notch out for the cord and use this corded light socket. You’ll get a much brighter light, making your design shine so much brighter!
Pumpkin carving tip: The master pumpkin carver said the easiest way to clean out a pumpkin is to use an old CD.
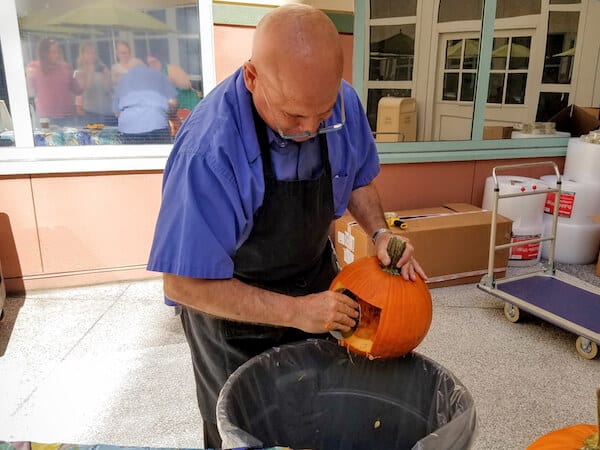
He demonstrated how to use the CD as a tool to scrape out the pumpkin. It took him all of 30 seconds to get the inside of the pumpkin totally clean!
When we started carving our own pumpkins, I was surprised to learn that I wouldn’t be scooping or cleaning it out at all. All the work I needed to do could be done without gutting it.
This was especially important because Disney shipped my pumpkin to my home. It could have been easily crushed when shipping if the inside was hollow.
Pumpkin carving tip: If you need to transport your pumpkin, do the carving first and clean out the inside when you arrive.
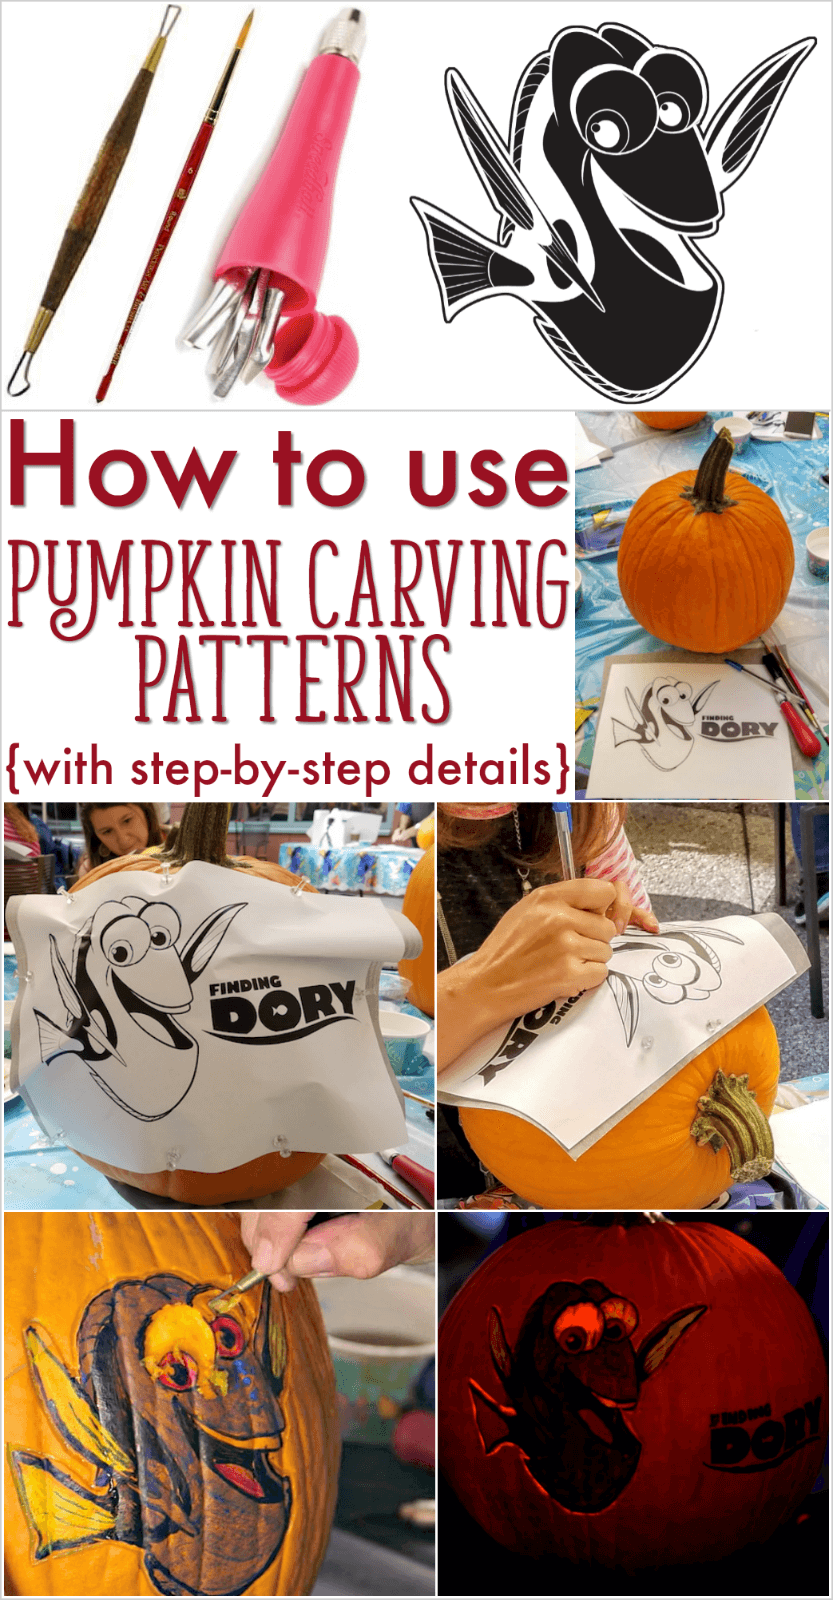
How to use a pumpkin carving pattern
Yankovic then explained the best tools for using pumpkin carving patterns. Hint: they don’t include a pumpkin carving kit!
The master pumpkin carver gave us each a little bundle with some tools. Our table was also set with more items to share. Here’s what had when we learned how to use pumpkin carving patterns:
- one of the pumpkin carving patterns of your choice
- a small, pointed serrated knife
- push pins
- graphite transfer paper (we used this grey graphite paper but Yankovic said that white is clean and it works very well, too)
- a sharpie
- this Kemper #8R5 ribbon tool
- a ballpoint pen
- a Speedball linoleum cutter
- a Princeton Art & Brush (PAB) #6 round paintbrush. Buy one for $6 or get a 5-brush set for $10.
- Acrylic paints
Once you have all your materials you’re ready to get started using your pumpkin carving pattern.
How to use a pumpkin carving pattern
1. Use your serrated knife to cut a rectangle in the back of your pumpkin, then scoop out the inside with an old CD.
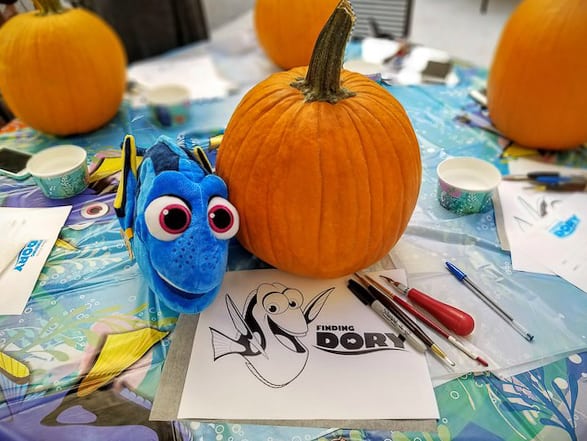
2. Place your pumpkin carving pattern on top of your graphite transfer paper and pin it onto your pumpkin. I started with mine looking like this:
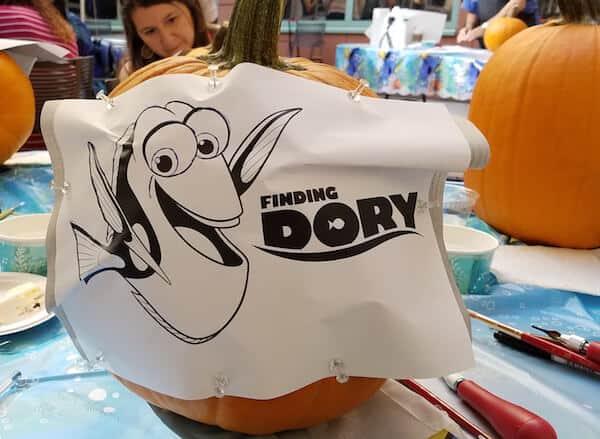
But I added quite a few more pins as I worked through step #3.
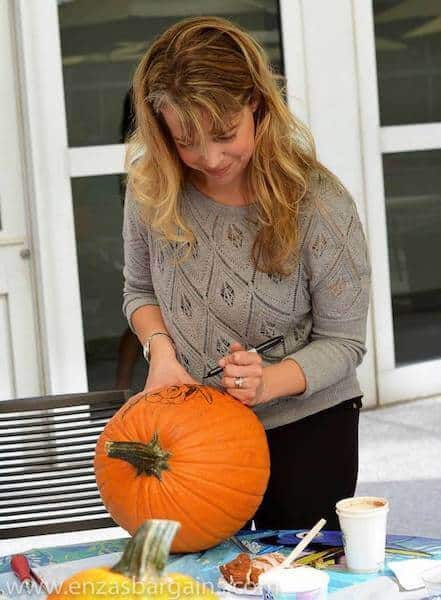
3. Draw over the pattern with the ballpoint pen. You don’t need to do any filling in now, but make sure you get all the lines.
4. Remove the pattern and transfer paper. Go over all the lines with the Sharpie.
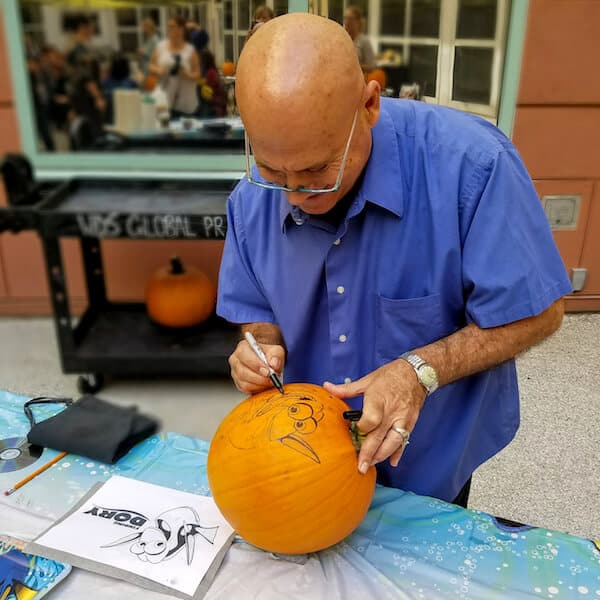
4. Fill in all the black areas with your sharpie.
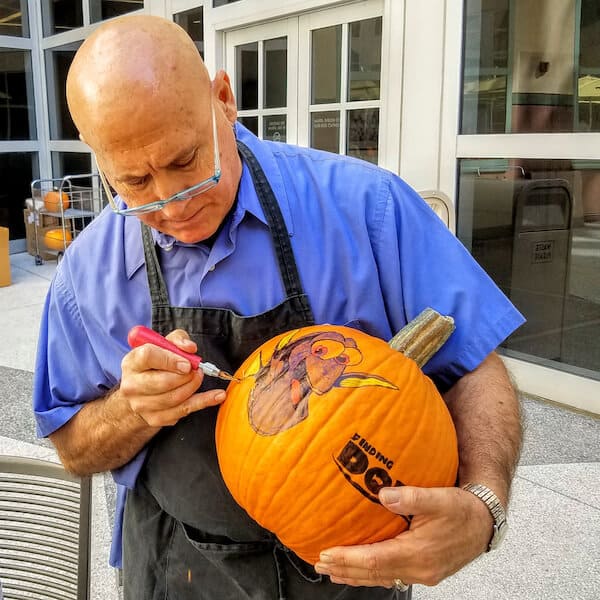
5. Use your acrylic paint and paintbrush to paint the areas that you want painted. I actually used the Finding Dory plate and tablecloth as my guide for the sections to paint on my pumpkin.
6. Use the linoleum cutter to go around the outside of the image, plus any other areas you want defined. It only takes a thin layer off the skin, but it’s enough to let light shine through from inside the pumpkin.
7. Scoop out bigger areas of the pumpkin skin using the ribbon tool. This is good for areas that you want to appear bright or white without cutting a hole.
8. Use your serrated knife to carve out the pieces of the pumpkin where you want holes.
This is what my pumpkin looked like when it was done:
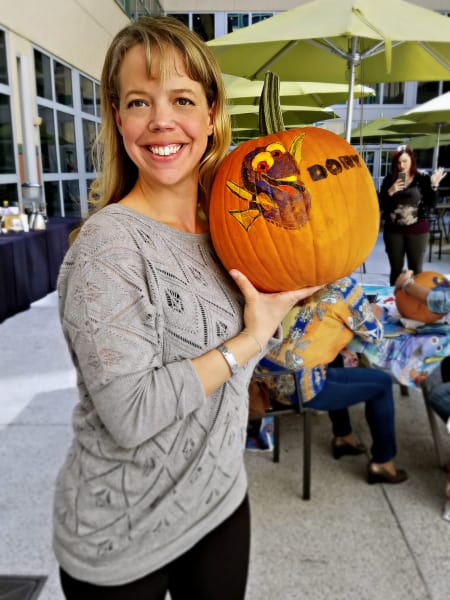
Thanks to Enza from EnzasBargains.com for the photo!
Check out the video for how to carve a Dory pumpkin straight from the master pumpkin carver:
Share this article about how to use pumpkin carving patterns by saving it on Pinterest! Just hover your mouse over the image below and click on the red SAVE button.
Finding Dory is available digital HD NOW and on Blu-ray and DVD on November 15th. You can pre-order the title today and it will be available on the release date!
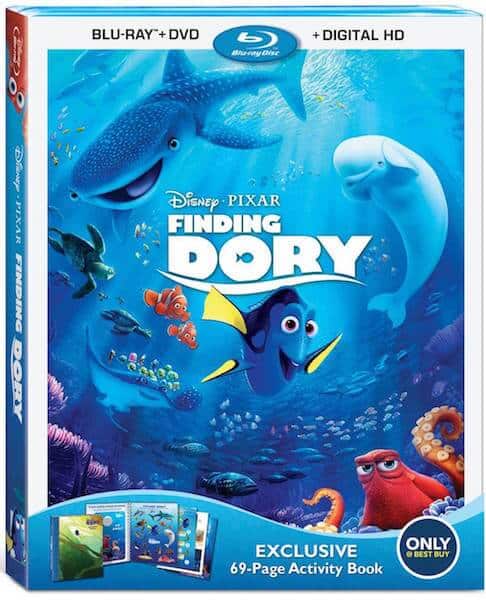
About Finding Dory
From the Academy Award®–winning creators of Disney•Pixar’s “Finding Nemo” (Best Animated Feature, 2003) comes an epic undersea adventure filled with imagination, humor and heart.
When Dory, the forgetful blue tang (Ellen DeGeneres), suddenly remembers she has a family who may be looking for her, she, Marlin (Albert Brooks) and Nemo (Hayden Rolence) take off on a life-changing quest to find them … with help from Hank, a cantankerous octopus; Bailey, a beluga whale who’s convinced his biological sonar skills are on the fritz; and Destiny, a nearsighted whale shark.
Directed by Andrew Stanton and co-directed by Angus MacLane, the film is produced by Lindsey Collins and executive produced by John Lasseter. Victoria Strouse wrote the script with Stanton.
Veteran composer and longtime Stanton collaborator Thomas Newman created the film’s music score and singer-songwriter Sia performs the film’s end-credit song, “Unforgettable.”
Order Finding Dory on Blu-ray, DVD and digital HD today!
Disclosure: Disney, Marvel, and Freeform flew me to LA and covered most expenses for this press junket. All opinions are my own.
enamul Paul says
I am not exactly a pro at carving pumpkins. I may have to attempt a couple of these those