This easy (really!) pita bread recipe is sure to please your entire family, even picky toddlers!
If you’ve only tried the pita bread from your grocery store, I can assure you that this bread only bears a tiny resemblance to the dry, bland product you’ve tasted. Each time I finish making a batch of these pitas, I’m amazed at how easy and delicious it is.
This recipe makes a soft, light and yeasty bread that bubbles up to form “pockets” inside. When you slice the bread in half, you can stuff it with a huge variety of fillings. Believe me, toddlers and little kids think it’s super-fun to have a “pocket sandwich” filled with peanut butter & jelly or their favorite cheese. Both of my kiddos are also big fans of this bread with homemade hummus (another picky kid shocker!).
Personally, I love to eat these pitas warm with Crazy Feta or hummus. Once cooled, they’re the perfect bread to make any sandwich a bit more interesting. This pita bread is excellent when stuffed with tuna salad or egg salad; it’s so much neater than eating the same thing between two slices of bread!
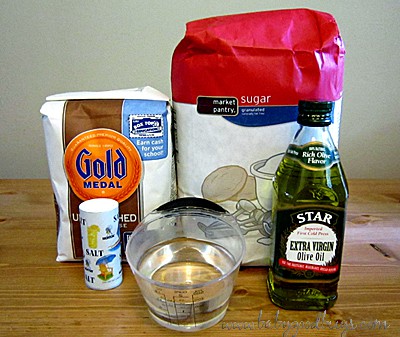
I make the dough in my bread machine. It’s a fabulous, no-fuss way to get most of the process out of the way without doing much work 🙂 I picked up my brand-new Sunbeam Breadmaker (similar to this one)at a garage sale for $1. It was a fabulous find, but even at a $55 price tag it’s worth the price.
If you don’t have a bread machine, just mix the ingredients together in a bowl, then knead till smooth and elastic (about 10 minutes). Let rise for 1.5 hours in a warm place then jump back in at the part where we turn the dough onto a floured surface.
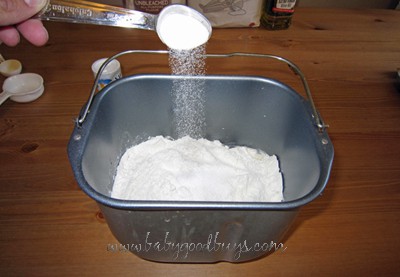
Set your machine to the Dough cycle and let it run. My cycle takes 90 minutes.
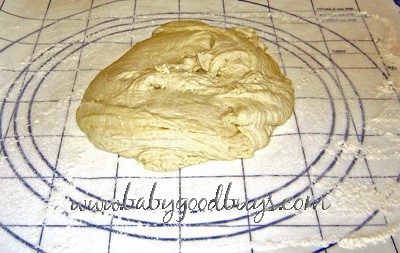
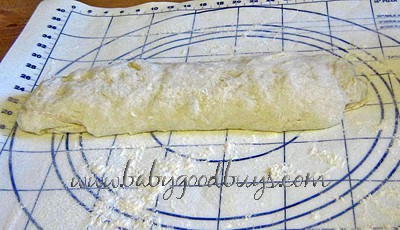
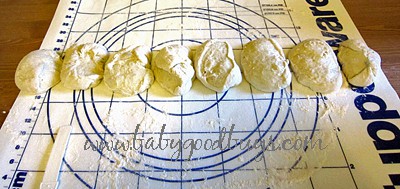
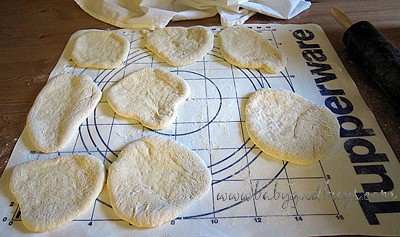
You might as well start preheating your oven at 500 degrees now. It will likely take 30 minutes to get to that high of a temperature!
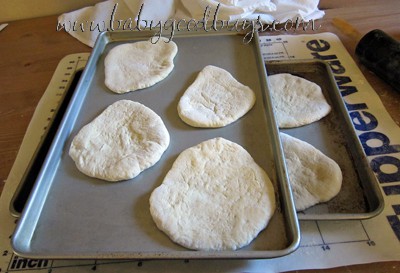
Put one sheet into your preheated oven and quickly close the door. At this high of a temperature, every degree matters!
Take a peek at your dough after 4 minutes. You’ll know it’s done when it’s very puffy and lightly browned. This shouldn’t take more than 6 minutes, tops.
When they’re done, you can transfer them to a wire rack to cool, but they’ll end up a little dry on the outside. I like to put the hot pita bread directly into a paper bag and roll it down. That will keep them nice and soft.
If you don’t want to eat them all at once, store them in an airtight container or plastic bag in the refrigerator for a few days, or they can be frozen for up to two months.
Enjoy!
Easy Homemade Pita Bread
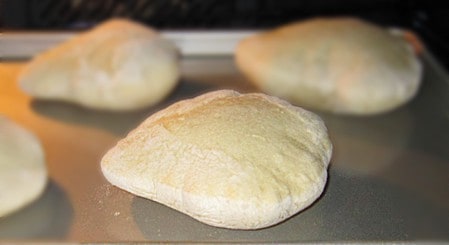
Easy and delicious pita bread recipe that anyone can make!
Ingredients
- 1 cup + 2 Tablespoons warm water
- 3 cups all-purpose flour
- 1 teaspoon salt
- 1 tablespoon olive oil
- 1 1/2 teaspoons white sugar
- 1 1/2 teaspoons active dry yeast
Instructions
Place all ingredients in bread pan of your bread machine, select Dough setting and run through the cycle.
Turn dough onto a lightly floured surface. Gently shape dough into a 12 inch log.
Divide dough into 8 pieces of equal size
Use a rolling pin to roll each ball into a 6 inch circle. When all circles are made, cover them with a tea towel and let rise for 30 minutes until slightly puffy along the edges.
Preheat oven to 500 degrees F (260 degrees C).
Place up to four dough circles on an ungreased cookie sheet.
Bake pitas 4 to 6 minutes until puffy and just starting to brown.
Remove from oven and cool on a wire rack or in a paper bag.
Notes
If you don't have a bread machine, you can still use this recipe! Just mix all the ingredients together, then knead until dough is soft and elastic (about 10 minutes). Cover the dough and let it rise for 1.5 hours, then proceed to turning the dough out onto a lightly-floured surface. Store pitas in a sealed bag or container in the refrigerator for several days, or up to two months in the freezer.
Nutrition Information:
Yield:
8Serving Size:
1Amount Per Serving: Calories: 191Total Fat: 2gSaturated Fat: 0gTrans Fat: 0gUnsaturated Fat: 2gCholesterol: 0mgSodium: 266mgCarbohydrates: 37gFiber: 1gSugar: 1gProtein: 5g

Nichol says
Yum we love pita bread for all sorts of things:)
Jaycie says
This looks so easy that I think I’m going to have to try this soon. Thanks, Marybeth!
Have you ever made these with whole wheat flour? Just wondering if anything would need to be switched for that variation.
Stefani says
I so want to make some of these. I have been wanting to try to make my own bread for a long time. Now I am waiting for it to cool off because it is too hot to turn on the oven.
Marybeth Hamilton says
Jaycie, I’ve never made these with whole wheat flour but I definitely want to try it someday. I’ll definitely write about it if I switch up the recipe!
Louise says
Wow that looks so yummy and easy to make
Donna says
I have a confession – I’ve never made homemade bread before. I’d love to try this (especially a whole wheat version). Now if I could find me a bread-maker for a $1, I’d be ready to roll. (pun intended) 🙂
Jasmine says
Thank you this recipe came out perfect!
Marybeth Hamilton says
You’re welcome!
Lou says
mine came out hard and dense. Any suggestions what i might have done wrong? they look the same from the photos at each step. thanks