Puffy paint is such a fun and crafty activity for kids. Knowing that you can mix up a puffy paint recipe in minutes at home with just a few common ingredients makes it even better!
I’m going to share the best DIY puffy paint recipe. Why is it the best? Because it dries AND stays puffy!
What is puffy paint?
Puffy paint looks like a thick, airy paint-like substance. that can be made in different colors. It can be spread or squeezed onto various surfaces for unique artwork.
There are several different ways to do this, and I’ll cover the different ways to get your homemade puff paint from the bowl onto paper, cardboard or another surface.
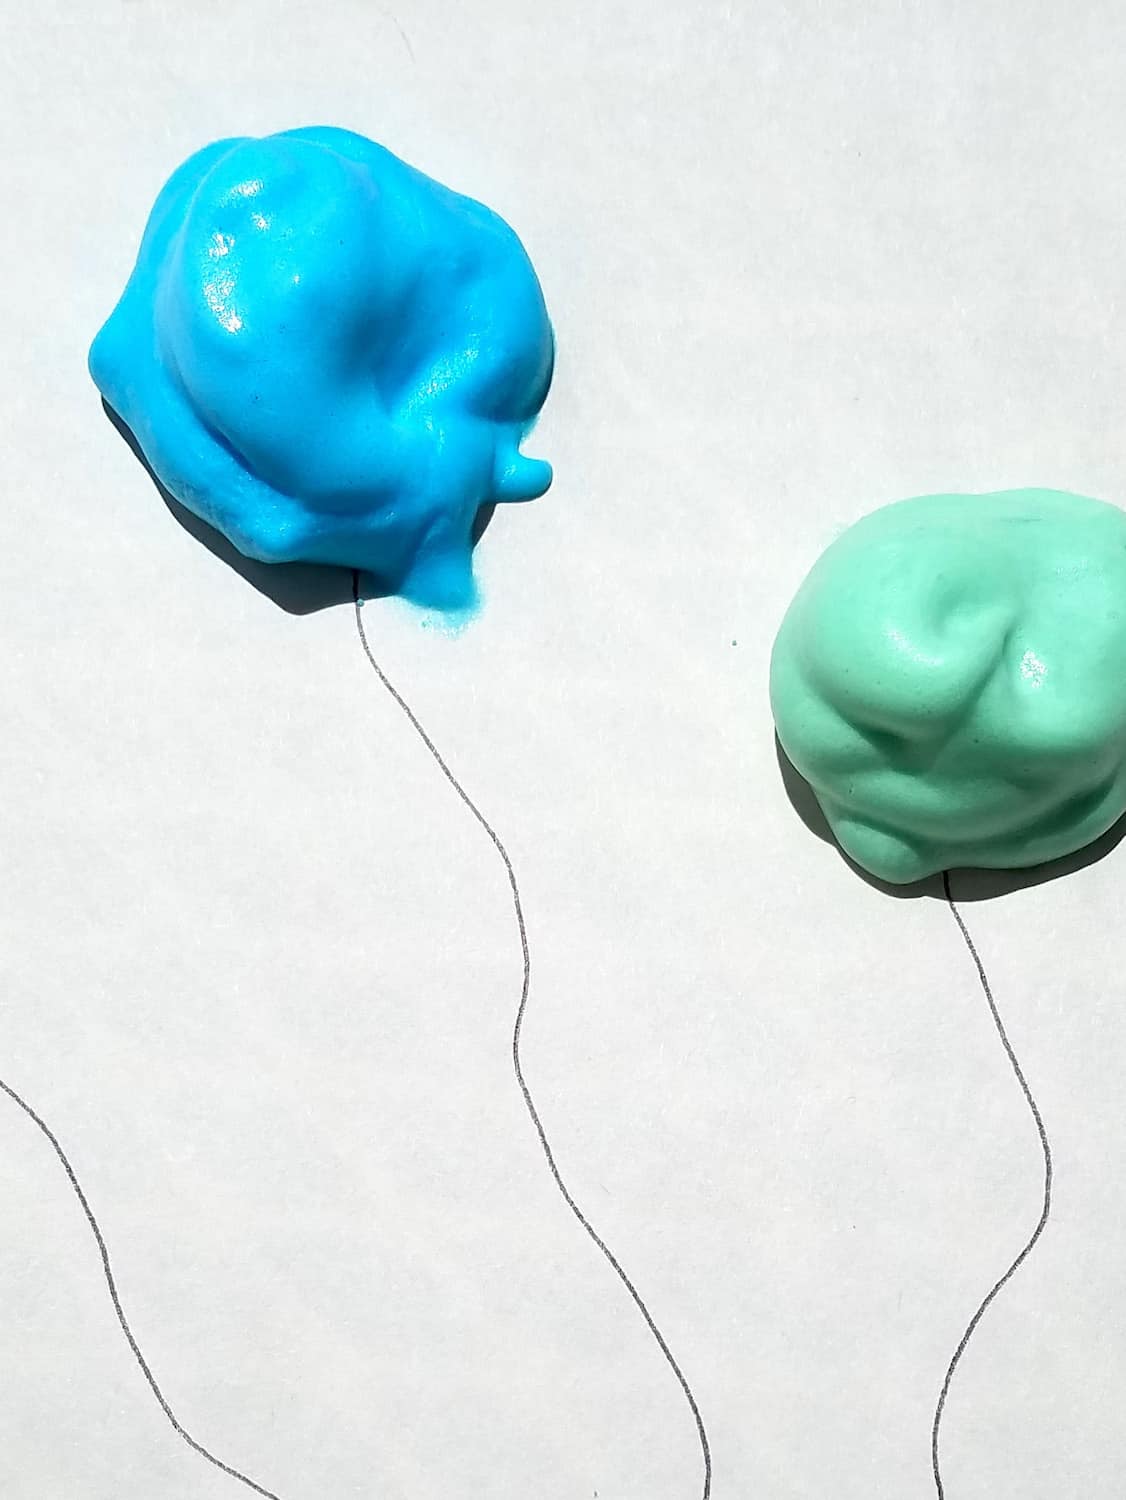
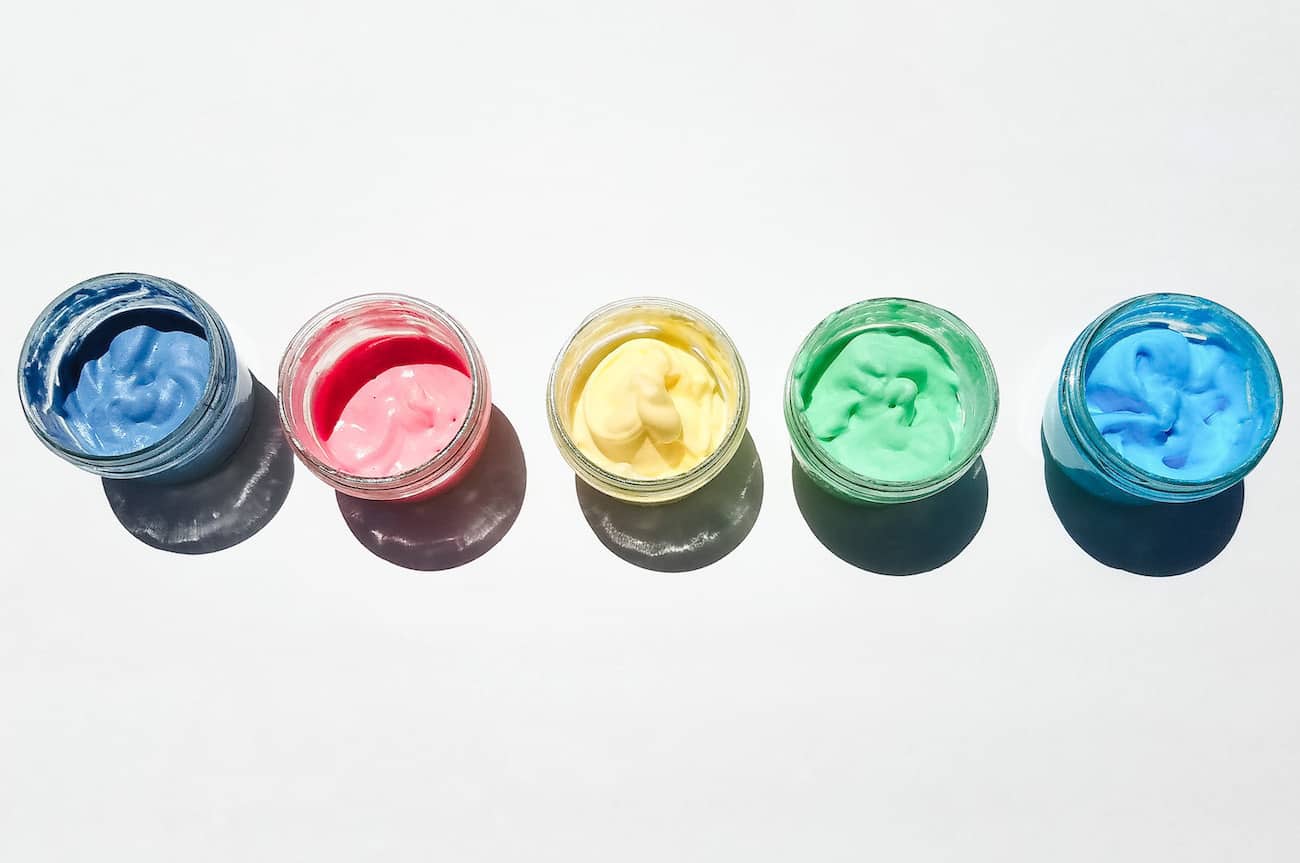
The best part about puffy paint is that it stays expanded and puffed up as it dries, making the artwork three-dimensional and cloud like. Each different color can stand alone or be blended into others.
Commercial puffy paint (the kind you can buy in a store) is almost always made to be used only on fabric. But this DIY puffy paint is made to be used on paper or any other surface you could paint on.
FYI, puffy paint can also be called foam paint, fluffy paint or shaving cream paint.
If you’re looking for more kids activities, you’re in the right place! Learn how to make bubbles, then grab our giant bubbles recipe. Take a look at our roundup of cheap crafts for kids, then see how to make slime with clear glue. Finally, learn how to bleach dye and make awesome tie-dye like shirts with just water and bleach!
About homemade puffy paint
Not all DIY puffy paint recipes are created equal.
I’m going to show you exactly how to make the best homemade puffy paint that really works.
You and your kids want your creations to dry and stay three dimensional. Not all recipes will do that.
Some will start out nice and airy, but the substance will dry flat.
Other recipes just won’t dry. They’ll stay sticky, or even soak through your paper and you’ll have to throw them away.
Here’s a quick summary of what makes this recipe different (and better!) Than others:
- This isn’t a microwave puffy paint recipe. (Mostly because I can’t fathom putting glue in the microwave!)
- This DIY puffy paint sets and dries overnight.
- No strange ingredients. You probably have everything you need in your house right now!
- No water. Because added water must evaporate for the mixture to dry.
DIY puffy paint ingredients
Today I’m sharing not only the best puffy paint recipe, but also the easiest!
These are the ingredients you’ll need for the recipe:
- Glue
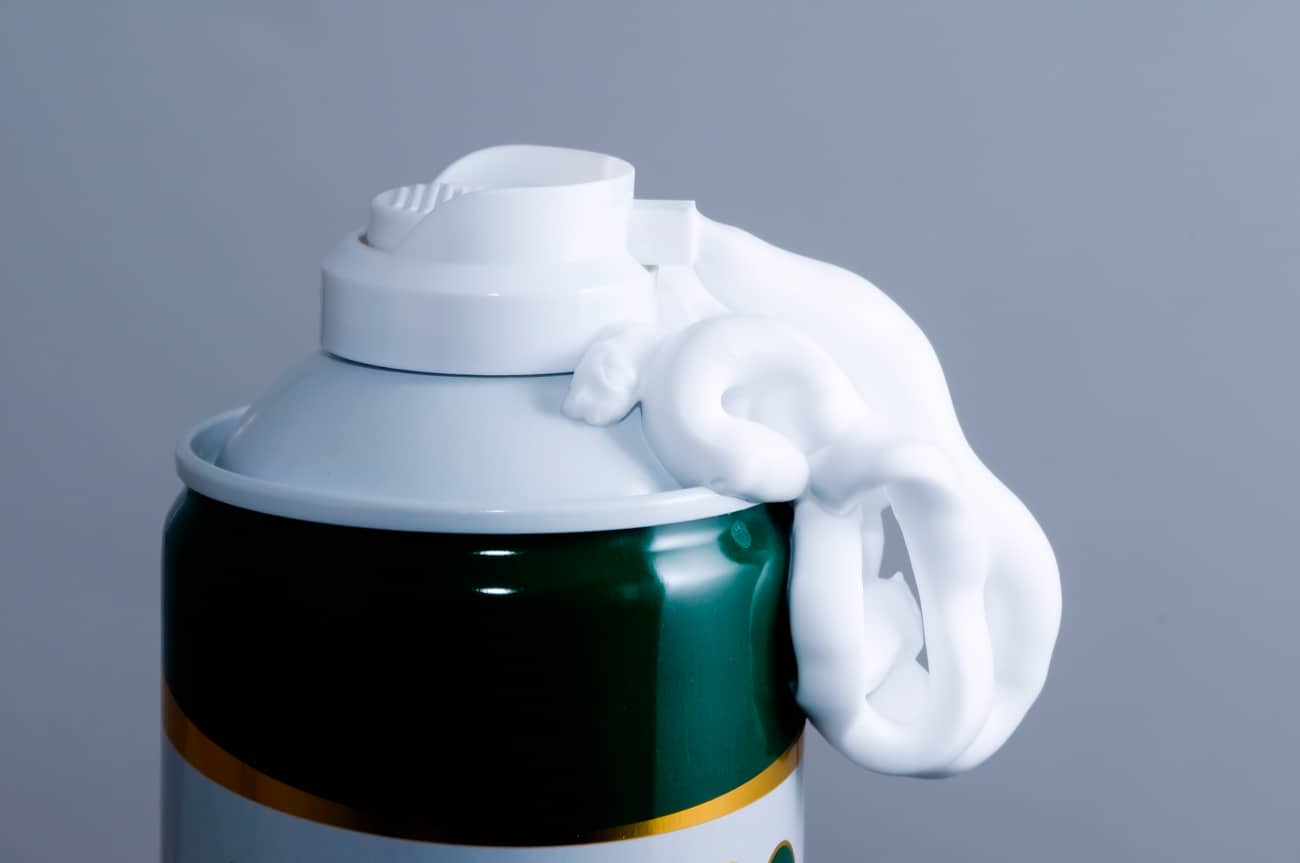
- Shaving cream
- All purpose flour
- Food coloring
Scroll down to the free printable recipe card for exact measurements.
Notes on ingredients
There are a million types of glue out there, but this recipe requires the easiest and most common for craft ideas: Elmers! Use Elmer’s School Glue, Elmer’s Glue-All or a store brand of white glue.
Note: I prefer school glue over glue-all, because it’s washable. The food coloring may still stain, but the school glue does clean up easier than regular white glue.
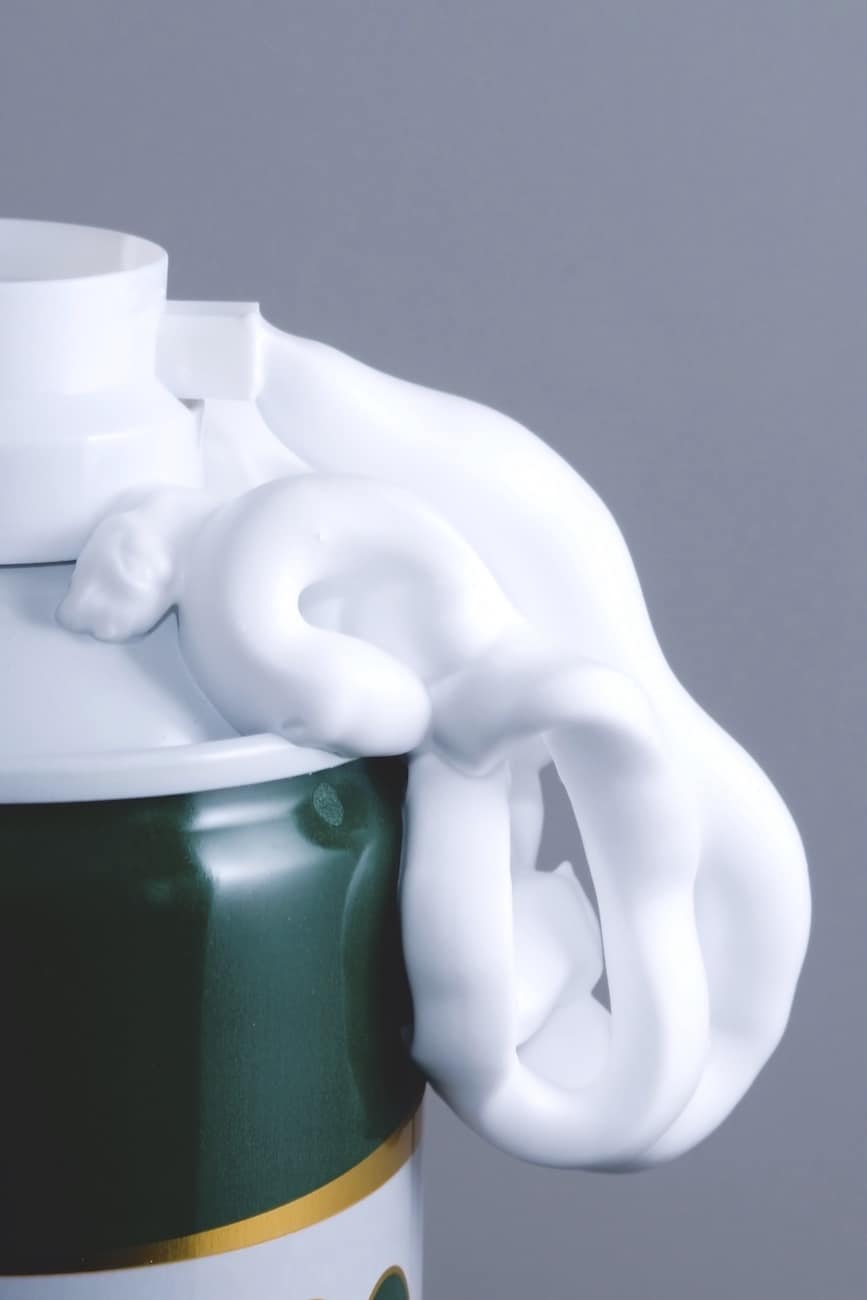
The shaving cream must be the foamy, fluffy kind, not shave gel that turns into cream. Barbasol or a similar brand of shaving foam will work fine.
The flour in this project should be basic, all-purpose flour. Whole wheat, whole grains, nut flours or flour substitutes aren’t recommended. You also shouldn’t use self-rising flour.
If you or your kids are gluten sensitive, gluten intolerant or allergic to gluten, you can skip the flour altogether. The only difference is that the paint won’t hold its height as it dries. But I promise it’s still a super fun project that’s worth your time!
How to make puffy paint
To be completely honest, the pictures I took were from our first attempt at a homemade puffy paint recipe . You’ll notice in the images of the pre-mixed concoction that I’m not following my own instructions, so don’t do what I did.
You’ll want to mix the glue and shaving cream together first in a large mixing bowl. Don’t use a mixer, just use a spoon or a spatula.
After that, you should add the flour, 1-2 tablespoons at a time, until it’s all combined.
If the mixture is too thick for your desired craft, stir in 1-2 tablespoons more glue. Adding more shaving cream will also thin the puffy paint, but it may interfere with how well the paint stays puffy.
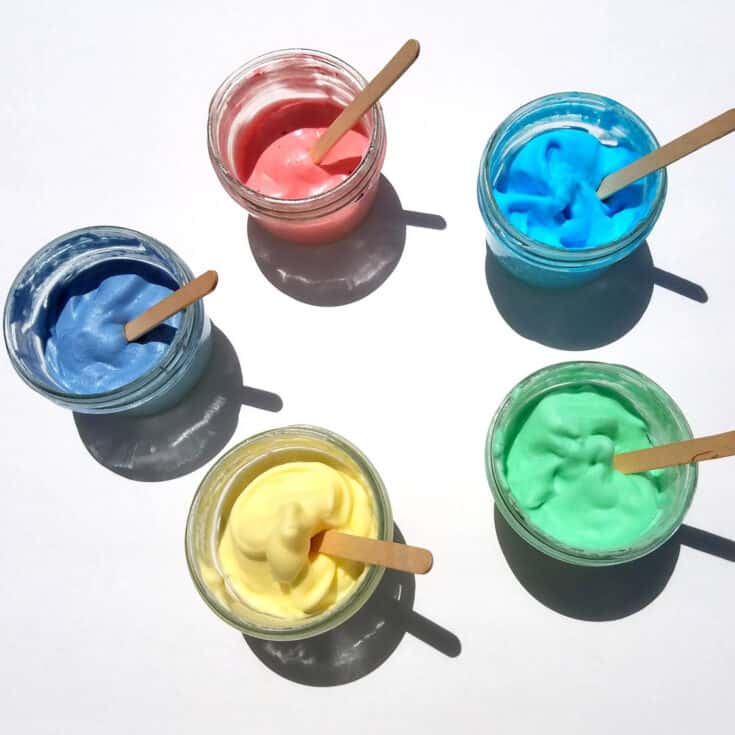
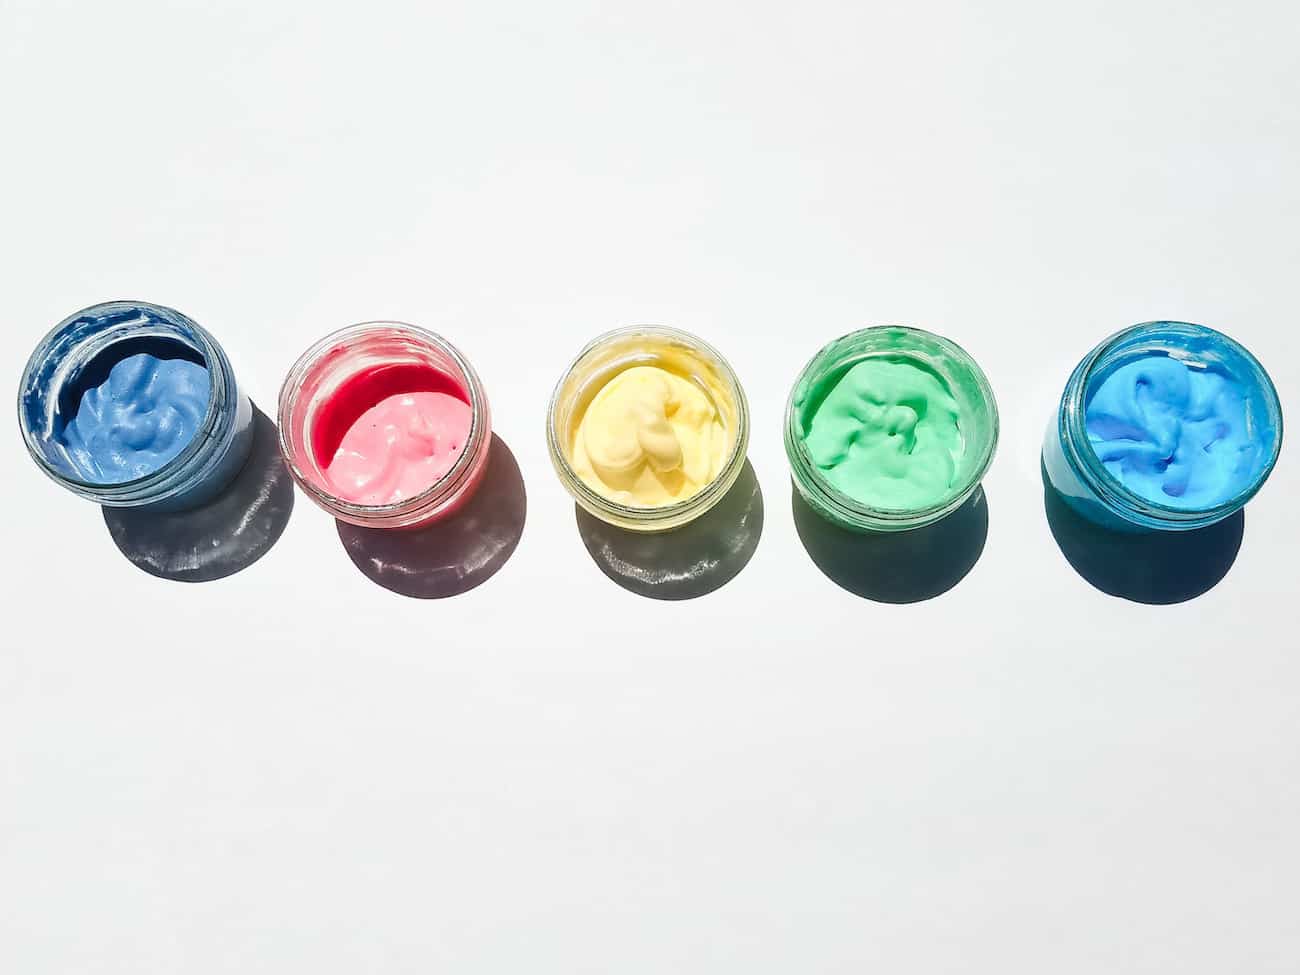
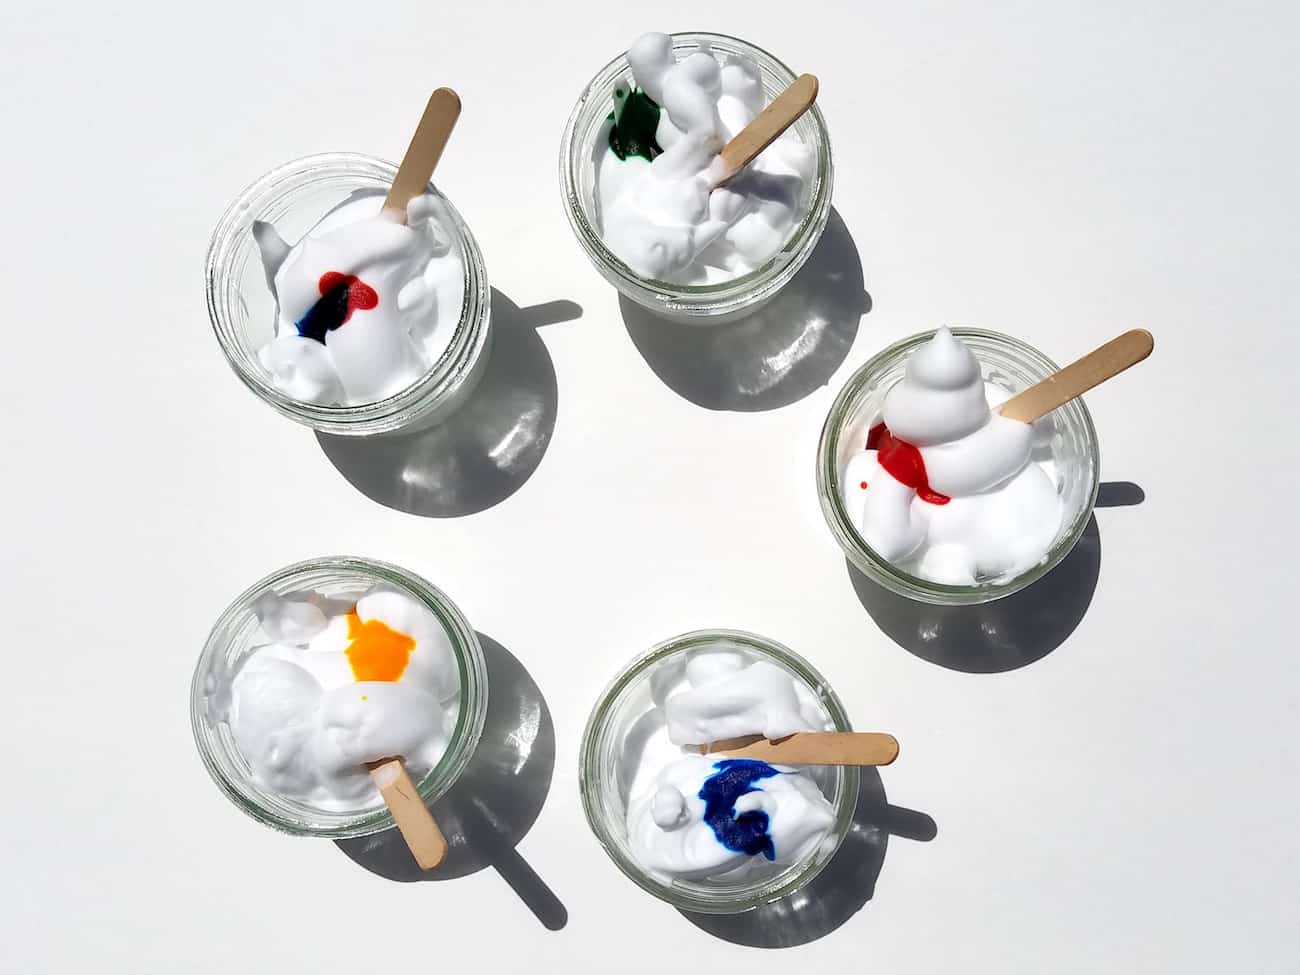
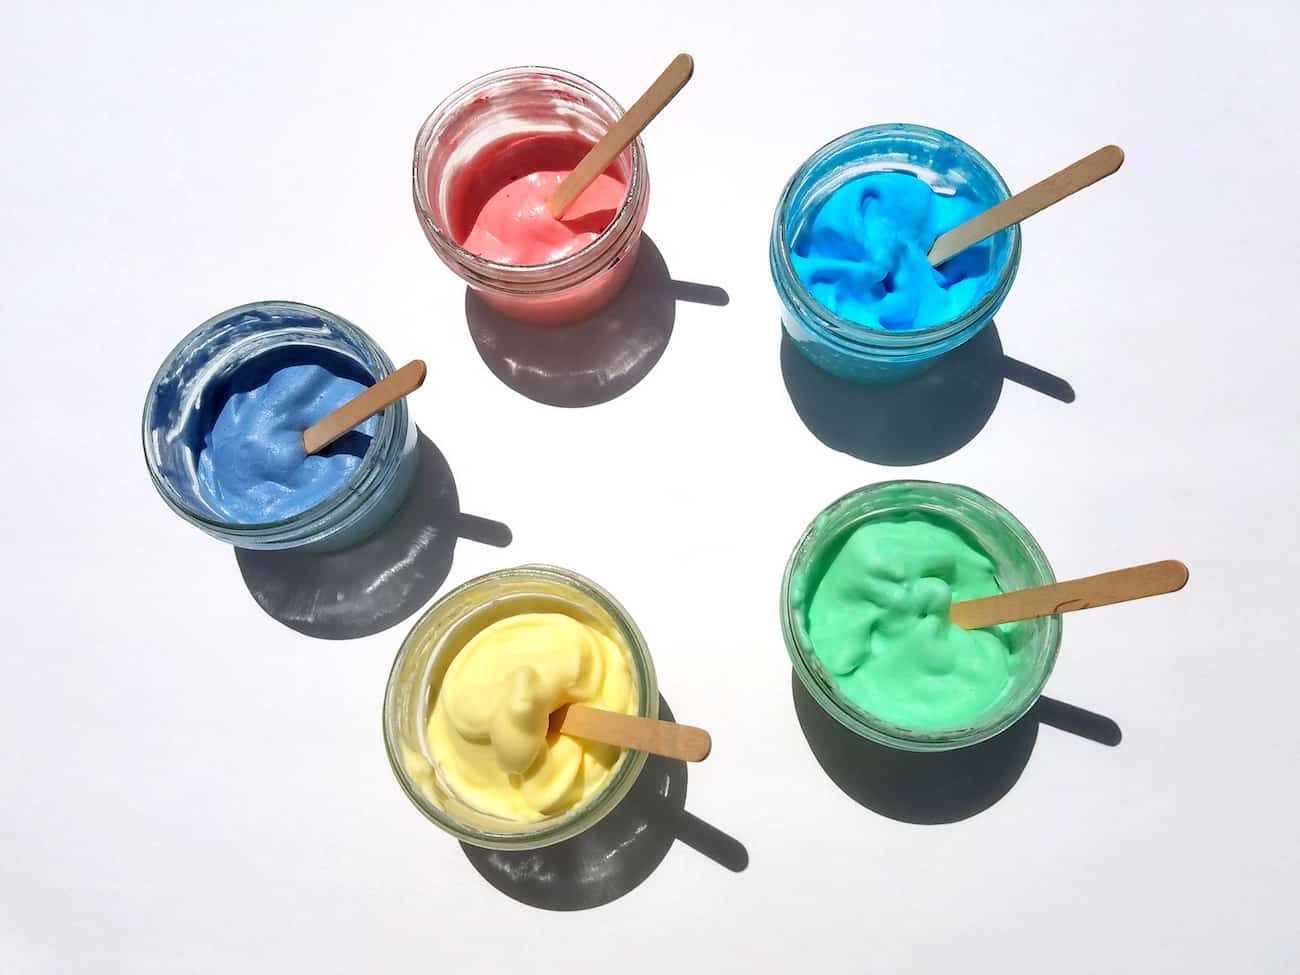
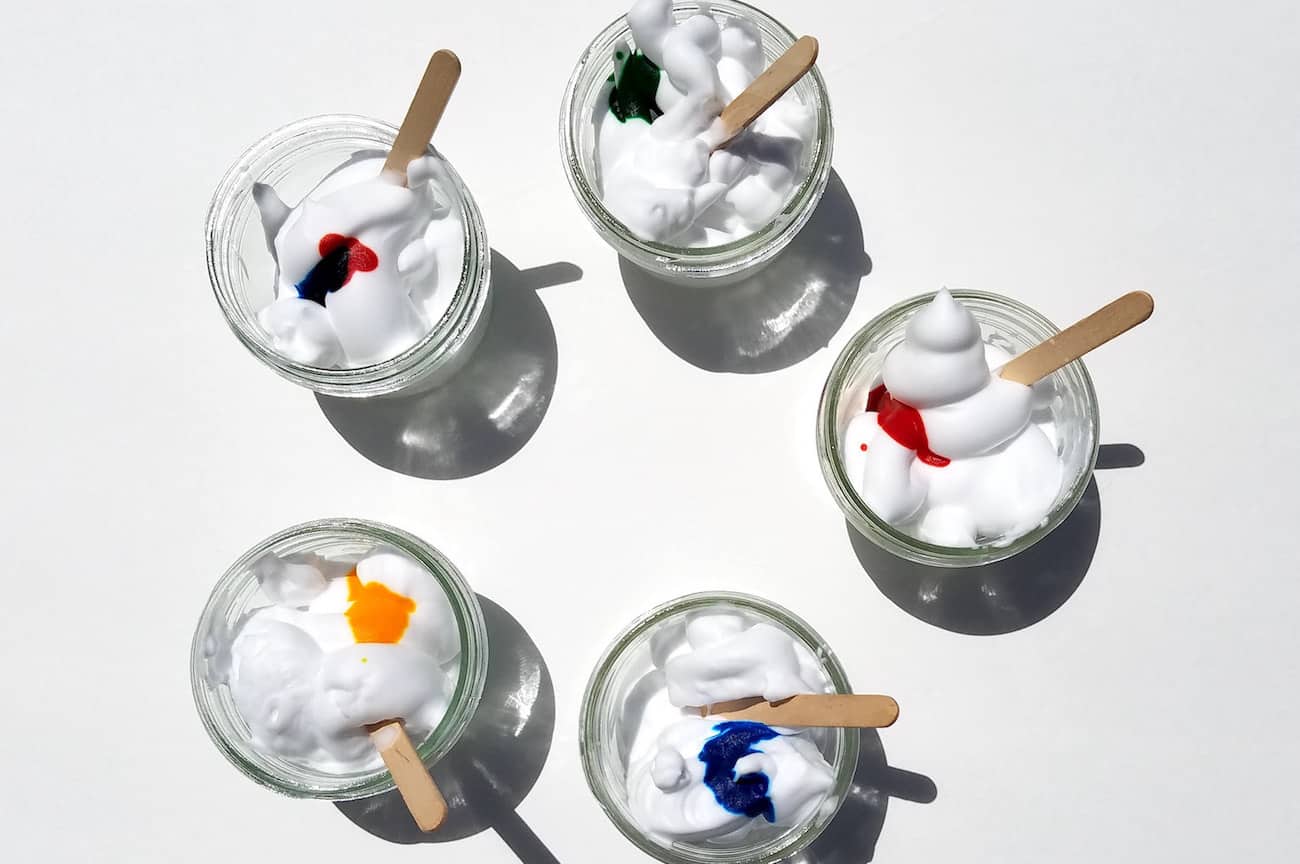
Decide how many different colors you want, then split the cream mixture among the right number of containers.
Add your desired food colouring bit by bit, until you have each different color you’re going for. A popsicle stick works well for stirring.
How to use puffy paint for kids crafts
We have a few things to cover in this section:
- Surfaces to use puffy paint on
- Methods of applying puffy paint
Since puffy paint is somewhat dense and wet, you’ll want to be thoughtful with how and where you use it.
Surfaces to use puffy paint on:
The most important thing to note is that most homemade puffy paint recipes are at least a little bit wet. Keep in mind that it could soak through thin paper.
(Semi) pro tip: Put a cookie sheet under the material to be painted. Then you can easily move it or set it aside to dry.
Anyway, here are some surfaces you can paint on:
- Construction paper
- Card stock
- poster board
- Paper plate
Out of all of these, plain white paper plates (on a cookie sheet) are my favorite for this project! They’re usually treated to be less absorbent, and the edge helps to keep the paint mixture in the craft area.
Methods for applying puffy paint
You’re free to apply puffy paint in any way you choose. Here are some ideas that can help you figure out how to get the look you’re going for:
To make a smooth, raised line of puffy paint, use a:
- Squeeze bottle
- Piping bag
- Ziploc bag with a corner snipped off.
Make sure you fill the ziploc bag first, seal it, then snip the corner off!
To fill in shapes or to cover larger areas, use:
- Squeeze bottles
- Spoons
- Sponge brushes
To spread puffy paint in a thin layer, use a:
- paint brush
- plastic knife (dull side)
- cotton swabs
To add texture to dispensed puffy paint, try using:
- plastic forks
- plastic knives
- crumpled paper
- glitter
- toilet paper tube or paper towel tube
Cleaning up homemade puffy paint
I’m going to be completely honest: puffy paint isn’t easy to clean up.
Why? Because it has food coloring, and food coloring stains most things. Your future self will thank you if you do some prep before getting started.
Here are some clean up tips:
Do everything outdoors.
Have everyone wear play clothes, aprons and/or smocks.
Cover your surfaces with a plastic tablecloth or shower curtain. Disposable tablecloths are $1 or less. Shower curtains can be found at the dollar store. If you’re lazy (like me!) the shower curtains survive being put through the washing machine multiple times before they fall apart.
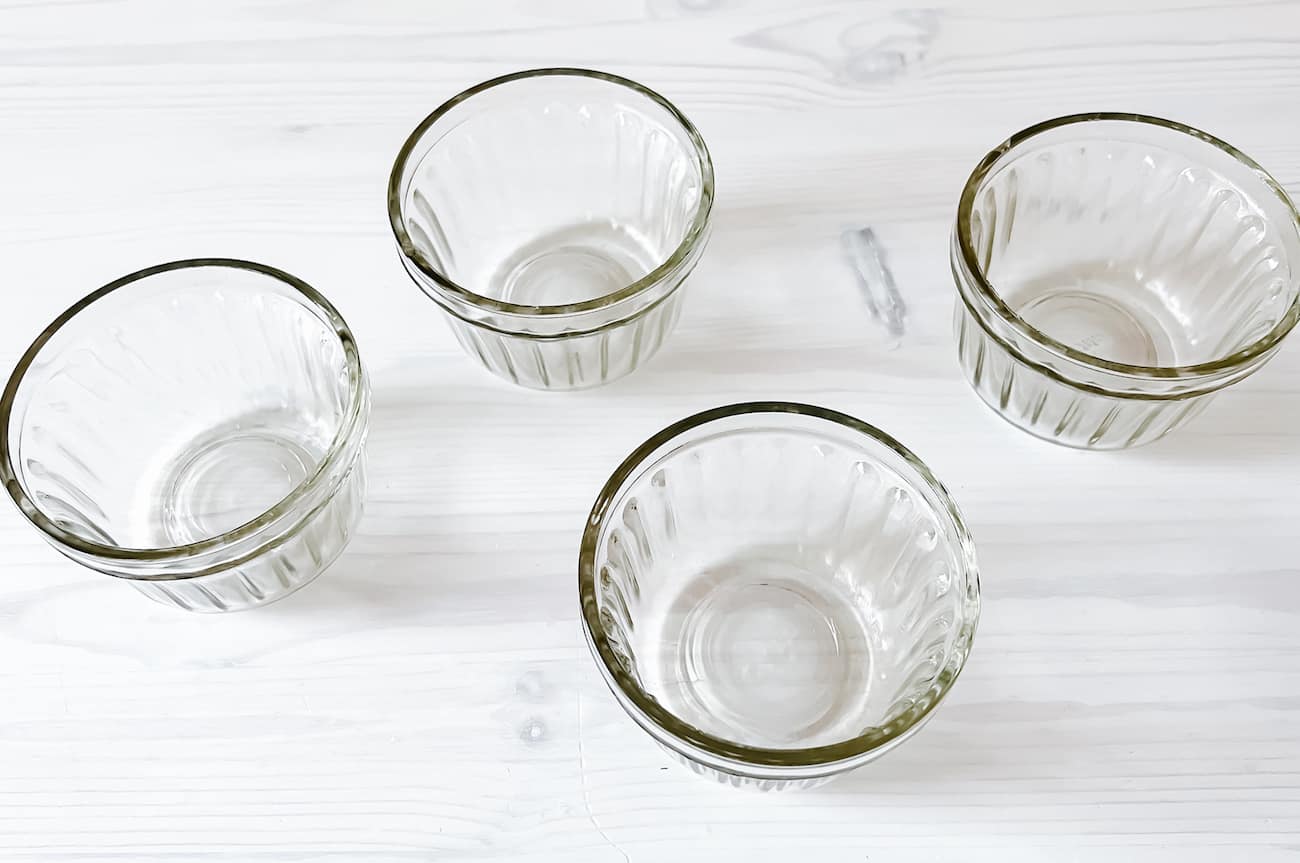
Plastic and wood both absorb food dye, so use glass or metal bowls and metal utensils. OR use disposable bowls and plastic spoons.
Filling the squeeze bottle might be the hardest part of the whole process! Instead of trying to move the paint mixture straight from the bowl to the bottle, use a spoon to fill a ziploc bag with the mixture, snip off the end and pipe the foam into the bottle.
Use washable glue. Regular white glue and (washable) school glue will work the same in this recipe. The big difference is that school glue is water-soluble, so it can be washed off easier than regular glue.
Keep in mind that, even if you’re using washable glue, the food coloring will likely still stain clothes, skin and surfaces.
Getting puffy paint stains out of clothing
If you really want to see if you can get a stain out of clothes, I have a few ideas.
First, rinse the garment in hot water immediately. The faster you do this, the better chance you have of getting the dye out.
Rub liquid dish soap (Dawn is my go-to) into the stain and let it sit for five minutes before washing the garment in hot water.
If the stain is still there, don’t put the item in the dryer.
Next, try microwaving a cup of water until boiling and pour the water carefully over the stain.
As a last resort, you can try applying liquid detergent for your dishwasher OR hydrogen peroxide and washing again. Either or both of those substances may bleach fabric, so be cautious when trying those two methods.
Puffy Paint Recipe
This homemade puffy paint recipe is a craft activity that's fun for kids and adults! Four simple ingredients, shaving cream, flour, glue and food coloring, are combined to make a DIY puffy paint that dries and stays puffed up!
Materials
- 1 1/2 cups shaving cream
- 1/2 cup white glue
- 1/2 cup all-purpose flour
- Food coloring
Tools
- Glass or metal bowl
- Metal utensils
- Small bowls or containers for separate colors of puffy paint
- Squeeze bottles
- Ziploc bags
Instructions
- Set out separate containers to hold the individual colors of your homemade puffy paint.
- In a glass or metal bowl, stir the shaving cream and glue until combined.
- Mix in the the flour, 2 tablespoons at a time.
- Divide the mixture among the containers and add the food coloring, a little at a time, until you reach the color you want.
Recommended Products
As an Amazon Associate and member of other affiliate programs, I earn from qualifying purchases.


Leave a Reply