Learn how to paint cork board! This DIY painted bulletin board project turns an everyday corkboard into a chalkboard you can write on AND pin things to!

It’s a fact of life: as kids get older, they get busier and busier.
The number of activities available to them grows each year, while they also want to continue the programs they’re already in.
Over the years, my kids have been in Girl Scouts, Cub Scouts, 4-H, BSA (aka Boy Scouts), robotics, swimming chess club, piano lessons, violin, ukelele, soccer, tee-ball, and plenty of other things I know I’m forgetting.
On top of all that, we’ve always had school and school-related extra-curriculars. There are church and family events. And we can’t forget friends and playdates.
I’m not a super-organized person, and thinking about all of this honestly gives me mild anxiety. I also have my own schedule to worry about!
I don’t know how I ever kept schedules like this together, and I get scared that I’m going to fail at it sometime in the near future.
Because kids are, well, kids. Mine aren’t even teenagers. As much as I want them to be totally, 100% responsible for their own schedules and needs, that job still falls on me.
While the job of keeping activities and schedules in order is mine, making sure my children are aware of what’s going on automatically helps me feel like we’re cooperating on this scheduling business.
The first way I do this is with a fully fleshed out family calendar. Anyone can look at the Erin Condren calendar hanging on the wall in the kitchen to see what’s on our schedules. What’s coming up and the important information we need to know about.

The second way we’re now using to stay on top of everything happening with our family is with this DIY chalkboard painted cork board. I started out making just one. Now, it hasn’t taken me long to realize that each kid needed a corkboard of their own.
When I knew we needed an organizing solution for my kids and their various obligations, I asked myself Can you paint cork board with chalk paint?
The answer is yes, and it ends up with an amazing final product! Even better, I scored a great big corkboard at a thrift store for just $2!

I love craft projects that upcycle usable goods, and this is such a great one.
Used message and bulletin boards are super easy to find, so keep your eyes open at yard sales and thrift shops if this is a DIY project that interests you.
I swear, having a this writable bulletin board on the wall for everyone to see has been such a lifesaver since I made it.
We’ve jotted down down erasable schedules, dates and reminders on it, while pinning important papers and notes to the corkboard with thumbtacks.
I keep thinking or more ideas to use it for, but I think it’s helping us enough just the way it is!
School, sports and most church activities are some important categories that keep our kids busy, so I updated and decorated the old corkboard with all those activities in mind.
I’m almost positively going to be making a few more DIY cork boards in the next few months. This one is great for organizing our fily, but I think I could help my kids even more if they also each had their own!
This board has really helped get my busy kids stay on top of things they need to do – at least when it comes to their schedules. Their toys and stuff? Not so much!
If you have busy kids (and who doesn’t?), you can easily make one of these DIY cork board / chalkboard combos for your own wall.
After all, who wouldn’t want to have both cork board and a blackboard in the same space? You’re doubling the ways you can use the same item. You’re also giving yourself more ways to use it as an organizational tool!
How to paint cork board FAQ
There are a few things you should keep in mind when painting corkboard. I’ve compiled a few quick questions and answers to help get you all the information you need.
Can you paint cork board?
Yes, you can definitely do this and it looks awesome. You can see the results right here in this article! But it’s important to know a few things:
1. Cork is porous, so the surface will appear to dry quickly.
2. It will absorb a good amount of the paint, so be prepared to apply at least two thin coats for an even appearance.
What kind of paint should be used on cork?
Acrylic or latex paint works well. Do not use wood stain.
Can you use spray paint on cork board?
Yes you can! I used a can of traditional writable and erasable latex paint because I wanted that type of surface and I didn’t realize that variety of spray paint existed (oops! I need to remember to do my research before starting my next project).
Now that I know you can buy chalkboard spraypaint, I would absolutely use it in the future.
You can also use it on the frame for this project. Just be sure you always do it in a well-ventilated area.
You can also use it on the frame for this project. Just be sure you always do it in a well-ventilated area.
Framed Cork Board, 36×24 Black Board paint, 1 quartApple Barrel Acrylics Set, 18 ctWater-Based Ultimate Polyurethane, Satin FinishScotchBlue Painter’s TapeFoam Brush Set, 10 piecesCrayola White ChalkWashi Tape Set, 21 Rolls

How to make your chalk bulletin board
Materials Needed
Here are the things you’ll need to get started on this craft:
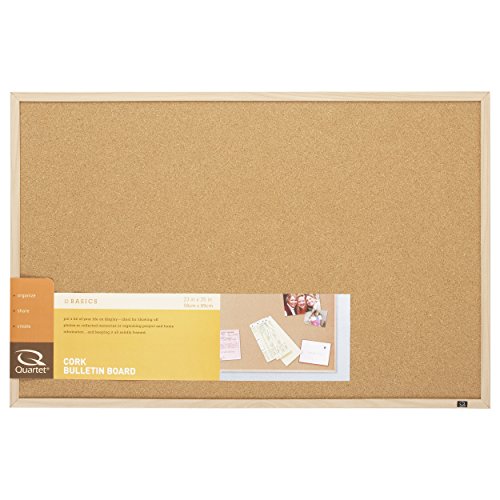
- New or secondhand plain cork board
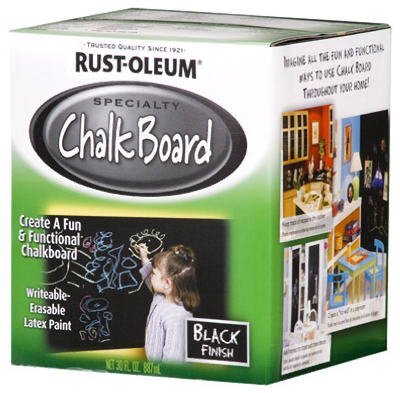
- Chalkboard paint in black or green
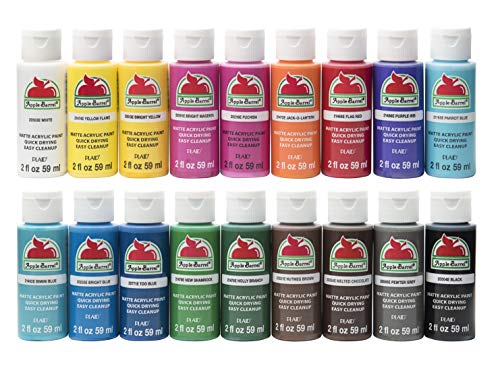
- Acrylic paint
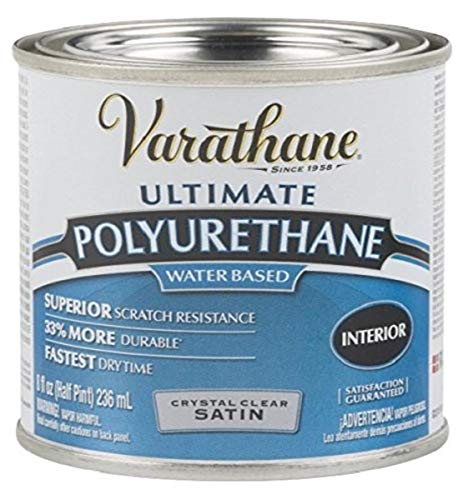
- Small can of polyurethane sealer
- Painters tape
- 2 Foam brushes, 1 small and 1 large
- White chalk
- Optional: Stencil and stencil brush, foam letters, cut-out letters, glue, washi tape, fabric or other embellishments of your choice.
I think a Cricut would make some fantastic decorations and labels for this project. You could also use adhesive vinyl instead of washi tape!
On the fence about buying a Cricut? My Cricut Explore Air 2 review and my Cricut Joy review will tell you everything you need to know.
Directions
Step 1:
Wipe down your cork board with a clean, damp cloth. If it’s dirty, use a mild dish soap and water to give yourself a clean surface to work on.

Step 2:
See if your cork separates from the wood frame. If it does, you can skip the tape. Otherwise, tape the inside edge with painter’s tape or masking tape. Using your small foam brush, cover the frame in the acrylic paint.
This step required two light coats of acrylic. If you make sure there’s no excess paint on the brush the two coats will dry super fast. Both coats will be done in no time.
Tip; White paint on the frame will give your project a fresh, renewed appearance. Other colors can also be chosen to match decor or personalities.

Step 3:
Once the surface is dry, tape the frame so you can cover the cork surface. Use the large foam brush to apply a thin layer of the black paint. Let it dry and apply a second coat.

Step 4:
When it’s dry, rub your piece of white chalk all over the black surface, and then wipe it off with an eraser or dry cloth. This will condition the paint and prepare it for use.

Step 5:
Apply a light coat of polyurethane over the acrylic on the wood frame to avoid chips and fading in the future.

Step 6:
Add your foam letter embellishments to the board in your desired placement and style.
Use a level and underline the words with decorative washi tape. I made sections for where the kid’s most frequent activities are based: church, school, and sports.
You can also make vertical lines with your washi tape to divide the corkboard into even sections.

Optional ideas for decorating your creation include covering the frame with fabric, gluing on embellishments, stenciling words or decorations, cutting out vinyl adhesive decorations or doing anything else to make it unique.
DIY Project conclusion
This was such a surprisingly easy project! Now that I know its possible, I have more painted cork board plans for the future.
There are products like cork tiles, cork trivets and other unfinished surfaces just waiting for the craft treatment!
With school plus plenty of activities, they’re always busy kids. This DIY board gives them a place to organize their events and schedules.
They can use chalk to write on it directly, or they can use push pins to put papers and flyers on the pin board.
I also love that this can be changed quickly and easily as my kids grow and change. I can easily repaint the frame in a different color, the washi can be removed or swapped out with a different style, and the words across the top can also be switched up.
All in all, it looks like the $2 I spent at the thrift store was well worth it!
How do you keep your kid’s activities organized? Do you think making a DIY corkboard like this one would work for them?
Leave a Reply