Learn how to make a fun DIY chalkboard sign with your Cricut! This homemade wall art features a custom vinyl decal and chalkboard paint so you can use it for writing notes and for home decor!
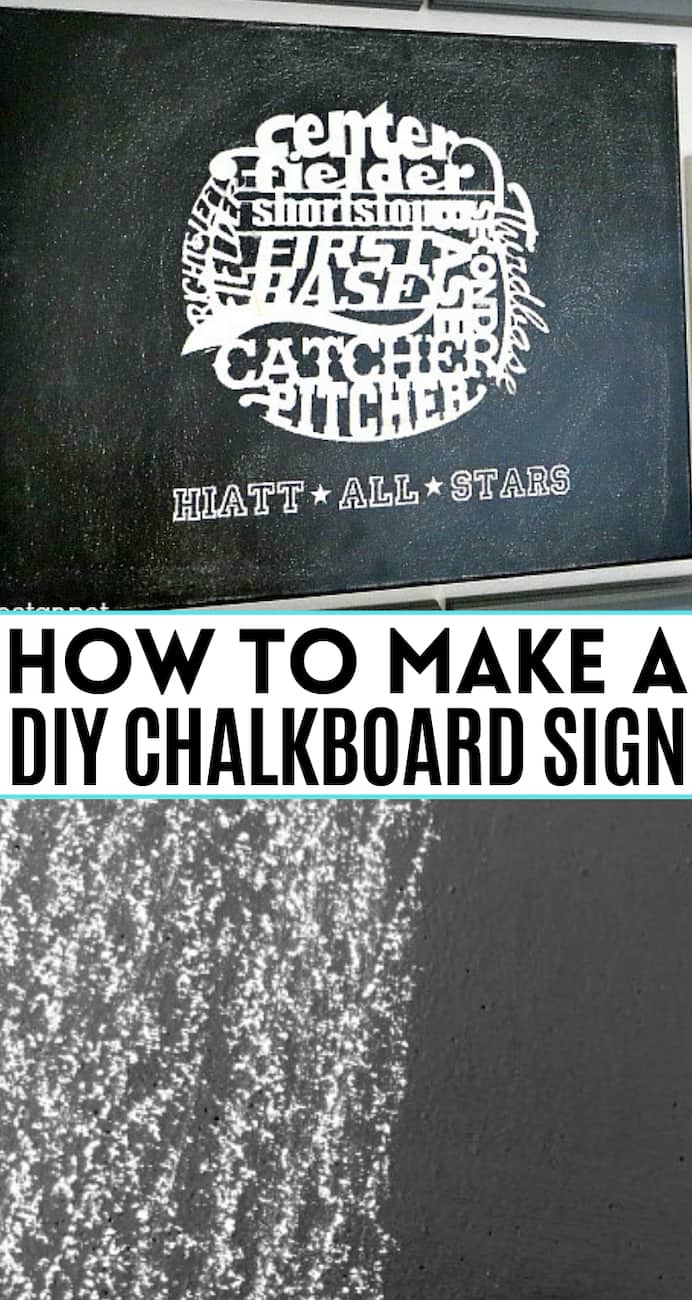
You all know how much I love the Cricut. I think the Cricut Explore Air 2 is one of the most amazing crafty inventions!
A what, you ask? If you don’t know what a Cricut is, it’s an electronic cutting machine, in other words, a crafter’s BFF.
I’m such a huge fan of these machines, I’ve written a long, comprehensive guide answering the question: What is a Cricut machine.
Cricut also launched the Cricut Joy last year, and its tagline actually is Your DIY best friend. You can read my Cricut Joy review to see why I totally agree with that statement!
I have to say, I own two different cutting machine models and I’ve also used the Maker. All three are fantastic. Like miracles for people who want to DIY a bunch of stuff but don’t have the confidence to start making things.
Love paper crafting projects? See how to make paper flowers using a super easy method!
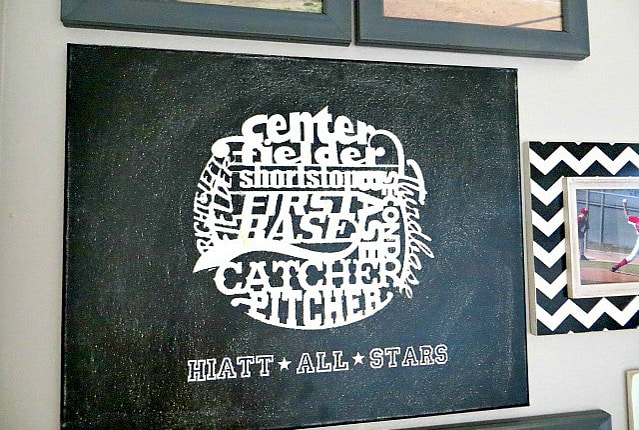
Seriously, these machines make me feel crafty when I’m the least creative person I know. They’re fantastic enough enough to help me successfully whip up this DIY chalkboard sign.
I love how our new wall art helps me show off our kids’ baseball pictures quickly and without adding another big project to my home decor plate.
Customizing the chalkboard sign
Take a look at this beauty:
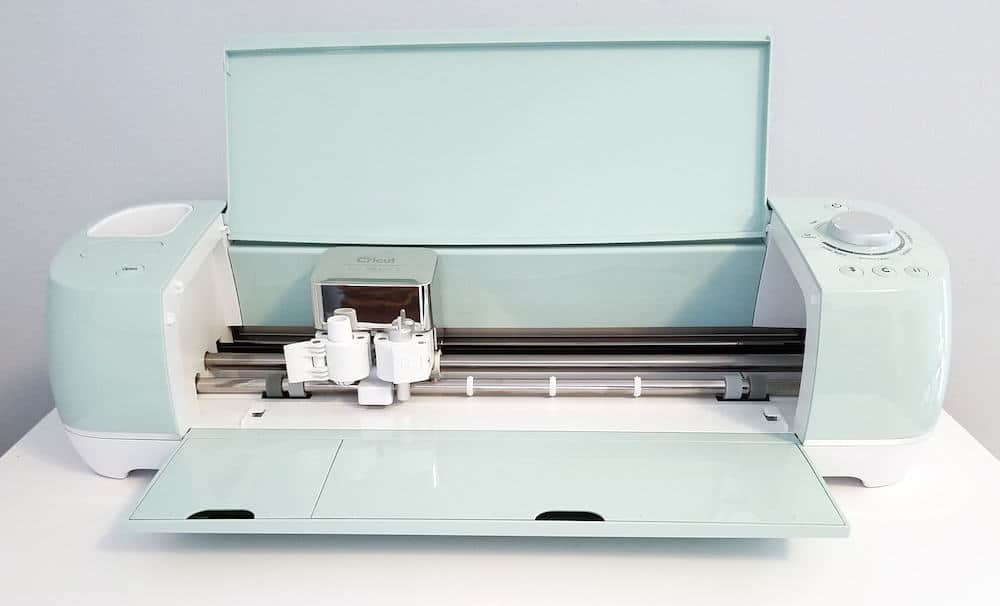
This, the Explore Air 2, is the machine I used to turn my handmade wall art idea into reality.
You can customize your own sign using the machine’s design software OR you can change it up by using a different surface instead of canvas.
Personalization
I added our last name and “All Stars” in the Varsity font lettering to the to the art before sending it to the Cricut for cutting. Then it was a part of the vinyl I attached to the canvas.
I’m going to keep emphasizing how easy this project was, how well it turned out and how much I love having it hanging on my wall. This DIY chalkboard wall art was simple and took relatively little time to make.
Using a different surface
I used a plain white canvas for my sign. It works for me because I’m not planning on using it extensively for a chalk board. My goal for this project is wall art that has the look of a blackboard.
If you’re planning on using your creation as a chalkboard or message board on a regular basis you may want to use something that has a sturdier surface to write on. Especially if you’re planning on using liquid chalk to a chalk marker on it!
You can easily use other surfaces instead of canvas, including upcycled items. Consider using a garage sale or thrift shop canvas or an old wood sign. Sanded plywood can also work. Just paint it all white before getting started, so you have that clean surface to work with.
Creating designs with your Cricut
One great thing about all modern Cricut cutting machines. All creative steps prior to cutting are done online in the Cricut Design Space software. Here are the ways you can create:
- Create your own designs from scratch.
- Upload your own images into Design Space.
- Make your project using one of the many free projects available.
- Purchase one of tons of projects priced from just $0.99.
Money saving tip: I like to take advantage of the freebies at Creative Market – new and different downloads are offered for free every week! There are often illustrations, images and fonts that work amazingly well for Cricut designs!
How to make your chalkboard sign
Follow this easy tutorial to make your own diy chalkboard signs. With just five steps, you’ll have your sign designed and made in no time!
Materials needed for your chalkboard art sign
Here’s what you’ll need to make your own chalkboard wall art:
Adhesive vinyl (at least 12″ x 12″)
Transfer Paper
16×20 canvas
Black chalkboard spray paint
White chalk
Tools needed for your DIY chalkboard art
A Cricut cutting machine
Standard grip cutting mat
Vinyl weeder
Cricut vinyl spatula lifter
Vinyl scraper
Directions:
Step 1: Create and cut the design
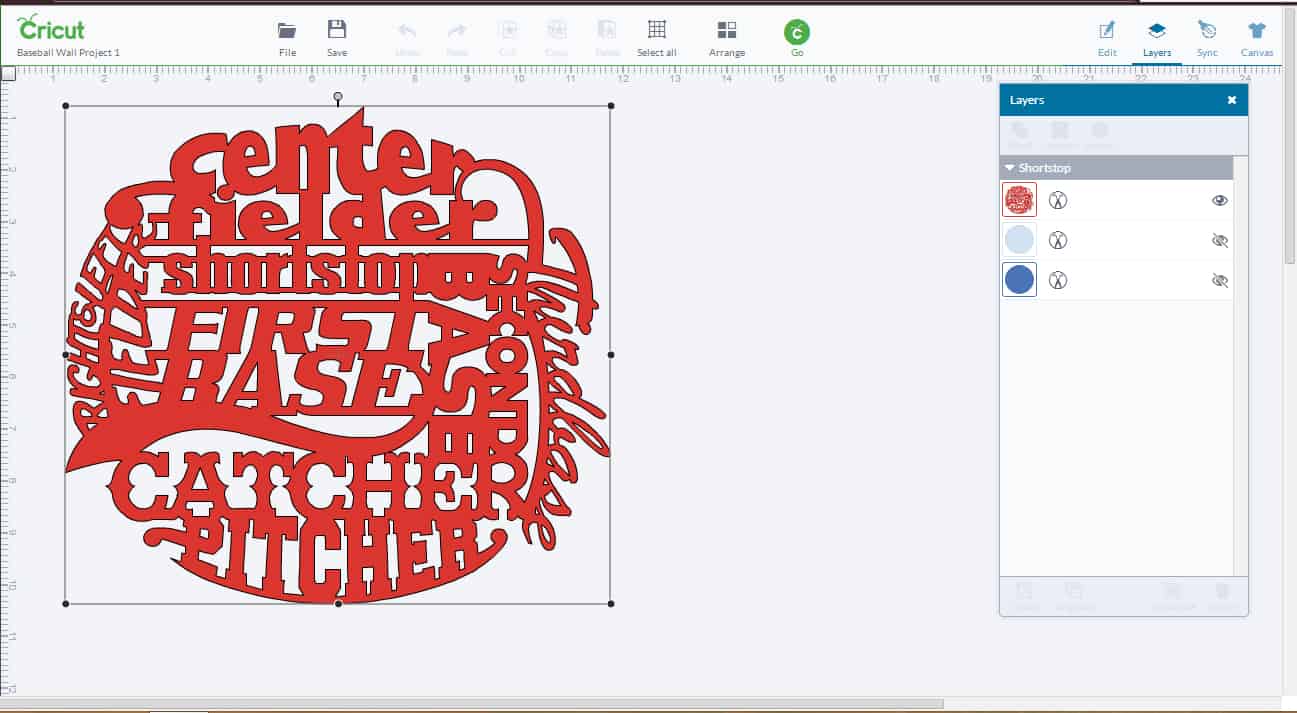
In your Design Space software choose your design or upload your own, and size it correctly as you can see in the screenshot below. I chose a baseball design called Shortstop. It’s just one of the thousands of designs they have to choose from in Design Space.
How to adjust to the right size? I was working with a big canvas, and I knew I wanted the vinyl to cover a lot of it.
Design Space automatically makes your design fit the mat you’re going to use, so there’s no worries about making it too big. I just pulled the corners of the image to resize it and the image was left at the maximum allowable size for my 12×12 mat.
Adhere the vinyl to your cutting mat and send the design to your Cricut for cutting.
Step 2: prep the cut vinyl
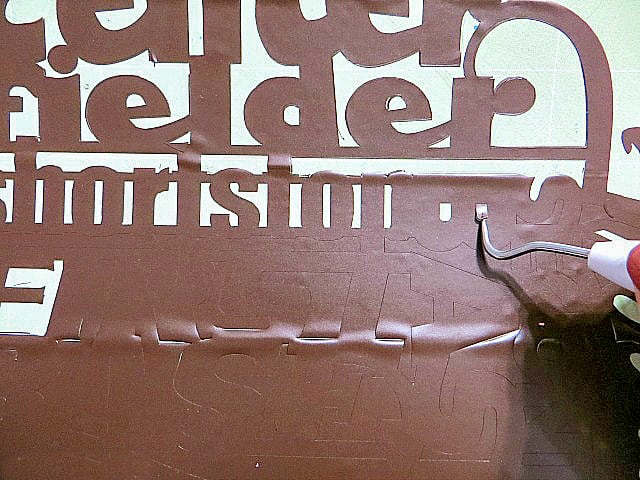
Peel the excess vinyl (also known as negative material) from the sticky mat. Then use your weeding tool to pull off the smaller pieces of vinyl. Do this until there’s nothing left but the design.
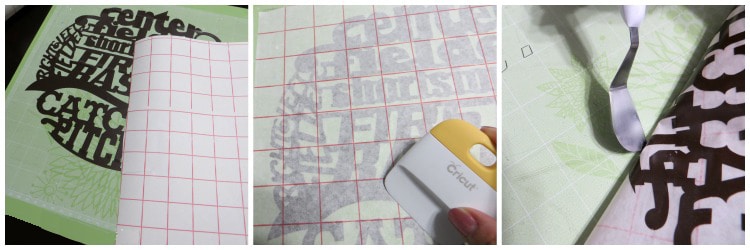
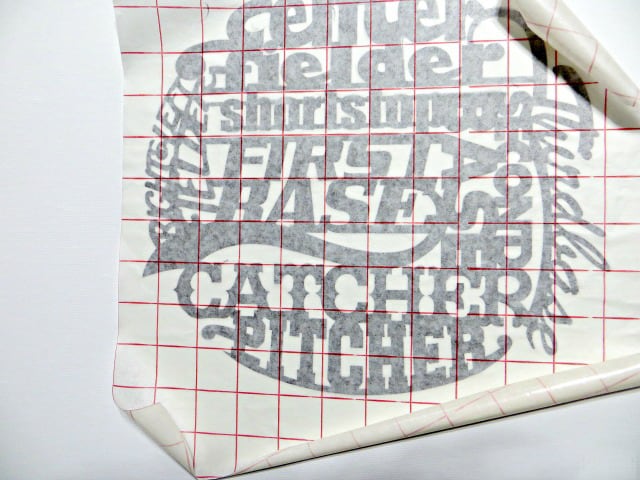
Peel the backing from the transfer tape and gently press the sticky side onto your vinyl. Smooth it out with the scraper and make sure that the vinyl has adhered well to the transfer paper, then carefully lift it off of the mat. The vinyl should be stuck to the transfer material, and it will lift with it.
Use the spatula lifting tool if you’re working with a bigger, more intricate pattern, or if it just doesn’t lift off easily.
Step 3: Paint the canvas
Wipe down the canvas with a clean, damp cloth. Apply the vinyl to your canvas, then peel up the transfer paper, leaving the vinyl adhered to the canvas.
Once all the transfer material is peeled off, take the canvas outside and cover it with the black chalkboard spray paint. Don’t forget to do the sides of the canvas that are wrapped over the frame.
Follow the directions on the can to do at least two coats of paint. Make sure to cover the entire piece well with the chalk paint and allow it to dry completely before moving to the next step.
Step 4: Finish the canvas:
Ensure that your canvas is 100% dry before doing this step. Carefully peel off the cut vinyl lettering to show the white canvas underneath, and your beautiful design will be revealed!
Step 5: Cure and treat the chalkboard paint:
Rub a piece of white chalk all over it, including the sides. Erase it with a clean, dry cloth. This will cure the chalkboard paint AND it will make it look more like a chalk board.
Displaying our new wall art
I am just about done updating our decor with this new gallery wall. It shows off their cool baseball moments with room to add to it as they continue to have more memorable moments.
My boys are loving this Baseball Hall of Fame wall, especially the chalkboard wall art. i love hearing them say, “it’s so cool!”
I’m confident this will be with our family for years to come and can’t wait to add more pictures and moments to this wall as the years pass. I bet it’ll make a great story when they’re playing for the the Major Leagues!
I’m also really loving the idea of this method for other artistic creations. I can see using it to make chalkboard wedding signs, a school sign or so many other creations!
What an easy way to personalize any space in the home! I’ve used my Cricut to make about a zillion craft projects over the last few years.
My youngest’s birthday party is this weekend, so you can imagine how much stuff I’ve whipped up! I will be showing off the party projects in the future, so be sure to come back.
Leave a Reply