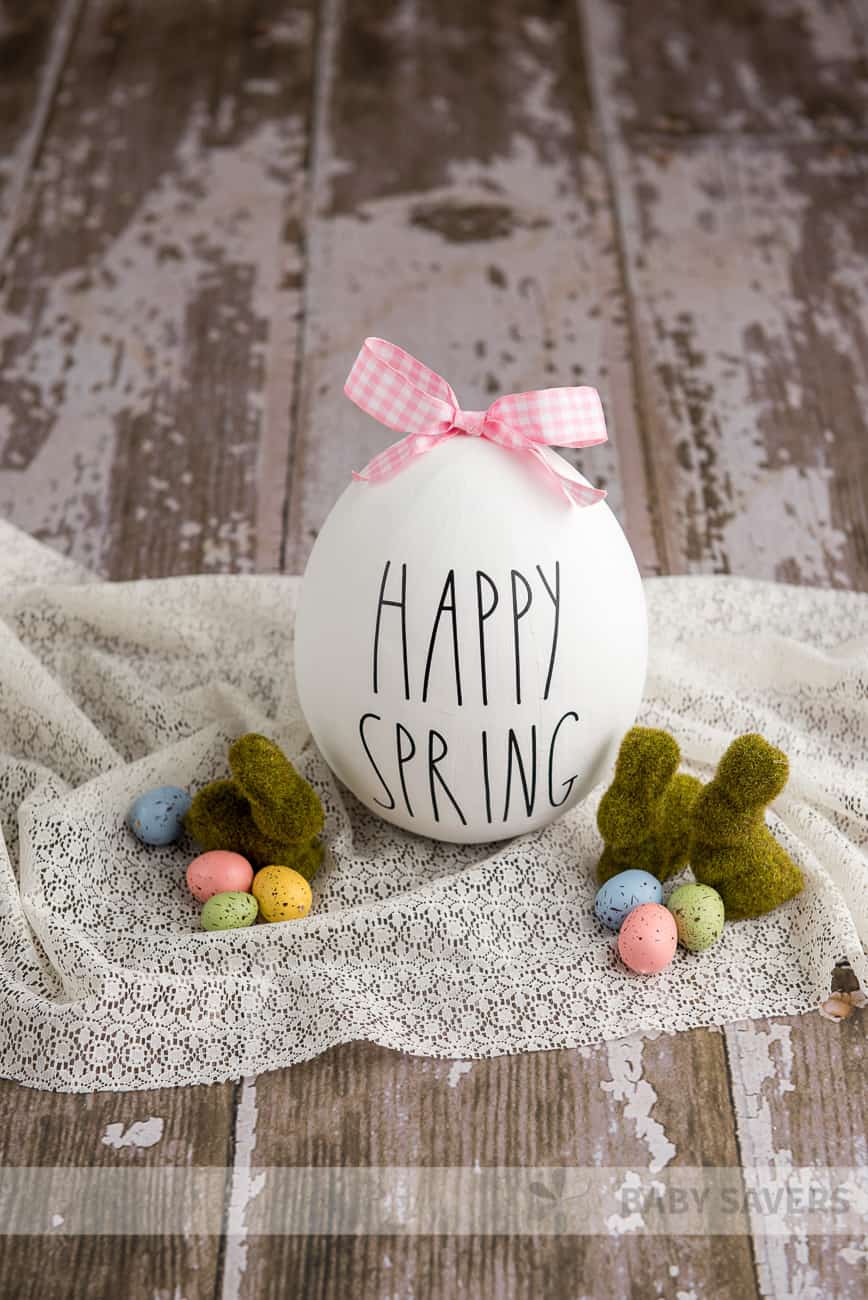
Free SVG files for Easter make these DIY Rae Dunn Easter Eggs an easy Cricut project. Use artificial eggs and you’ll have easter decorations for years to come!
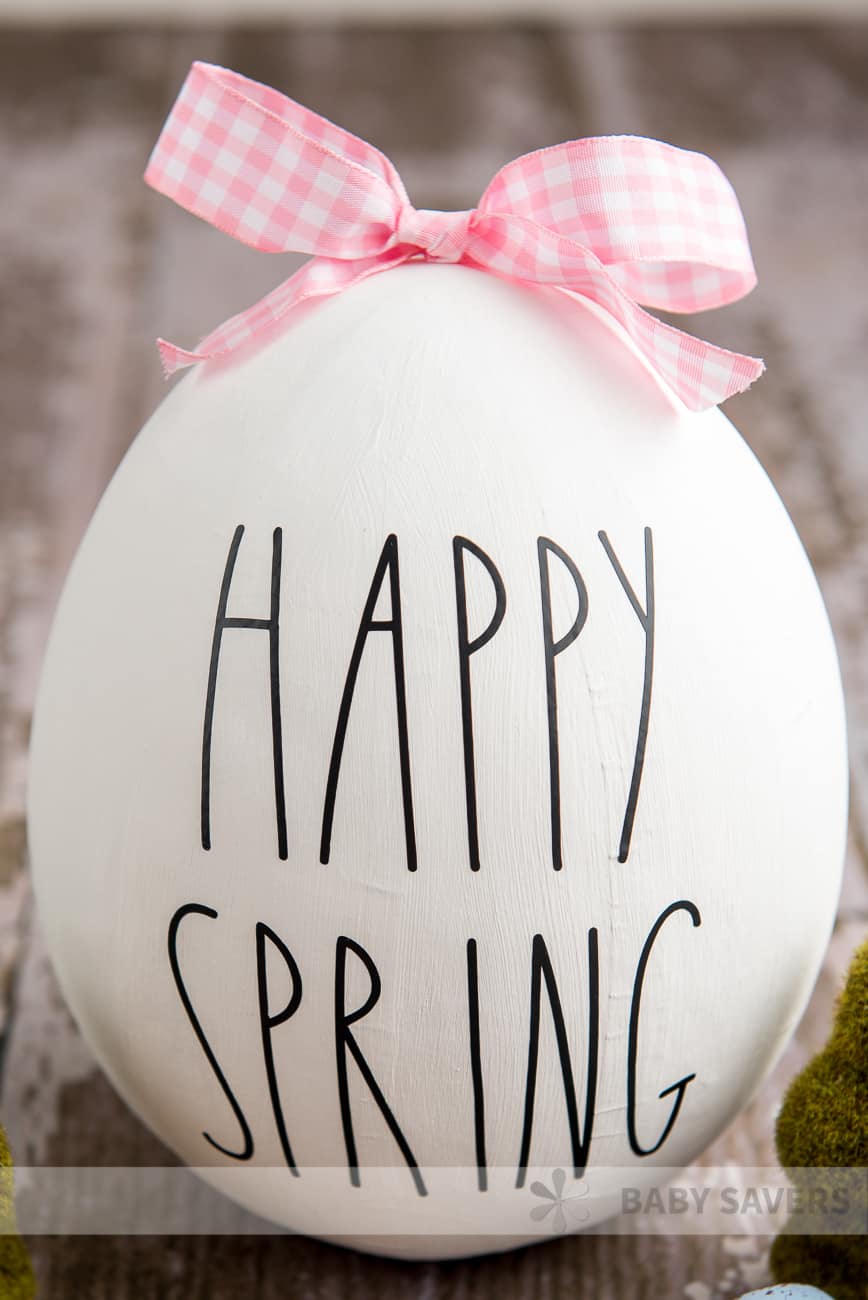
I have more than one friend who loves Rae Dunn. She told me she’s always excited to go on road trips because she can shop for Rae Dunn home and kitchen items on the way there and on the way back.
At my friend’s house, every holiday is a Rae Dunn holiday. Christmas means these DIY Rae Dunn ornaments, and Easter is definitely, 100% a great holiday for decorating with all sorts of tall, narrow words and phrases on cute decorations.
About this DIY Easter craft
These homemade Easter egg decorations are so cute and they’re a fantastic Cricut project for the spring season. While I used a Cricut Maker for this holiday craft, you should read my Cricut Explore Air 2 review and my Cricut Joy review. Either machine would be perfect for this craft, and they’re both amazing in their own ways!
If you’re not familiar with cutting machines, you need to check out my article: What is a Cricut Machine and What Can it Do?
You start with a plain egg. The one I used is an oversized natural paper mache egg. I chose the material because it’s not breakable like ceramic, but it has a nicer feel than plastic.
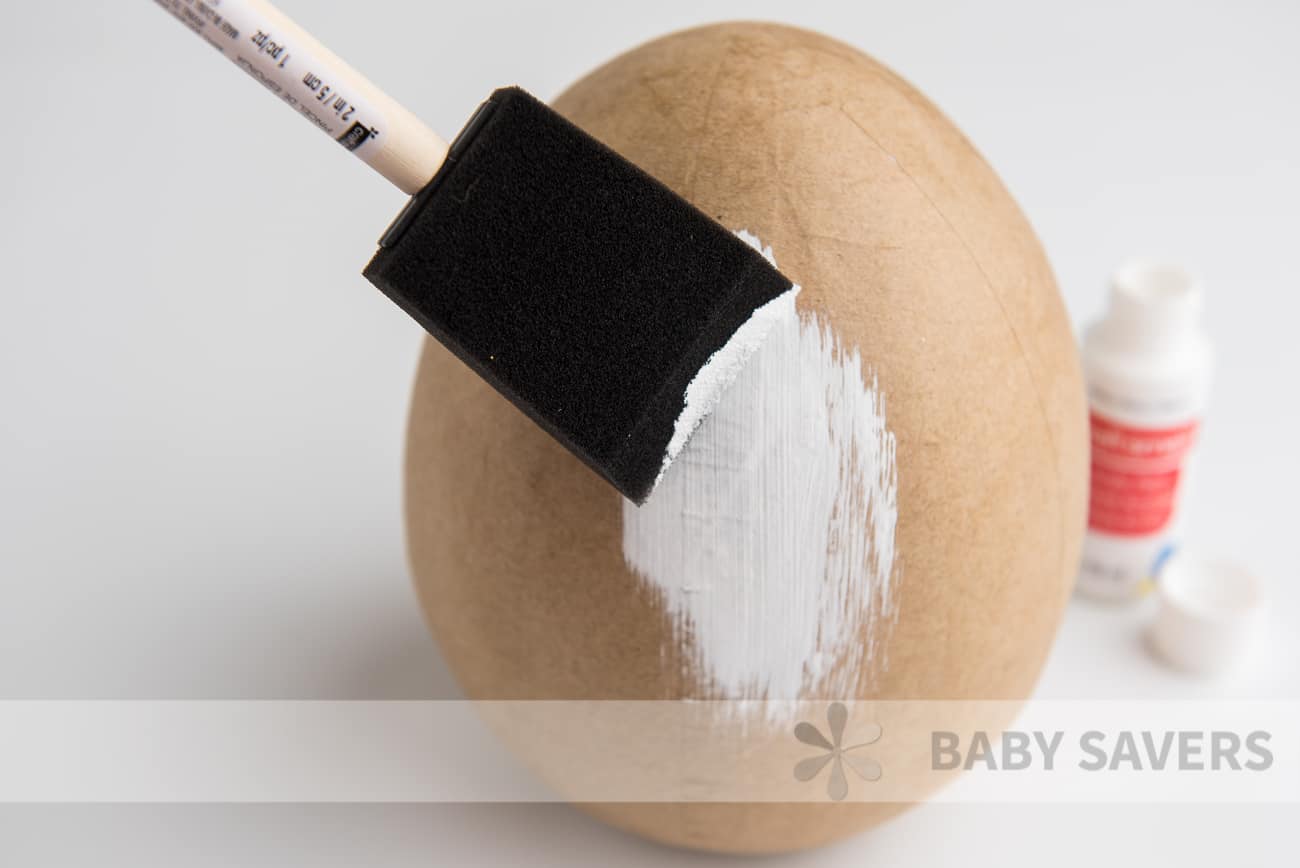
Decorative paper mache eggs are also really easy to paint. They hold onto the color very well, and they look really pretty once they’re painted.
Of course, you can start with a decorative egg that’s already the color you want. Really, this project is from scratch, but you can take all the shortcuts you want!
How to make DIY Rae Dunn Easter Eggs
There are a few things you’ll need to make these adorable homemade Easter decorations. There are typical crafty products and some Cricut supplies and materials.
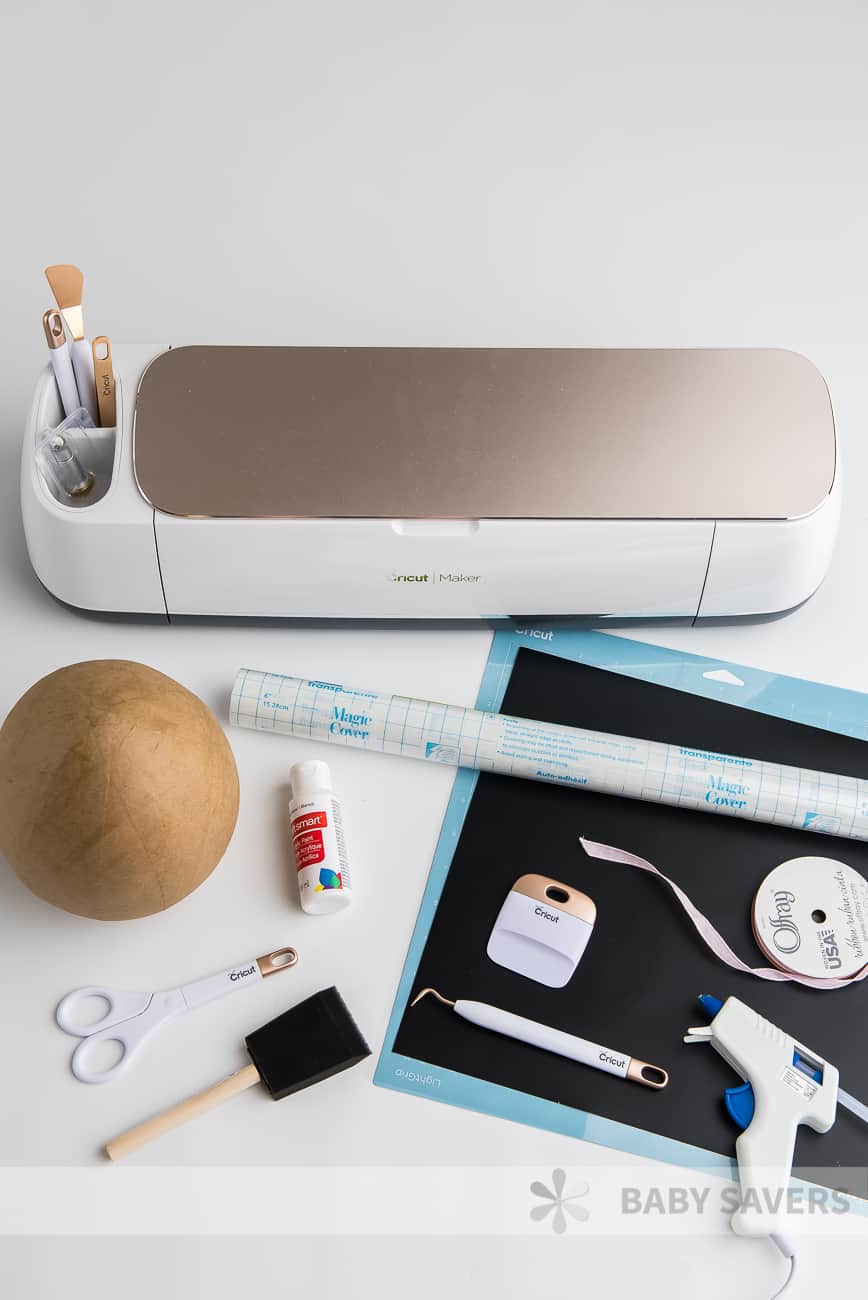
What you need
- Cricut machine
- Matte acrylic paint
- Ribbon
- Blue light grip mat
- Transfer paper or tape
- Matte black vinyl, permanent
- Paper mache egg
- Sponge paint brush
- Weeding tool
- Scraper tool
- Hot glue gun
- Glue sticks
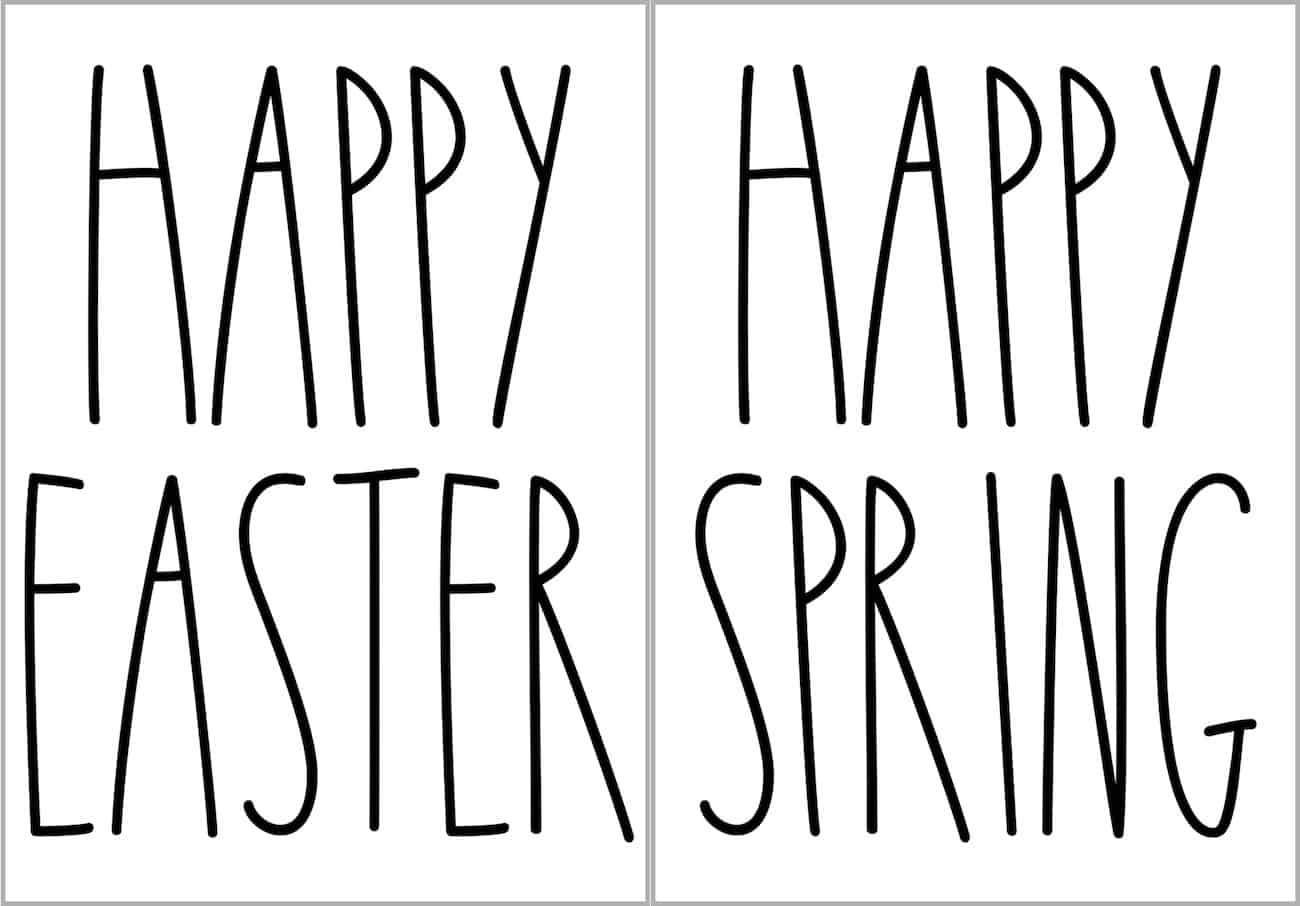
- My Free Rae Dunn SVG
A few notes about the materials and tools list:
First, the vinyl can be any color you want. I just think the matte black gives you that Rae Dunn look. It also looks great over the matte white paint on the egg.
Second, we used a 6″ oversized paper mache egg. You can use any size you want, but you’ll have to scale the svg file to fit.
Third, download the free Rae Dunn Easter SVG here.
Directions
Step 1: Paint the egg
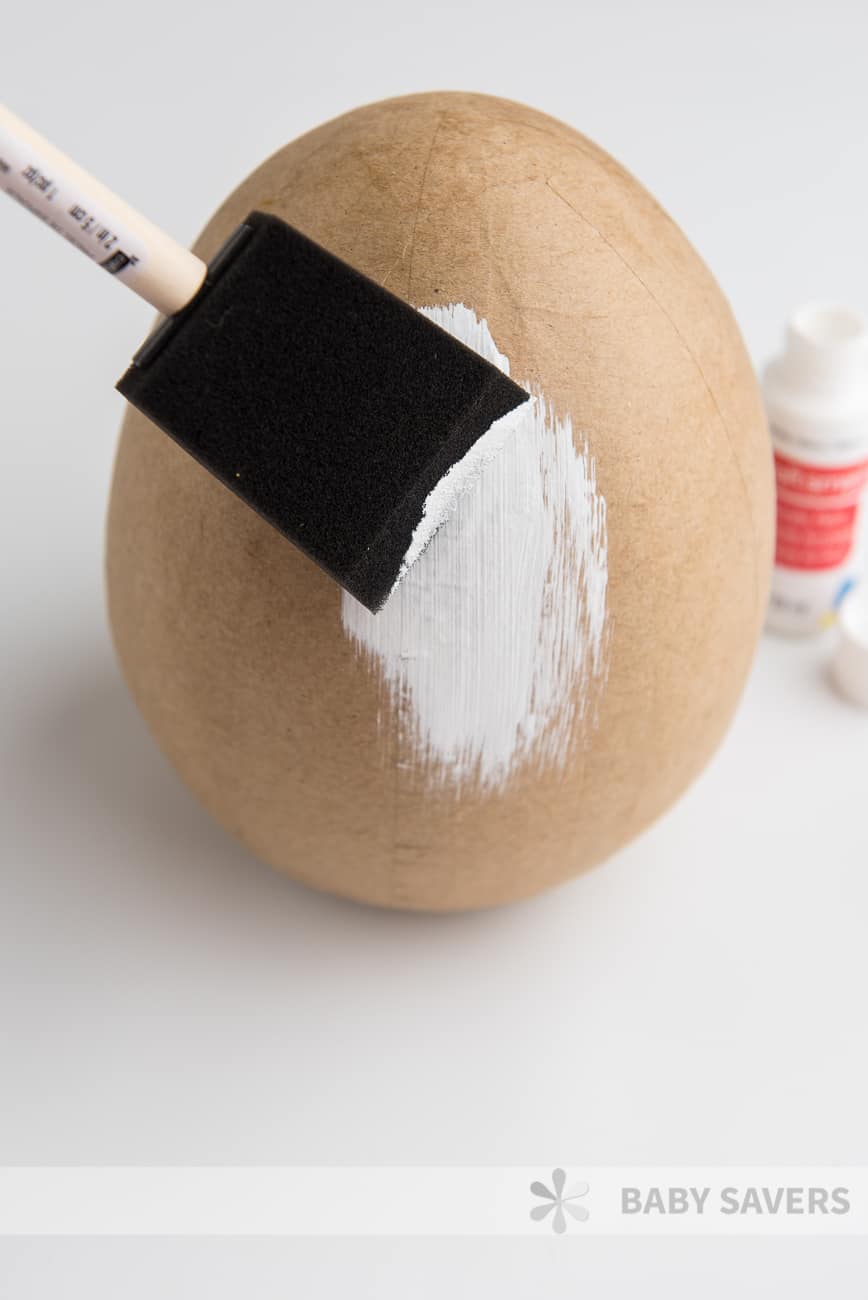
Paint your Easter egg with white acrylic paint. Paper mache forms tend to absorb a lot of paint, so plan to do multiple coats, letting it dry between coats.
Step 2: Download the Rae Dunn Easter SVG or create your own design
Scroll up to download the Happy Spring and Happy Easter free SVG files, then open Cricut Design space and upload the design.
Adjust the height to be about 1 – 1.5 inches shorter than the height of the egg. For example, a the phrase for a 6-inch egg should be between 4.5 and 5 inches.
If you’d rather create your own phrase in Design Space, you need to know the closest font to Rae Dunn. It’s Cami Rae and it’s free! Download the Rae Dunn font here and then do your own thing.
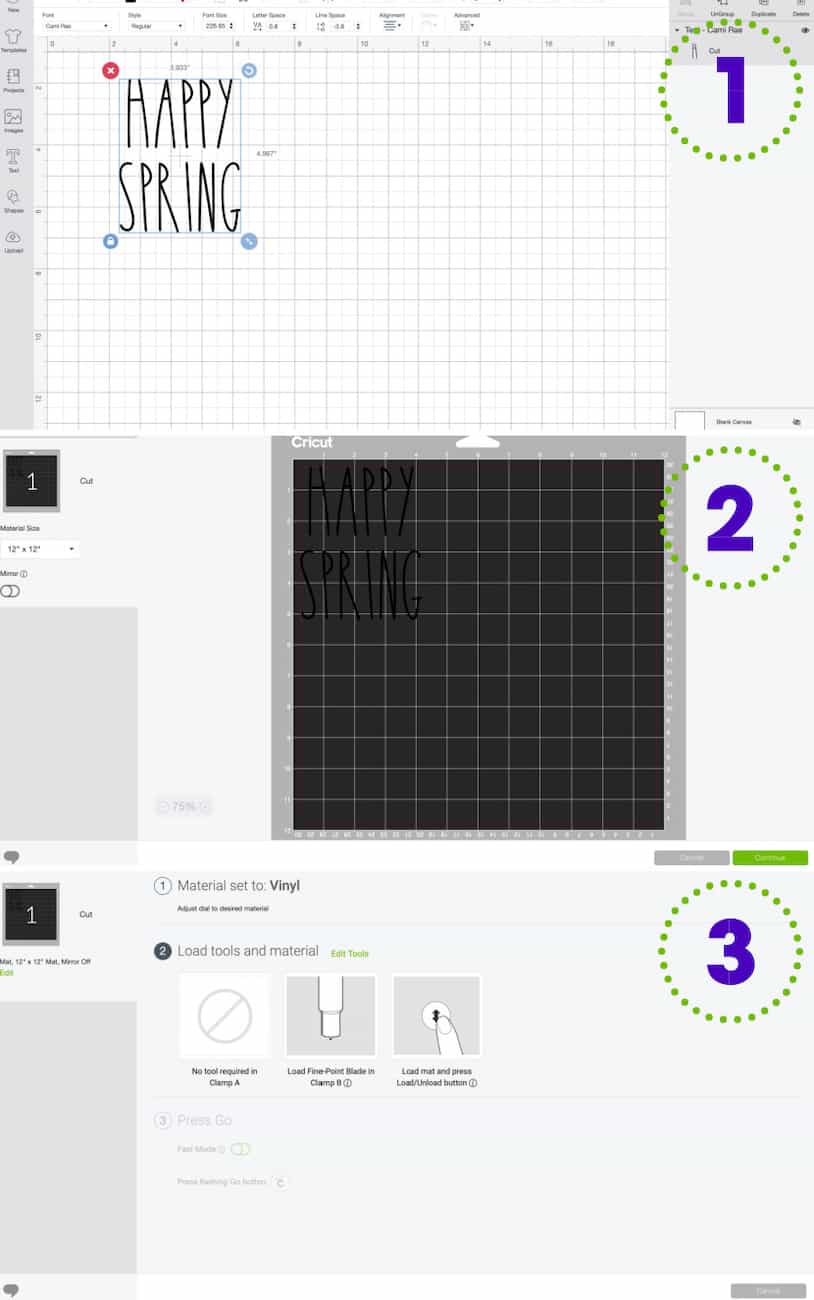
Step 3: Cut the vinyl
Put the vinyl onto the light blue mat and load it into your machine. Set the material to Vinyl and proceed with sending the design to the Cricut to cut.
Step 4: Weed the vinyl
use your weeding tool to remove the negative vinyl from around and inside each of the letters.
Step 5: Prep for transfer
Cut out your transfer tape to fit the cleaned up vinyl, then remove the carrier sheet. Place the transfer paper on top of the weeded vinyl and press firmly. Use a scraper tool or an old credit card to make sure all of the vinyl is stuck to the transfer.
Flip your design face down and slowly peel away the vinyl backing, leaving the vinyl stuck to the transfer tape.
Step 6: Apply the vinyl to the egg
Working with a curved surface can be tricky, so here’s a tip for you:
When you apply vinyl to a curved surface it’s easiest to work from the center of the vinyl. Apply and press down the center of the design, then work out in one direction slowly transferring from the middle to an outer edge. Then go back to the middle and work your way to the other side.
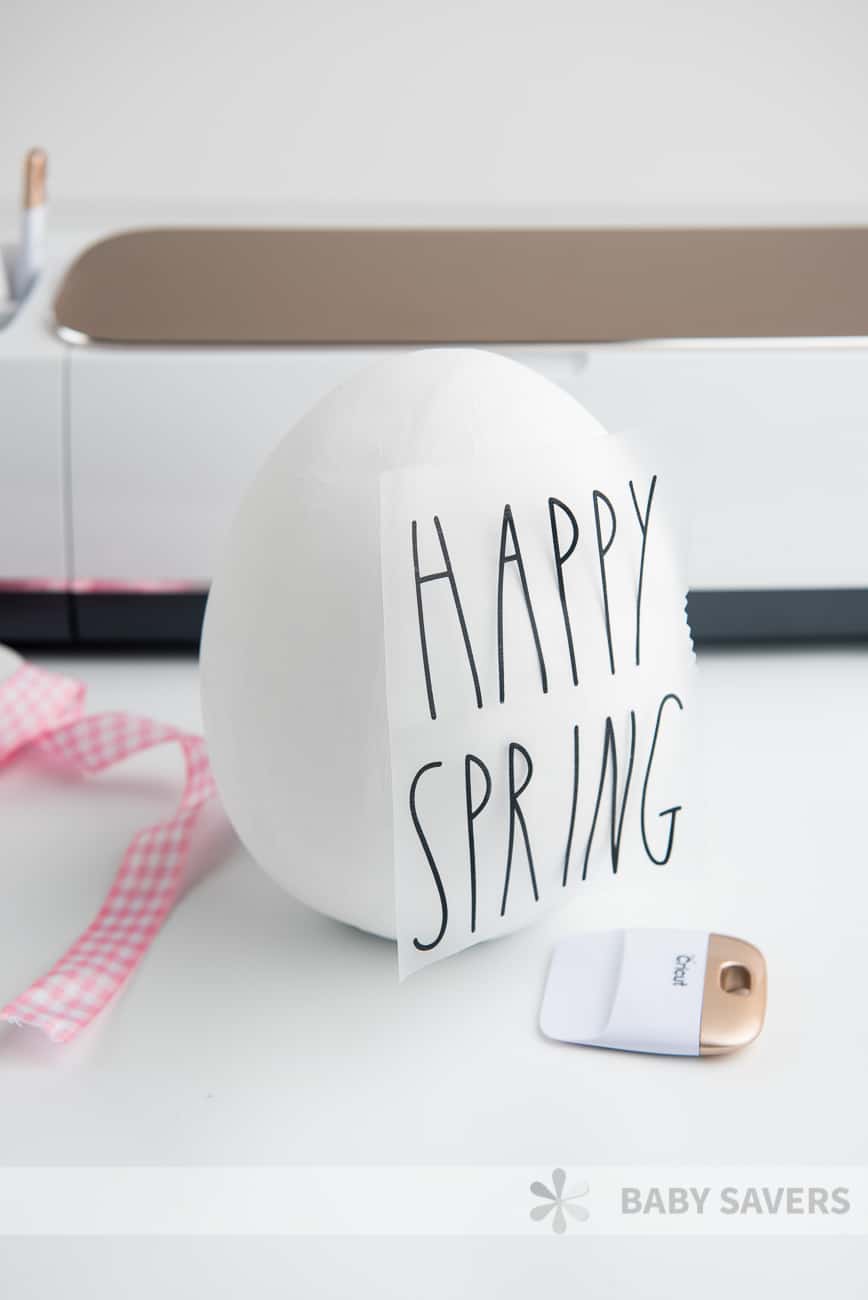
Apply the vinyl on the transfer tape to the surface of your egg. Use the plastic scraper tool to gently press down the transfer tape over the vinyl.
When you’ve pressed down all of the vinyl, slowly peel the transfer tape away from the vinyl. I like to use my weeding tool to catch any edges that might lift up with the tape.
Step 7: Add the ribbon
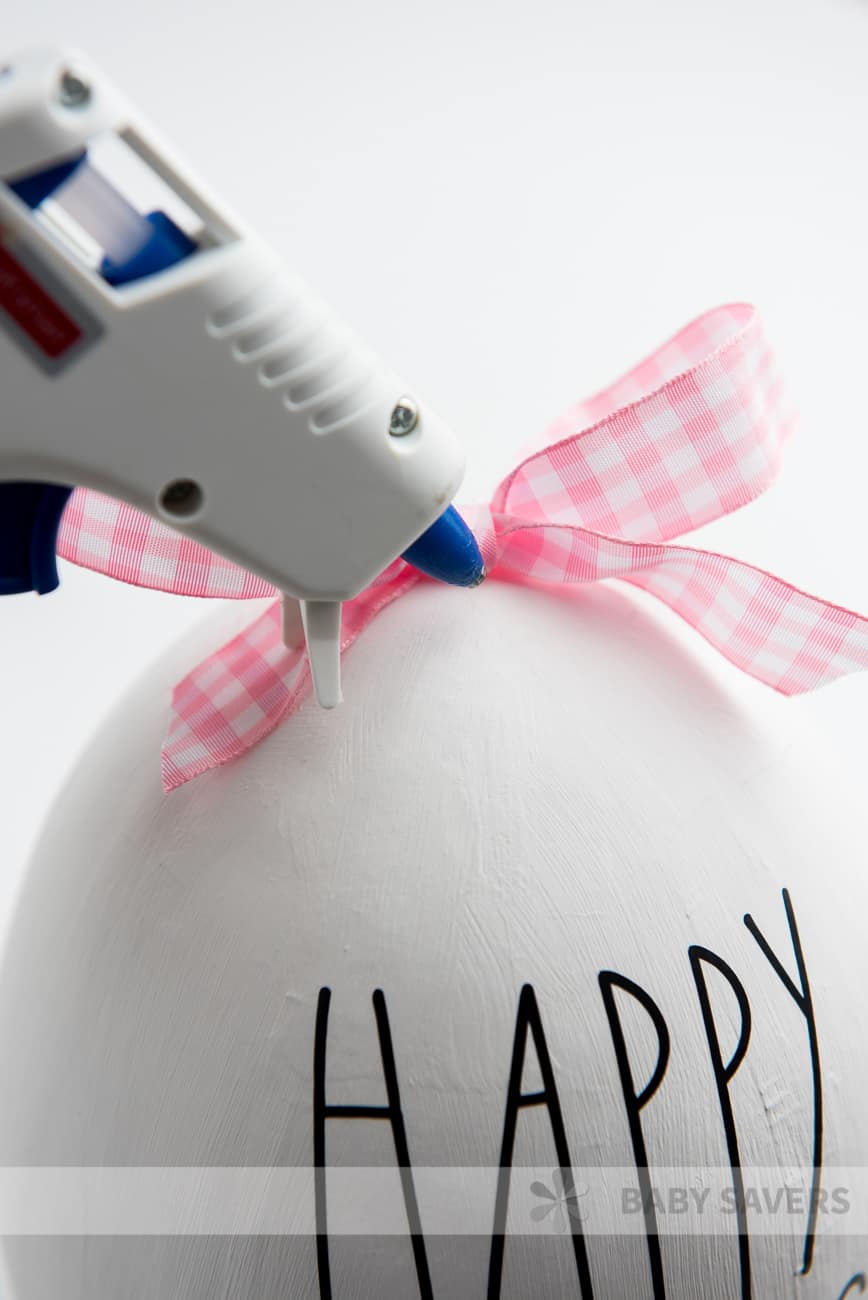
Tie a bow in the ribbon and use a dot of glue to help it stay tied. Then use the hot glue gun to attach the ribbon on top of your homemade egg.
Want more crafty Cricut projects? You should check out how to make paper flowers, this DIY chalkboard sign and a personalized pencil box that’s perfect for back to school!
Leave a Reply