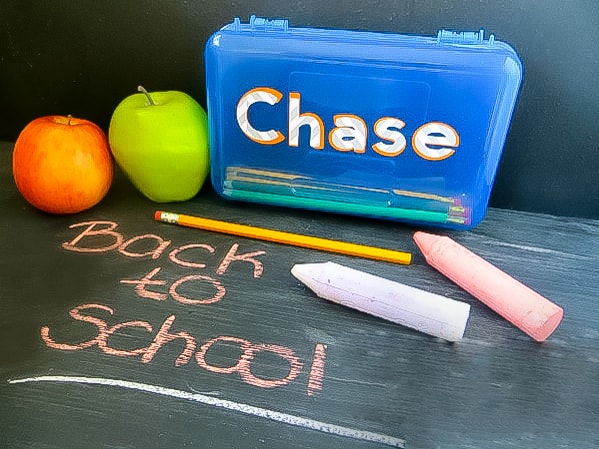
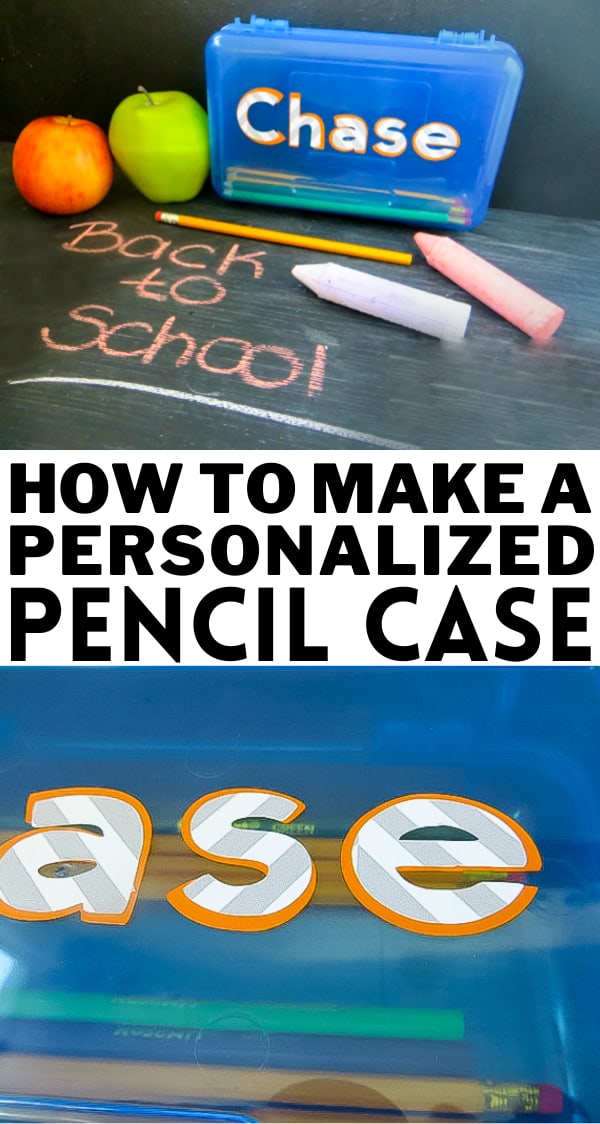
Learn how to make an cute personalized pencil box with your Cricut. You’ll be able to send your kids back to school with a customized school supply!

I got a little crafty this weekend! I was playing around with my Cricut Joy and decided to whip up my first project for my little guy. A personalized pencil box!
Chase is starting kindergarten in just a couple of weeks and he had a surprisingly big school supplies shopping list for a five year old.
To my surprise, he had no interest in picking out anything except his backpack and lunch bag, so I dove into the rest of the list.
But lets just pause for just a second. I’m shocked that its already back to school time. My youngest is going to school for the first time! I can hardly believe back-to-school season is here.
I’ve been frantically shopping, planning, crafting and preparing for the upcoming year. But him? My youngest? He’s totally oblivious to this big milestone.
All of this is to say that, for now, back to school appears to be far more important to me than to him. I’m thinking that maybe I should have included him more in all of that shopping, planning and preparing, but it’s not too late. So I’m starting now!
It’s just a happy coincidence that my new Cricut gave me the opportunity to make a personalized pencil box for him. Most of his school supplies need to be labeled with his name anyway, but the Cricut just makes the idea of labeling and customizing things so much more fun!
Note: I could have used my Cricut Explore Air 2 to cut the material for this project. Any Cricut machine will work for this craft, so don’t feel like you need to have the exact same machine that I have in order to make it work.
This was a fun project to make with my kid sitting alongside me, offering up his creative suggestions and preferences as I moved through Cricut Design Space.
Chase choose the color orange for his name, and agreed that I could make it “look cool” with more stuff around it.
If you don’t have a Cricut I strongly suggest you look into getting one for yourself! Read What is a Cricut Machine and How Does it Work to learn about all it can do. I think you’ll be amazed.
Follow the directions below if you want to send your own kids to school with a cute custom pencil box. I especially love this project because my kid just loves seeing his name on stuff – he gets so excited about it whenever he sees it. These name tracing sheets are making him excited to write his own name while these free alphabet printables are giving him different ways to learn his letters.
How to make a personalized pencil box
You’ll need the following materials:
- Plastic stationery box
- Vinyl in your choice of colors
- Transfer tape
- Cricut cutting machine
- Scraper
- Weeding tool

Directions
Step 1:
Get an inexpensive plastic pencil box and measure the lid. I picked out a blue box for Chase from Dollar Tree. It’s a color we both like, and I also liked the look of the translucent plastic.
I also already knew he would want the brighter color of the decal to be orange, and I like how blue and orange look together.
Step 2:
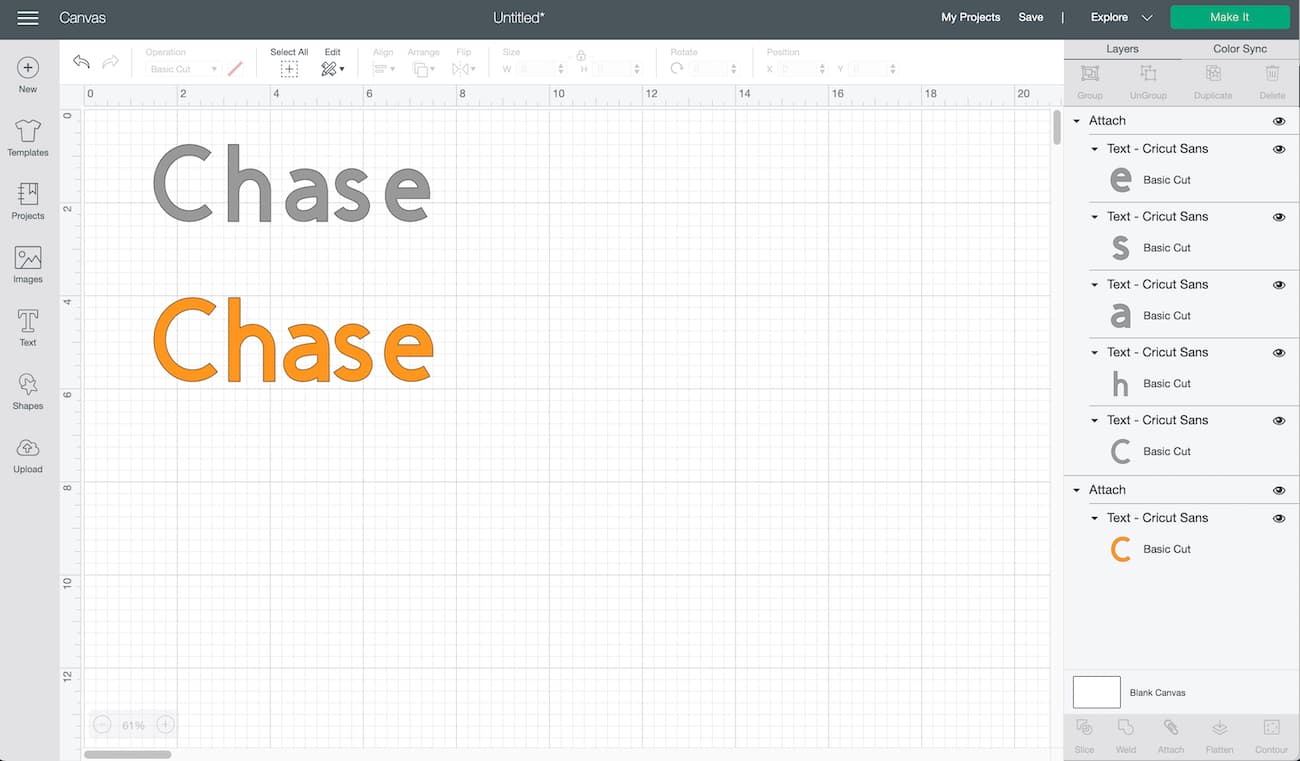
Open up your Design Space software and use the Text option to create your cut with the name you want.
Type out the name on your virtual canvas, select the text, then change the width to fit across the top of the pencil box. Leave a little room so it doesn’t reach the edges.
Move on to Step 3 if you don’t want to use two different colors of vinyl.
For the layered look:
While the text is selected, copy and paste the name so you have a duplicate on the canvas. Select the second name and change the width to be about a half inch less than the first text.

Step 3:
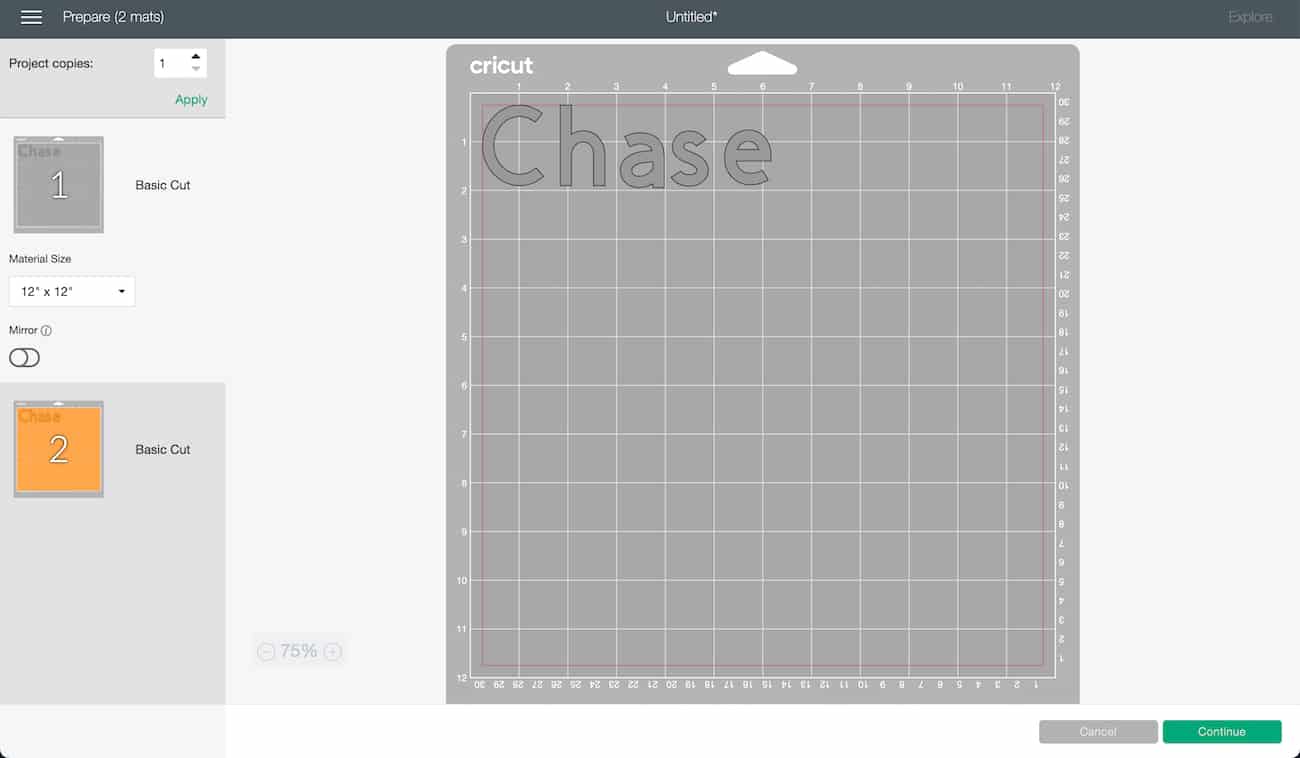
Click Make It and follow Design Space through to have your Cricut cut out your designs, then use the weeding tool to remove all the negative vinyl from around the name of the bigger sticker.
Press transfer tape to the top of the vinyl sticker, then peel the cut off its backing and stick it to your pencil case. Smooth with the scraper, then repeat with the smaller cut.
Customizing options
I love how easy it is to change just about everything when you create Cricut projects! At the same time, it can be pretty overwhelming when you’re not feeling super creative.
So let me give you a few different options to change up and customize your design as you make your own personalized item.
Colors: The sky is the limit when it comes to the variety of adhesive vinyl that’s available for you to choose from. There are also tons of patterns. Think stripes (like I used), polka dots, flowers and much more! I like layering a pattern over a solid, but it’s your creation, so create away!
Fonts: Design Space has so many different fonts to choose from, and you can also use the fonts already installed on your own computer.
Chase and I decided to use the simple Cricut Sans font. I like it because it reminds me of learning to read in elementary school. Chase said he liked it because, “I can read it.”
When the case was finished I handed it over to Chase with a pile of new school supplies that he could put in there. He added scissors, colored pencils, an eraser and crayons. I didn’t even think that much stuff could fit in there!
How easy is that? Now he’s got a fun and homemade custom pencil case he can use for years to come! Or at least until the end of this school year!

We love easy projects made with our favorite cutting machine! Check out our Cricut shirt ideas, how to make wall art with this DIY chalkboard sign, and how to make paper flowers with free templates! You also won’t want to miss our huge post of Cricut Black Friday deals for some of the best prices of the year!
Leave a Reply