The best free Baby Yoda pumpkin stencils in a variety of styles for all skill levels! Keep reading to get 13 printable pumpkin templates with a favorite Star Wars character – Grogu, also known as The Child from The Mandalorian!
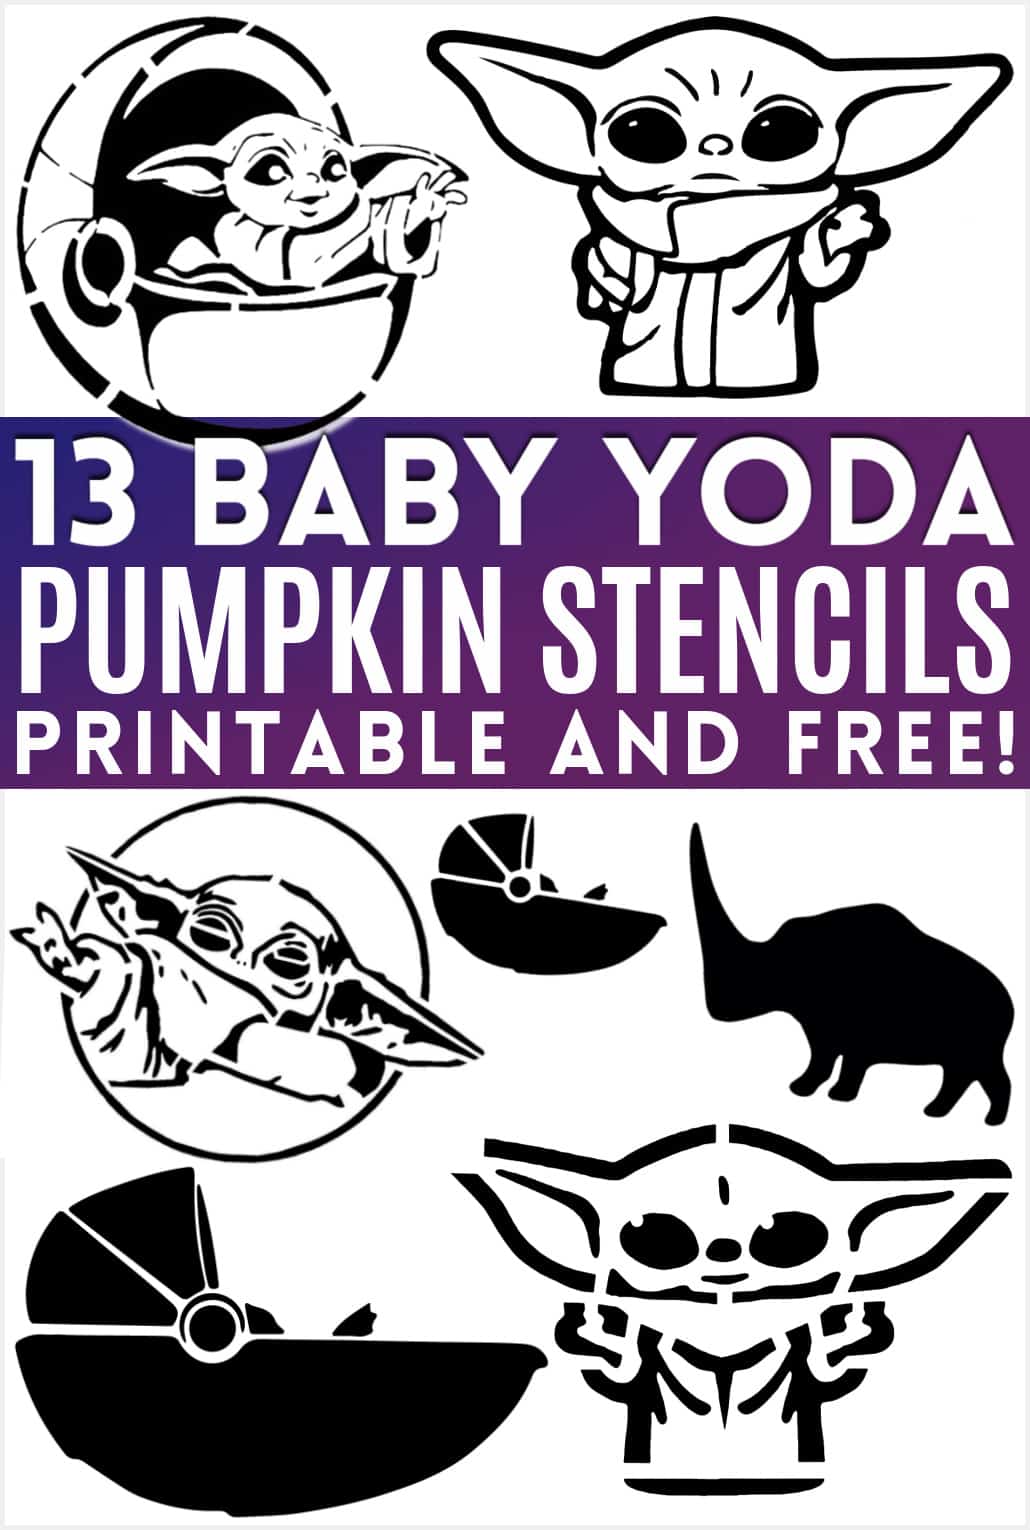
Baby Yoda, The Child, that cute little guy from The Mandalorian…they all mean the same thing to anyone talking about him. For me, it’s just Baby Yoda.
Edited to add: Ok, now we all know that his name is Grogu. He’ll always be Baby Yoda to me.
I think Halloween is the best time of year to show your love and appreciation for what might be the most hyped Star Wars character ever.
The darker themes, along with the lighting, memorable characters and unique ideas, make it easy to celebrate everything Star Wars in so many different Halloween activities!
Here’s a Table of Contents where you can review everything you’ll find in this article!
Side note: We’re pretty crazy about pumpkin carving and painting, and I have several posts to help you find the best pumpkin painting and carving ideas in all sorts of themes!
- Get Over 700 free pumpkin carving patterns here!
- Check out our Harry Potter pumpkin stencils and 87+ cat pumpkin carving stencils!
- Love Broadway musicals? Print out 13 original Hamilton pumpkin carving patterns.
- We have over 130 free Disney pumpkin stencils and 30 free Disney Villain pumpkin ideas!
- Not into carving? Check out over 45 no-carve Disney pumpkin ideas.
How to use a template to make a Baby Yoda Pumpkin Carving
A few years ago I did something super fun: I learned how to carve a pumpkin with Joseph Yakovetic, a professional pumpkin carver in California.
While his designs were amazing works of art, he shared step-by-step instructions (including the best tools and supplies) for how anyone can successfully use a template, print or stencil to carve a unique, creative pumpkin.
Supplies and tools for pumpkin carving
If you’re wondering, do you need a pumpkin carving kit? The answer is no. You’ll get far better results if you put together your own kit with the tools listed below.
You’ll need a small list of items to do your best work carving your pumpkin:
Tip: These tools and supplies are all very affordable, but there’s no need to buy them more than once!
When you’re done carving this season’s pumpkins, wash everything, then pack all the items in a small plastic tote. Don’t forget the Sharpie, push pins and knife. Now you’ll have everything you need in one place for the next year. Future You will thank you!
These are the materials you need:
- Your printed pumpkin stencil
- A pumpkin that will fit your stencil
- Antibacterial wipes
- Push pins
- Graphite transfer paper
- A ballpoint pen
- A fine-point Sharpie
These are the tools you’ll need to make the best pumpkin possible:
- A pointed serrated utility knife
- A Kemper ribbon tool for scraping the outer layer of your pumpkin
- A linoleum cutter set for detailed scraping
Step by Step pumpkin carving instructions:
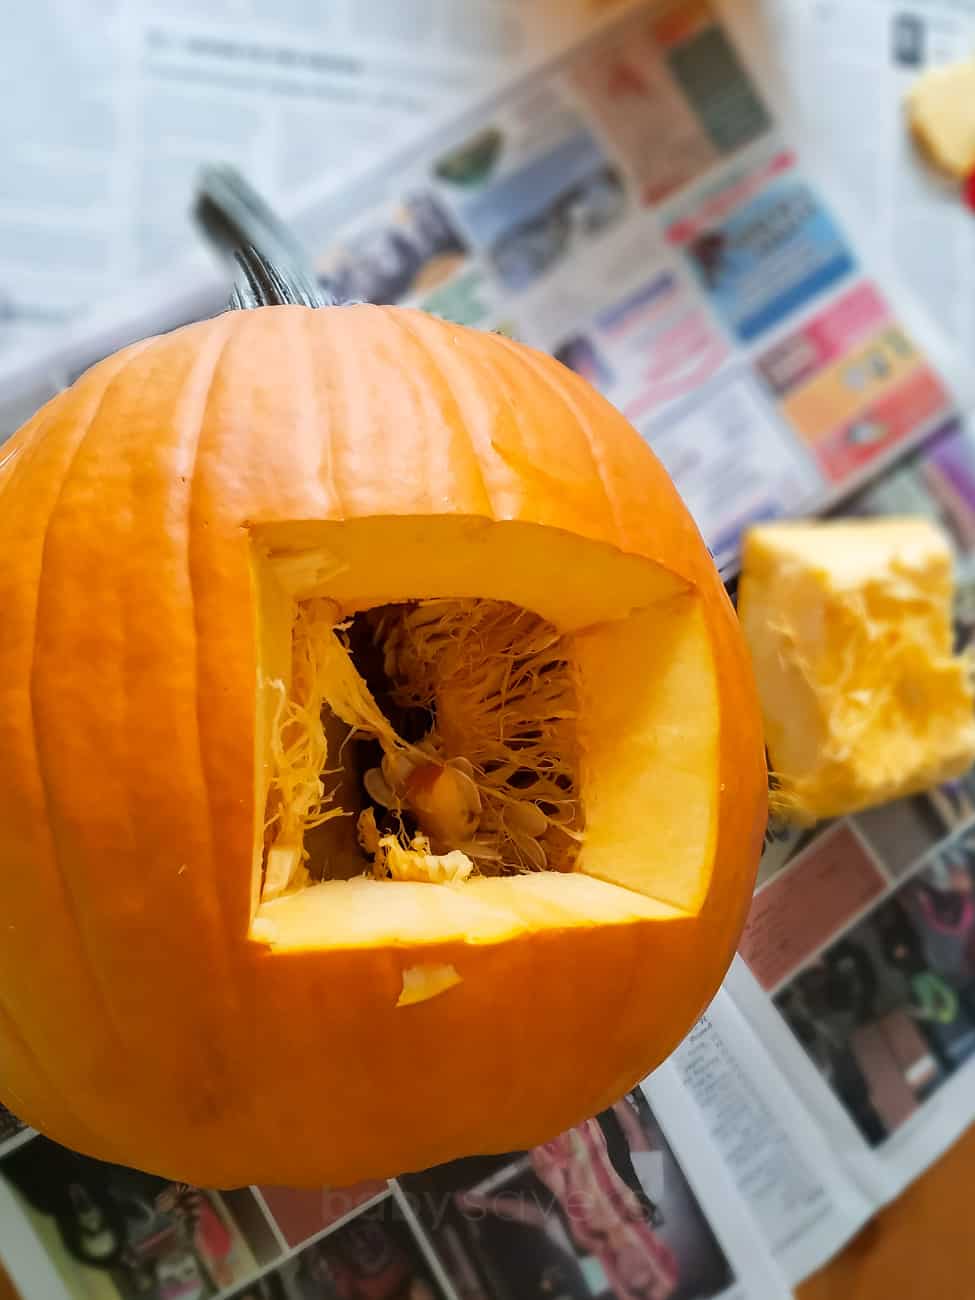
1. Clean your pumpkin inside and out.
Cut a “door” between 6 and 8 inches square in the back of your pumpkin instead of removing the stem. Scrape out the pulp and seeds, then use an antibacterial wipe to clean the outside.
Check the FAQ near the end of this post if you want to know why I recommend not cutting around the stem.
2. Print your template.
Print out your favorite Baby Yoda stencil onto 8.5″x11″ paper.
3. Trace, Transfer and Trace.
Put your stencil over a sheet of carbon transfer paper and pin it to your pumpkin. Use a ballpoint pen to trace firmly over all the lines of your stencil. This will transfer your stencil to your pumpkin.
4. Scrape the grey areas.
Remove the template and the carbon paper and trace over all carbon lines with your Sharpie.
If there are grey areas in your pumpkin design, scrape the top layers of the pumpkin off without cutting all the way through the flesh. This will allow some light through without the same intensity as the fully cut parts.
5. Carve your pumpkin.
Use your sharp, pointed knife to cut along the lines you marked on your pumpkin.
6. Clean the outside of your pumpkin.
Use a wipe to clean stray Sharpie or carbon transfer off your pumpkin.
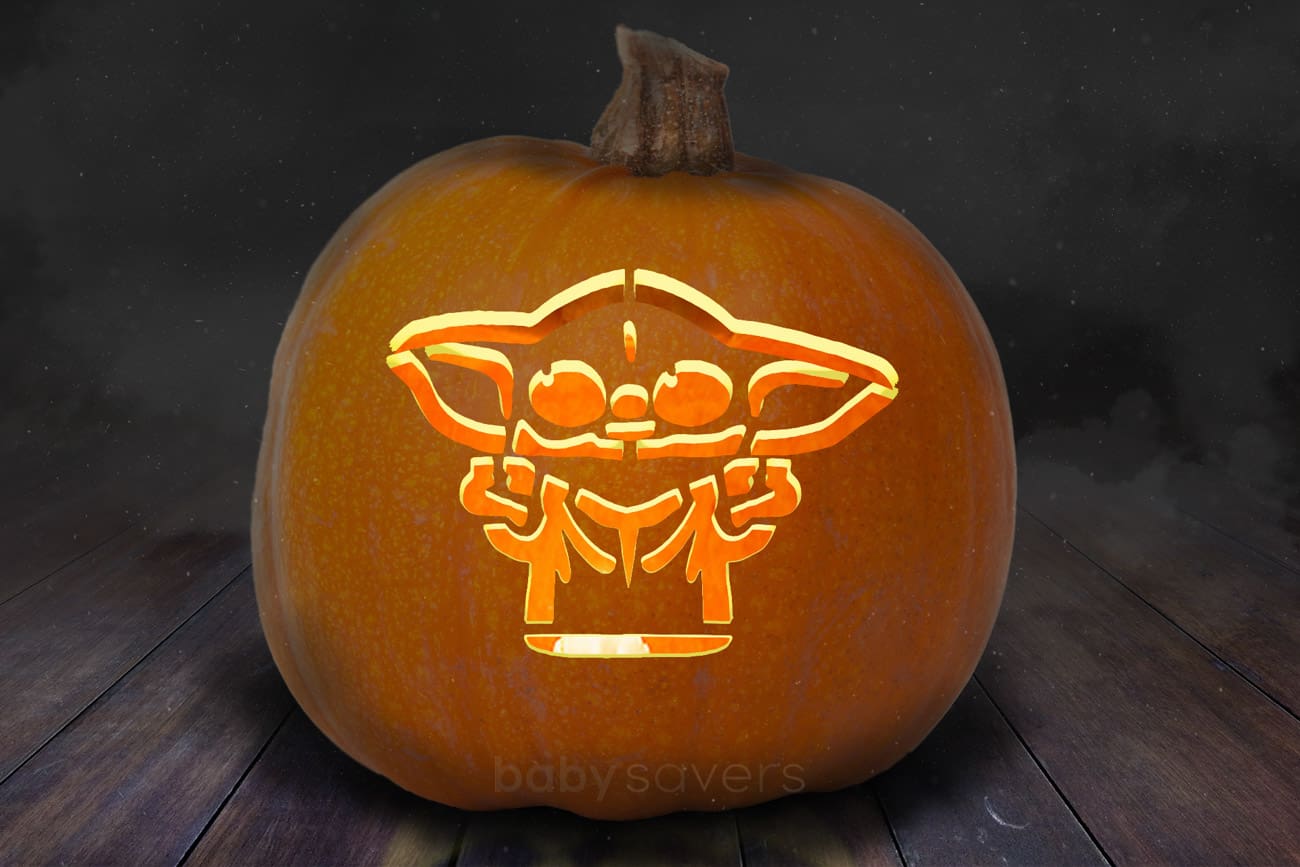
Baby Yoda Pumpkin Stencil Ideas
I’ve divided these free printables into a few different categories so you can get right to what you’re looking for. We even have super simple printables that are perfect for beginner pumpkin carvers.
There are classic designs, silhouettes, small templates, big stencils, and stencils with logos. We have them all!
If you want all the stencils, you don’t have to go to each link and download them individually. Scroll down a bit, fill out the form and you’ll get every Baby Yoda pumpkin stencil delivered to your inbox for free!
Easy Baby Yoda Pumpkin Stencils
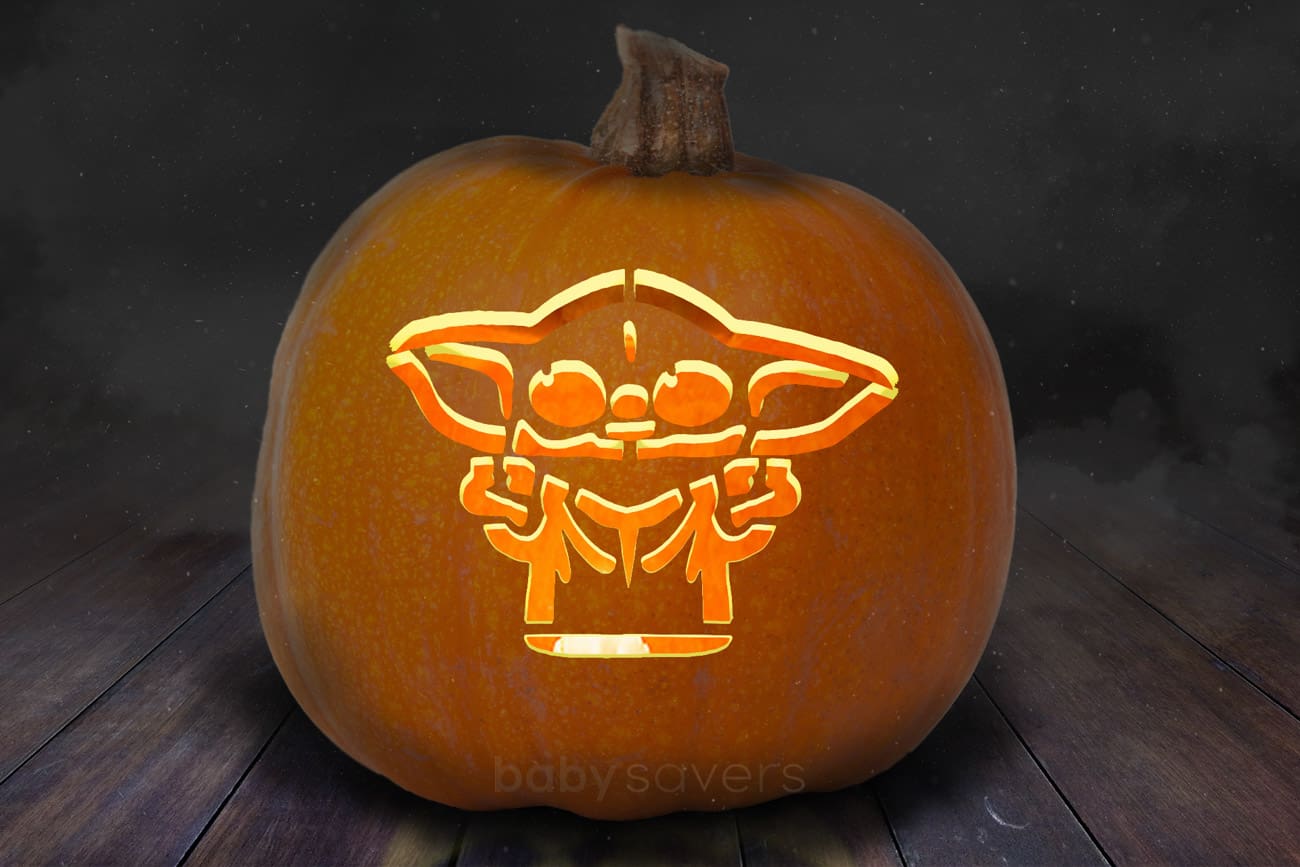
The silhouette of The Child is the easiest printable pumpkin stencil we have. It lacks detail, which makes it perfect for beginners!
The head-only template is the easiest detailed Baby Yoda pumpkin carving idea you’ll find, and we have it in a few different sizes.
Be sure to only cut out only the black parts of the head-only stencil. The grey outline is for scraping only.
Baby Yoda head only stencil, small
Baby Yoda head only stencil, wide (large)
Classic Baby Yoda pumpkin carving patterns
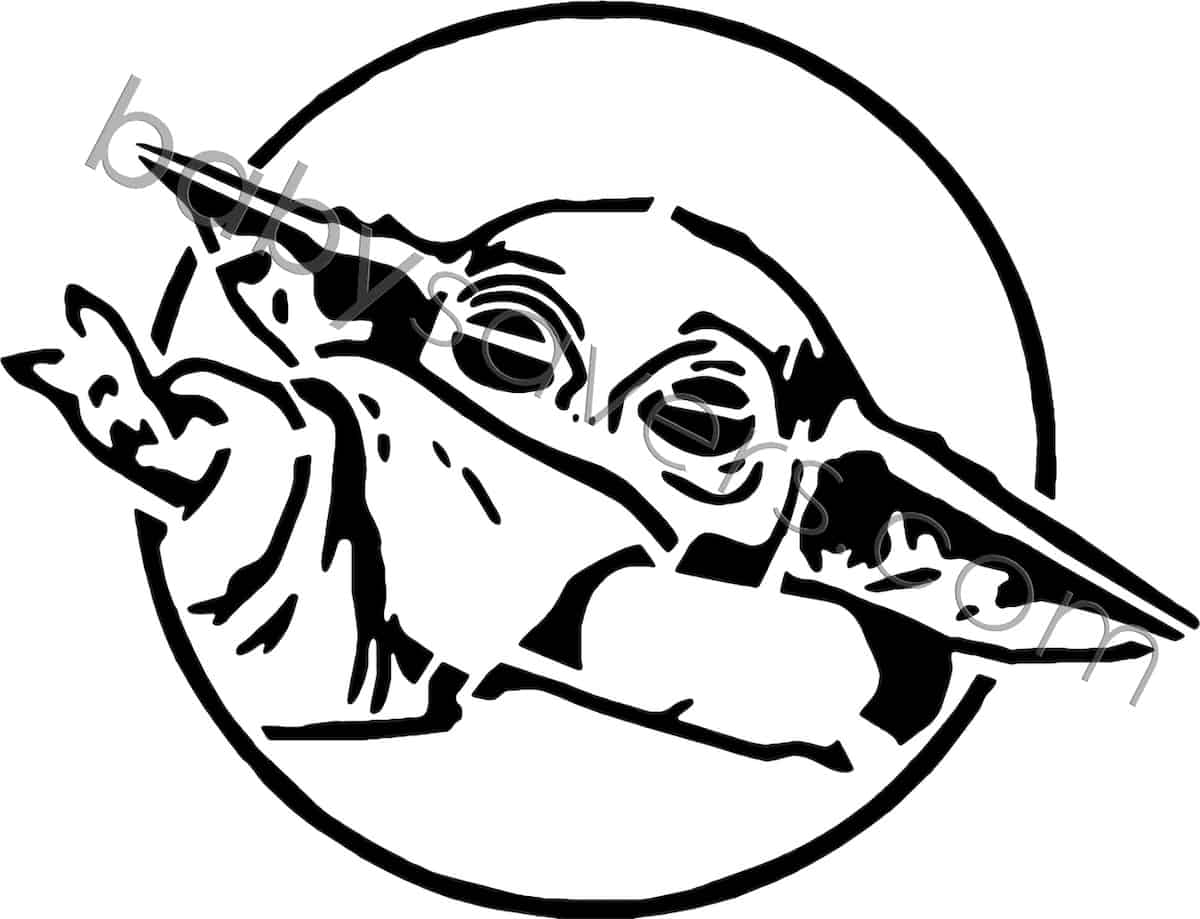
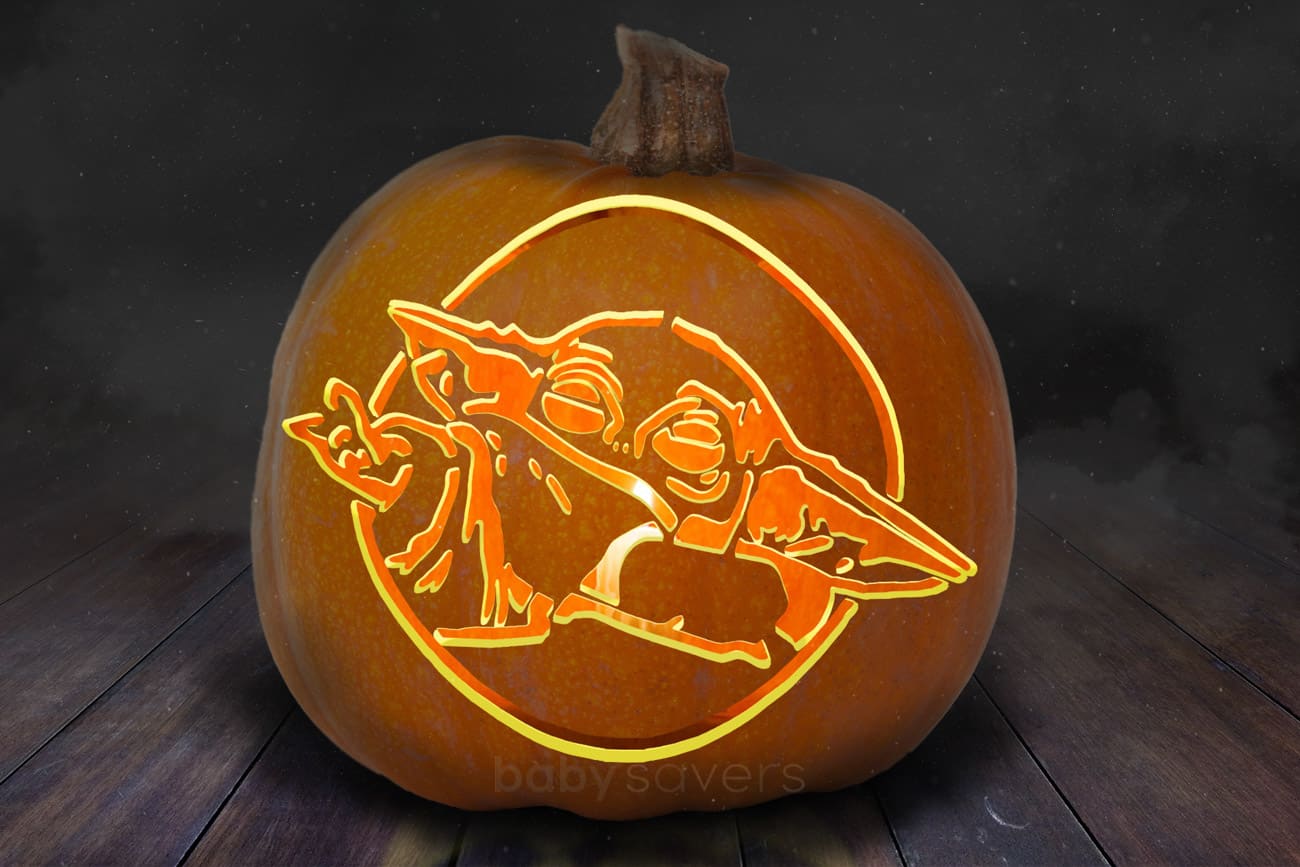
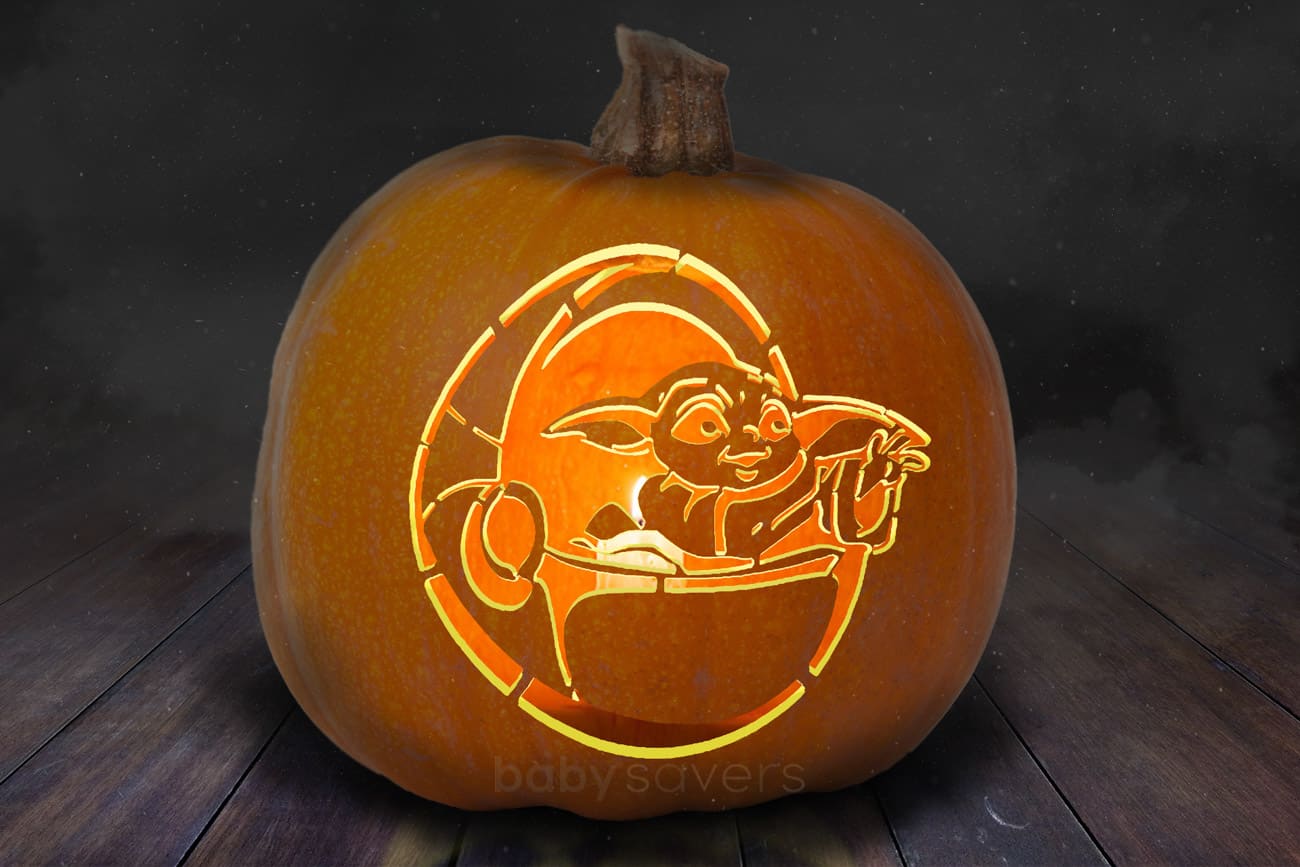
We have two stencil designs in the classic Star Wars style for your pumpkin. He’s using The Force in both printables!
The Child in his egg-shaped carrier
Baby Yoda surrounded by a circle
Baby Yoda silhouette stencils
Full body silhouette stencil of The Child from The Mandalorian
Silhouette of Baby Yoda in his iconic carrier
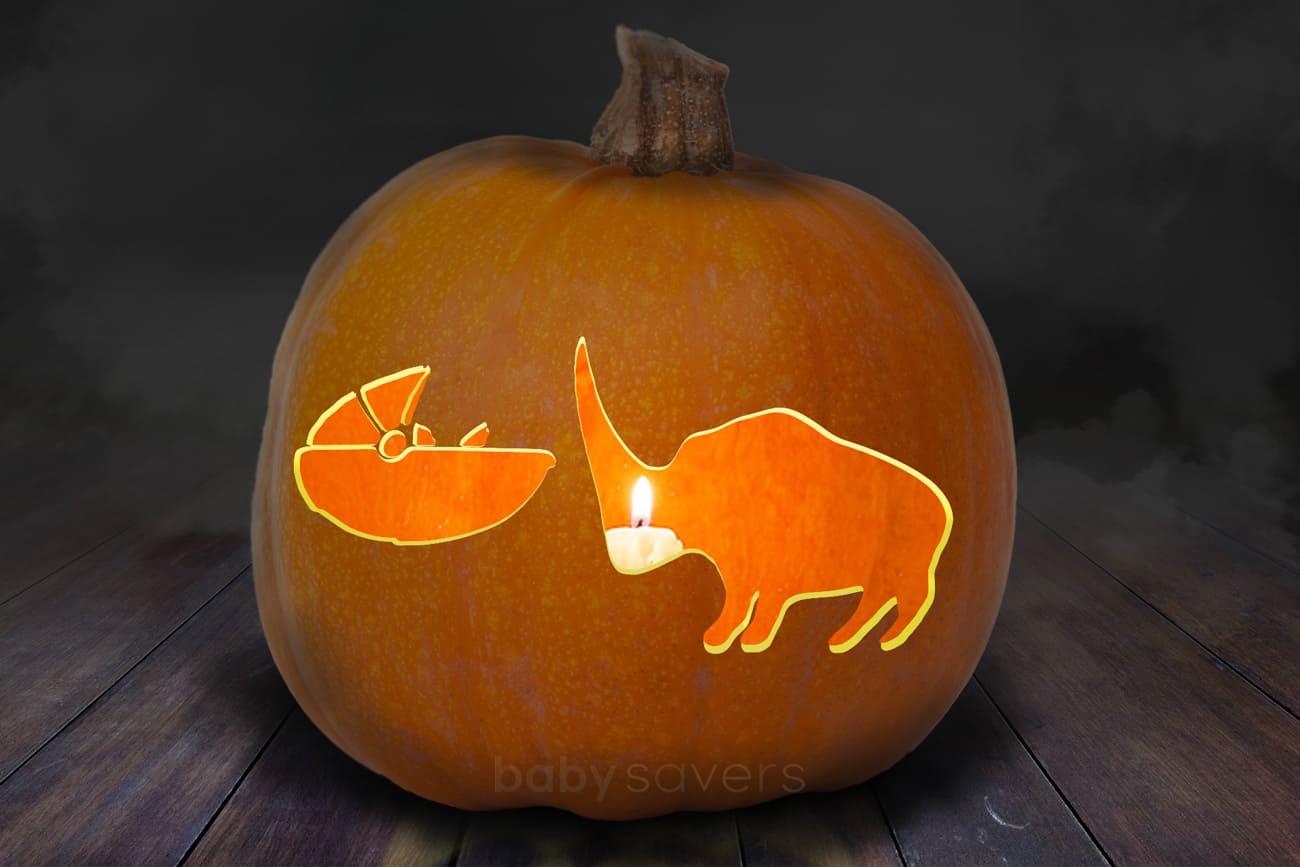
Silhouette of Baby Yoda with the Mudhorn
Full Body Detailed Stencils
Smiling Baby Yoda stencil, small
Smiling Baby Yoda stencil, wide
The Child Stencils with The Mandalorian Logo
These are some of the same printables you’ll find above, but they have a stencil-friendly Mandalorian logo added to them for extra fan points.
The Child in his carrier with The Mandalorian Logo
How to get all the stencils in one download!
If you want every stencil, you don’t have to visit each link and download or print every individual sheet. Just submit the form below and you’ll get every free printable stencil in a single file!
Pumpkin carving FAQ
How do you carve a pumpkin?
Scroll back up and read the tutorial about how to use the templates to carve your pumpkin. You’ll find a list of helpful tools and instructions.
If you’re not using a pumpkin pattern, you can draw a design onto your pumpkin with a sharpie. Then use your pointed knife to cut out along the lines you drew.
Which pumpkins are best for carving?
Most pumpkins available for sale in the fall are suitable for carving. If it isn’t called a Pie Pumpkin, then it’s likely intended to be made into a Jack-o-Lantern.
If you’re still unsure, choose a pumpkin variety with the word “jack” or “Halloween” in its name.
How should you choose a pumpkin?
There are a few steps to follow when choosing your pumpkin to carve:
- Look at your pumpkin. The skin should be smooth, without too many bumps, scratches, bruises or dark spots.
- Press your hands to the top and to the bottom and make sure you don’t see or feel any dark, weak or mushy spots.
- Knock on the side of the pumpkin and listen to the sound. It should sound hollow, not solid
- Set it down and make sure it’s not wobbly. Turn it around to see how it looks from all angles.
- Visualize your design. If your desired pumpkin carving idea is wide, you’ll need a broad pumpkin. Taller designs need taller pumpkins.
When is the best time to carve a pumpkin?
According to Real Simple magazine, you should carve your pumpkin within 3 days of Halloween.
How long do pumpkins last after carving?
Pumpkins last different lengths of time depending on your climate. If you’re in a warm climate, your pumpkin may last about a week.
Cooler temperatures extend how long a carved pumpkin will look ok before it starts to shrivel, collapse or rot. Unfortunately, cold temps are also bad., and frost or snow will quickly make your carved pumpkin collapse.
I’ve also learned that leaving the stem attached to the pumpkin and cutting a hole in the back can help your pumpkin last longer. See below!
Why do you cut a hole in the back of the pumpkin instead of at the top?
This is another tip I learned from the professional pumpkin carver. He had three reasons for not cutting into the pumpkin at the top:
- the pumpkin stem provides nutrients to the pumpkin, even after it’s harvested. Leaving the stem attached means your pumpkin will last longer.
- Cutting a door in the back makes it much easier to clean out the pulp and seeds.
- The door in the back makes it much easier to light your pumpkin from the inside.
More ways to have a Baby Yoda Halloween
In addition to the Baby Yoda stencils I’ve shared today, there are so many other ways to bring The Child from The Mandalorian into your Halloween festivities! If you’re in the mood to buy, not make, you’ll find all sorts of fun Baby Yoda merchandise here.
Be sure to watch The Mandalorian series on Disney Plus for all the Baby Yoda goodness. FYI, he’s never called “Baby Yoda” in the show. He’s always called “The Child”.
Baby Yoda Halloween Costumes
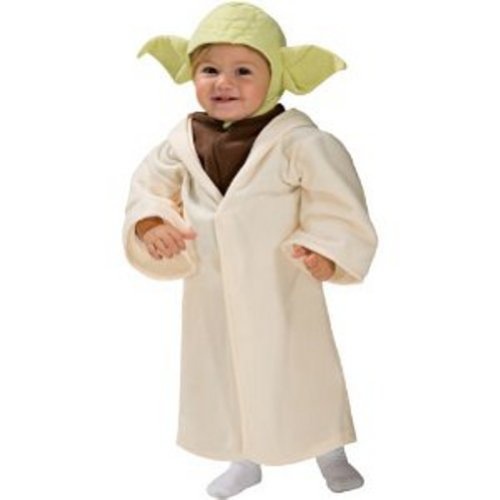
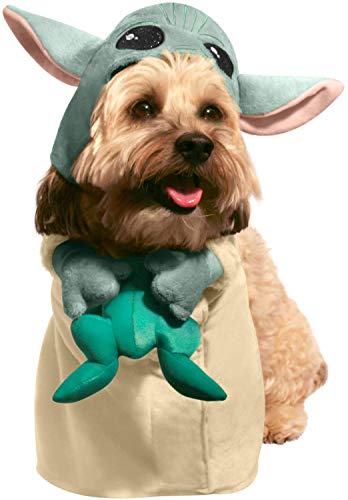
There are plenty of Baby Yoda costumes for babies, kids and (OMG) dogs. Here are some of my favorites:
The Child Costume for Baby – The MandalorianSee product detailsBaby Yoda Costume – ToddlerSee product detailsStar Wars Baby Yoda The Mandalorian CoverallSee product detailsStar Wars Baby Yoda Halloween CostumeSee product detailsThe Mandalorian: The Child Pet CostumeSee product detailsBaby Yoda Infant Costume, Hand-Knit SetSee product details
Don’t you love that Baby Yoda dog costume so much? I’m going crazy over it!
Baby Yoda Halloween Party Ideas
Here are some great ideas to have homemade fun with Baby Yoda for Halloween (or any other time!).
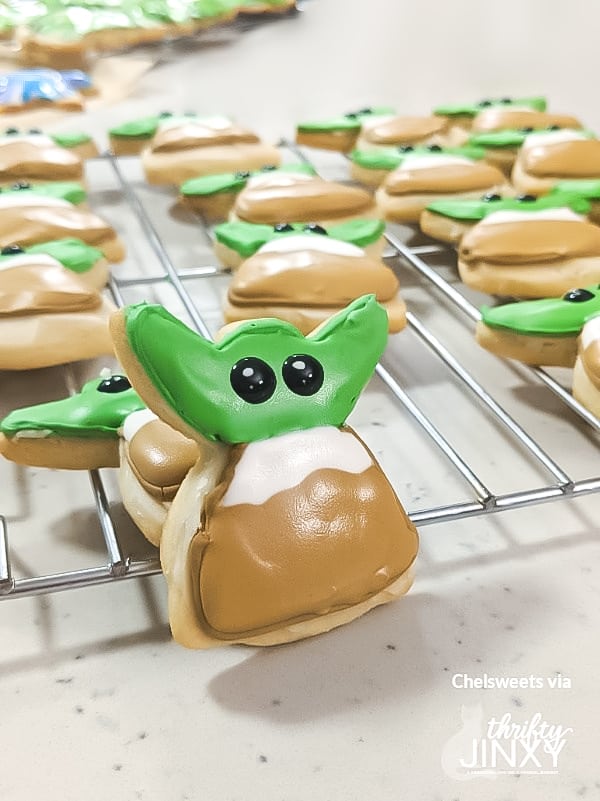
Make Baby Yoda cookies with an angel cookie cutter and a fantastic recipe! There are plenty of tutorials out there, but this is the original. You’ll get the exact recipe and the decorating instructions from the bakers who made these cookies famous.
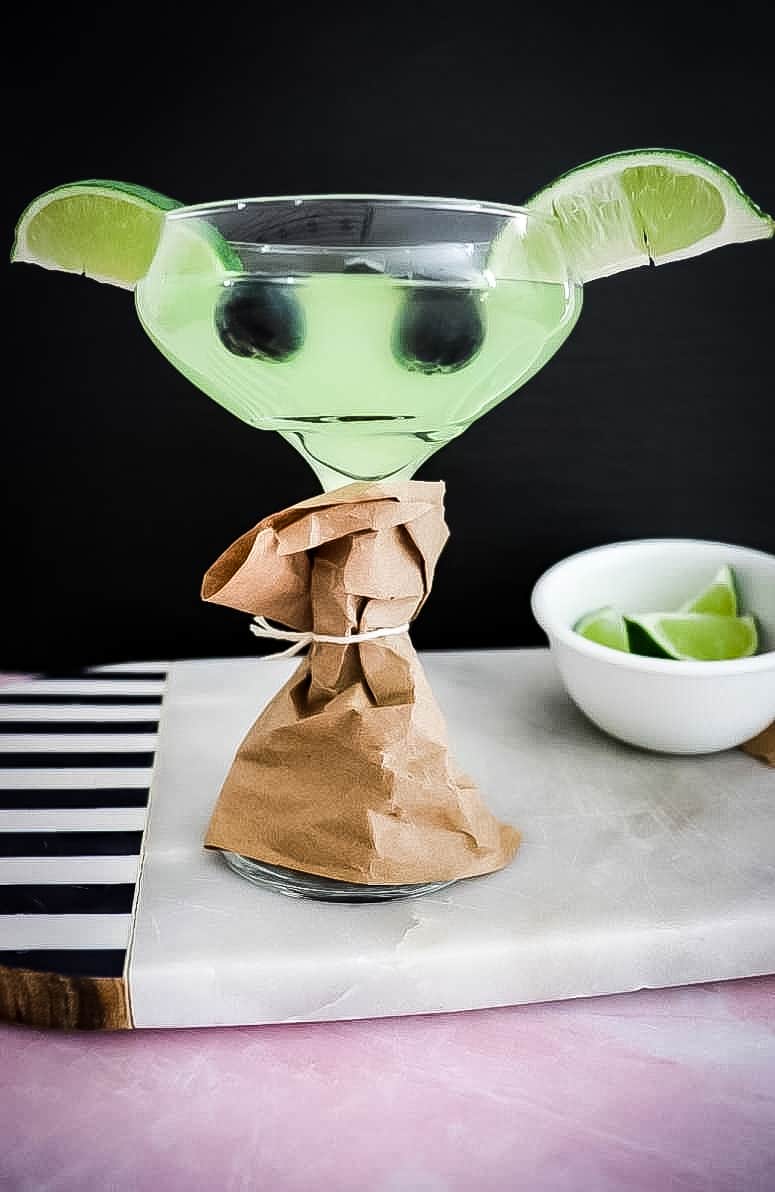
This Baby Yoda cocktail is so fun and it also looks delicious! Make a non-alcoholic version of The Child drink with green soda or a different drink.
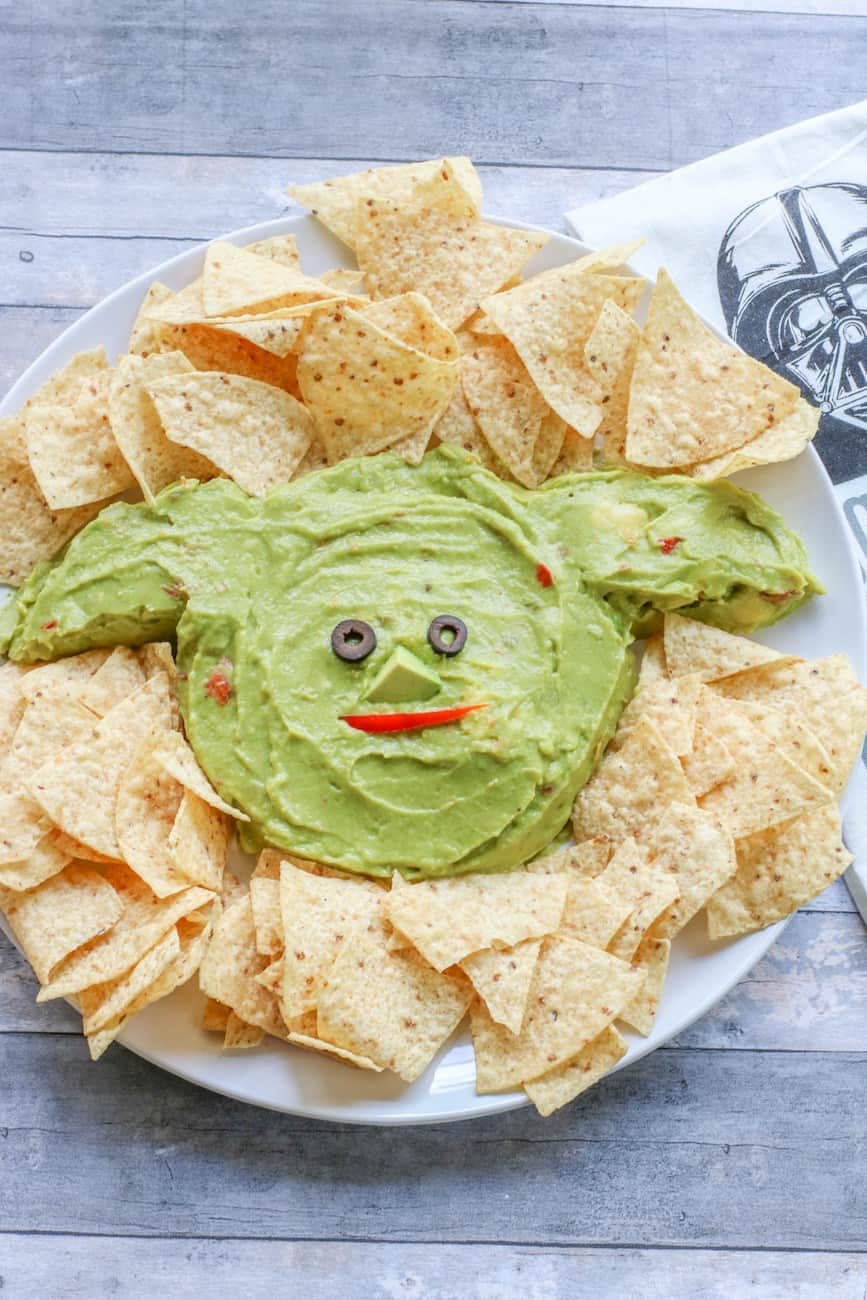
A party platter with Baby Yoda guacamole is a super fun way to celebrate!
Our DIY Halloween posts
Halloween is a big deal around here, and I have plenty of ideas to share with you! Check out the posts below to get great information about Halloween costumes, hairstyles, decorating and more!
Get over 100 DIY baby Halloween costumes with tutorials and instructions!
Here are 13 DIY Halloween costumes made with tutus.
Learn how to make a DIY Wreck-It Ralph Halloween costume!
How to make a DIY Spider-Man costume for girls!
Here are 13 tutorials for Halloween hairstyles!




lcac123 says
could you please send me the baby yoda stencils? thanks
Elsa says
I signed up and never received an email for the stencils
Rebekah Greig says
This Is Awesome! Thanks For The Tip About Making A Door In The Back!
Marybeth says
You’re welcome! It’s my favorite pumpkin carving hack!
Carmen nida says
Could you email me again? I never received the stensils?
cath says
Hi can U pls send me the baby Yoda stencils pls
Dorothy Steel says
Hi please send the yoda stensils
Thanks
Dorothy
Al Walker says
Yes please
ed sheeran says
Eugene
Yicinniya says
Thank you this is awesome. I would love a baby yoda stencil
Gina says
Love Baby Yoda. It was great finding your site
Marybeth says
I’m so glad you did!